Everything You Need to Know About Your New Madam Sew
Deluxe Bias Tape Maker Set!
What is included?
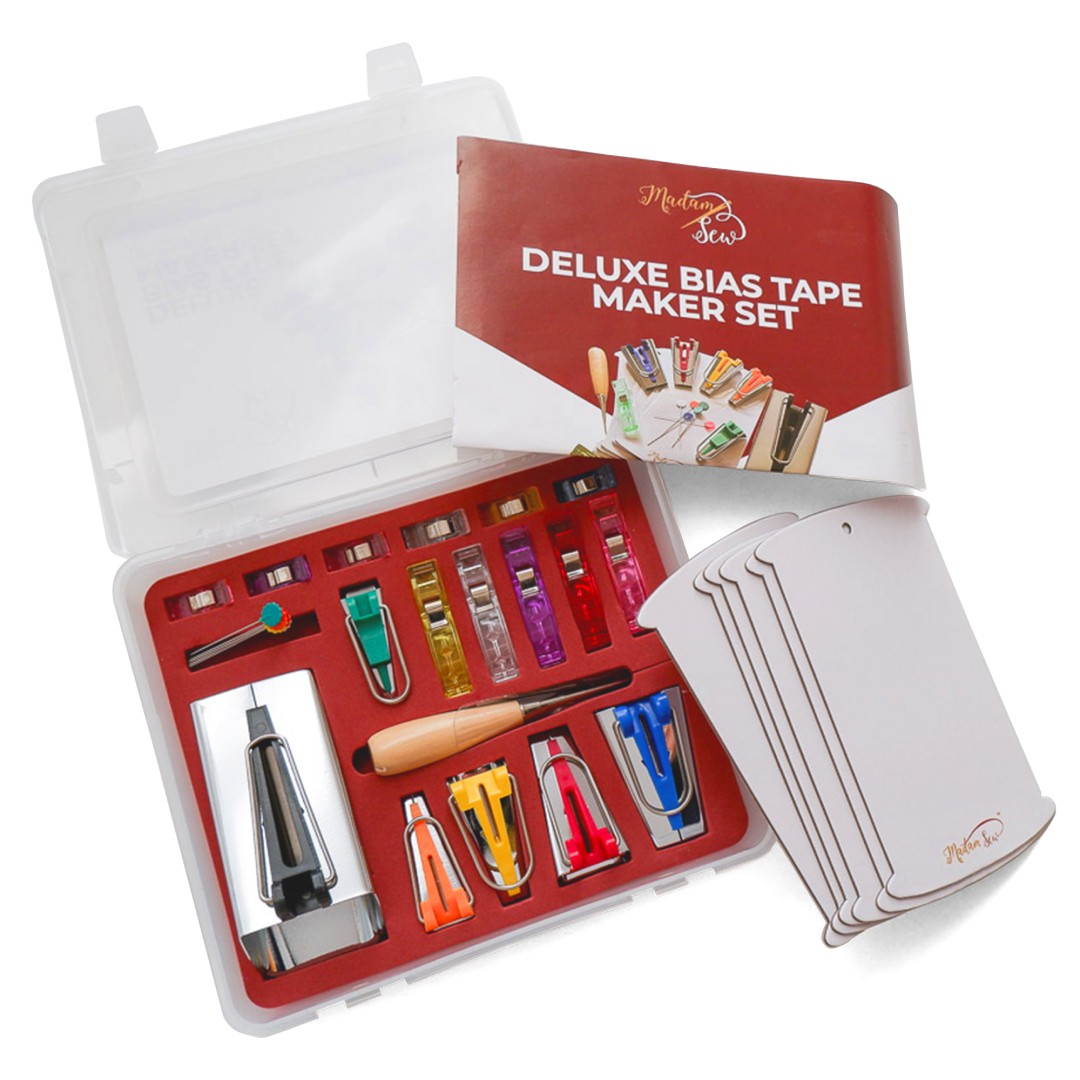
This kit contains
6 Bias Tape Makers
(tools for ironing the strips)
Green: ¼ inch - Orange: ⅜ inch - Yellow: ½ inch - Red: ¾ inch - Blue: 1 inch - Silver/Black (XL): 2 Inch
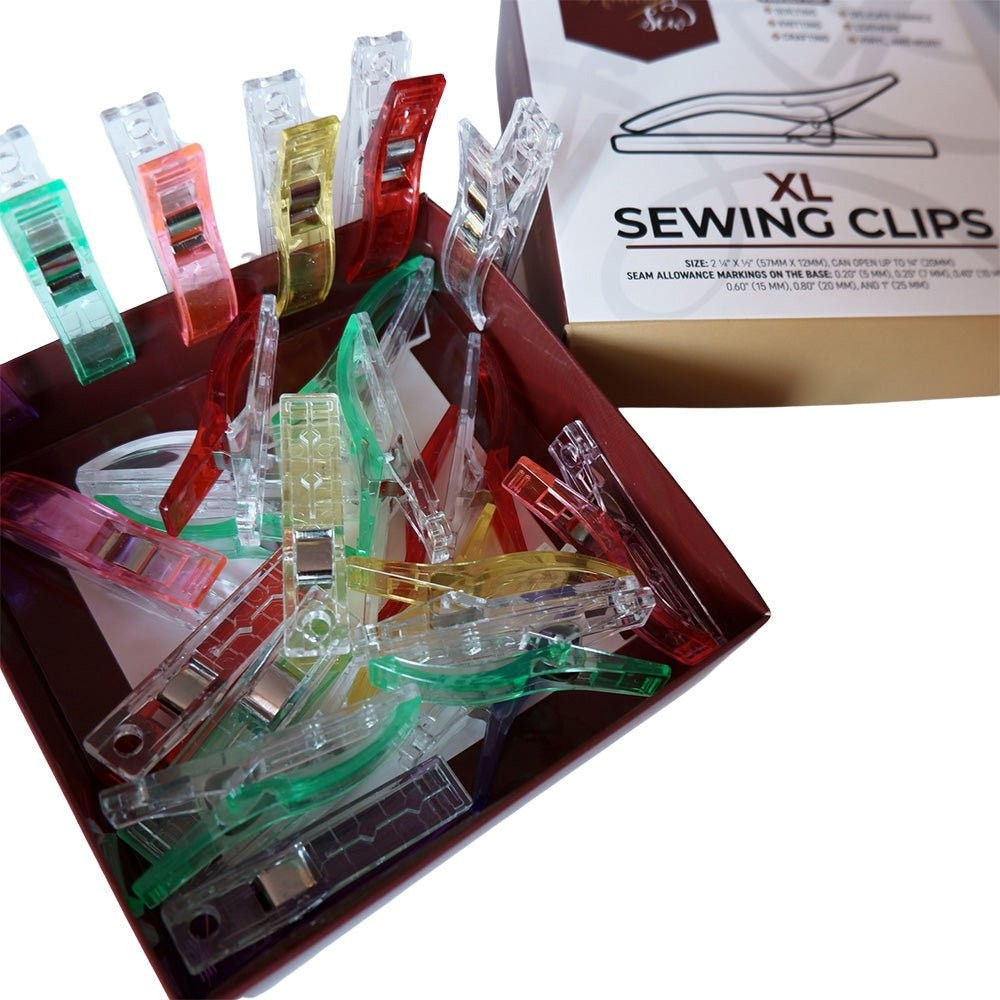
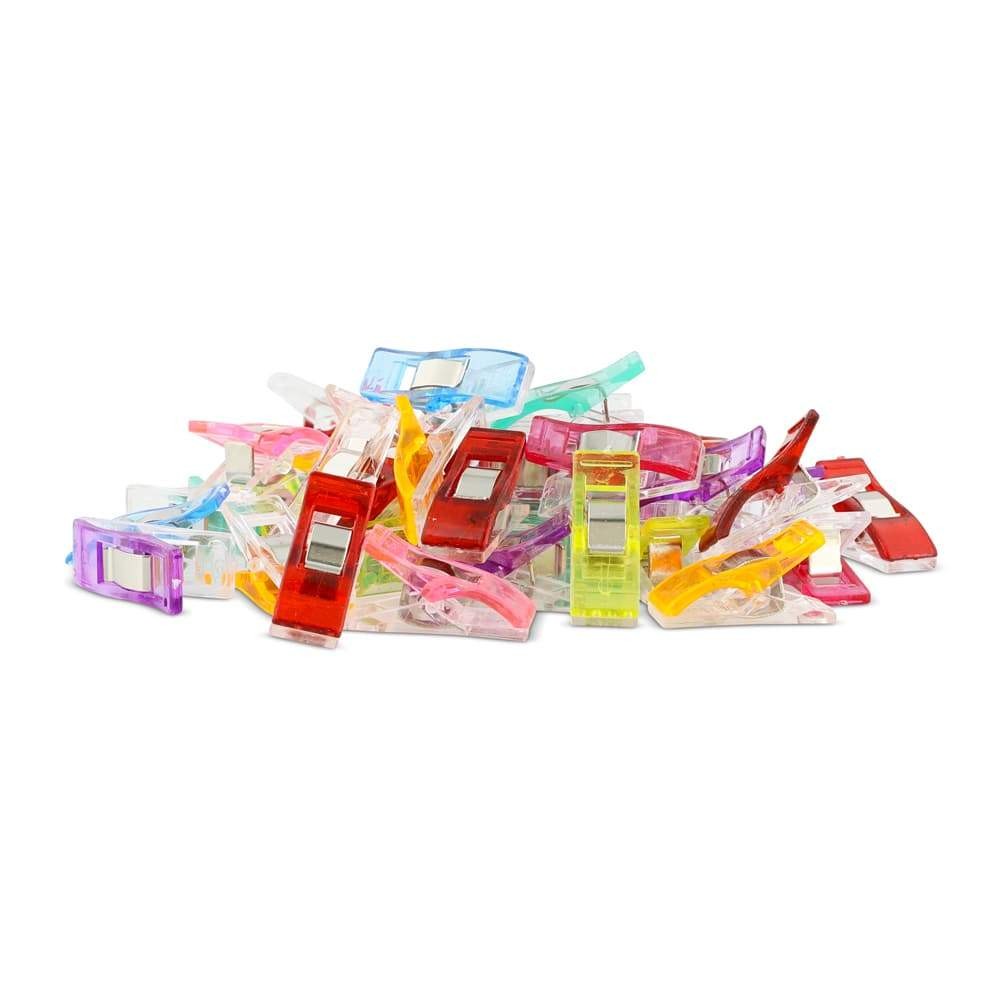
5 XL Sewing Clips
6 Small Sewing Clips
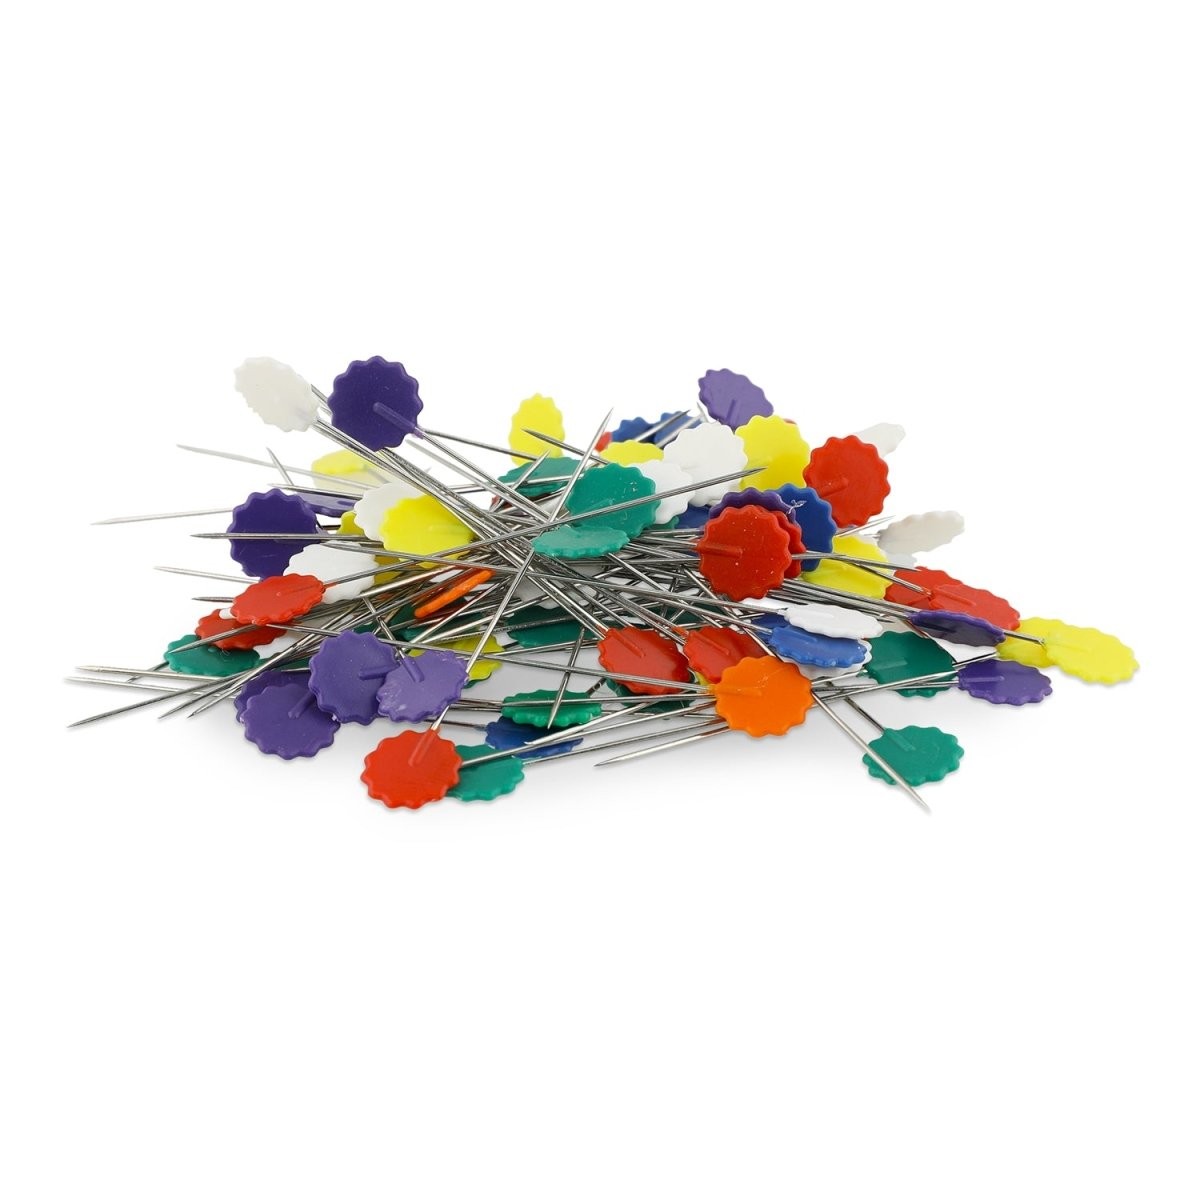
6 Long Flower Pins
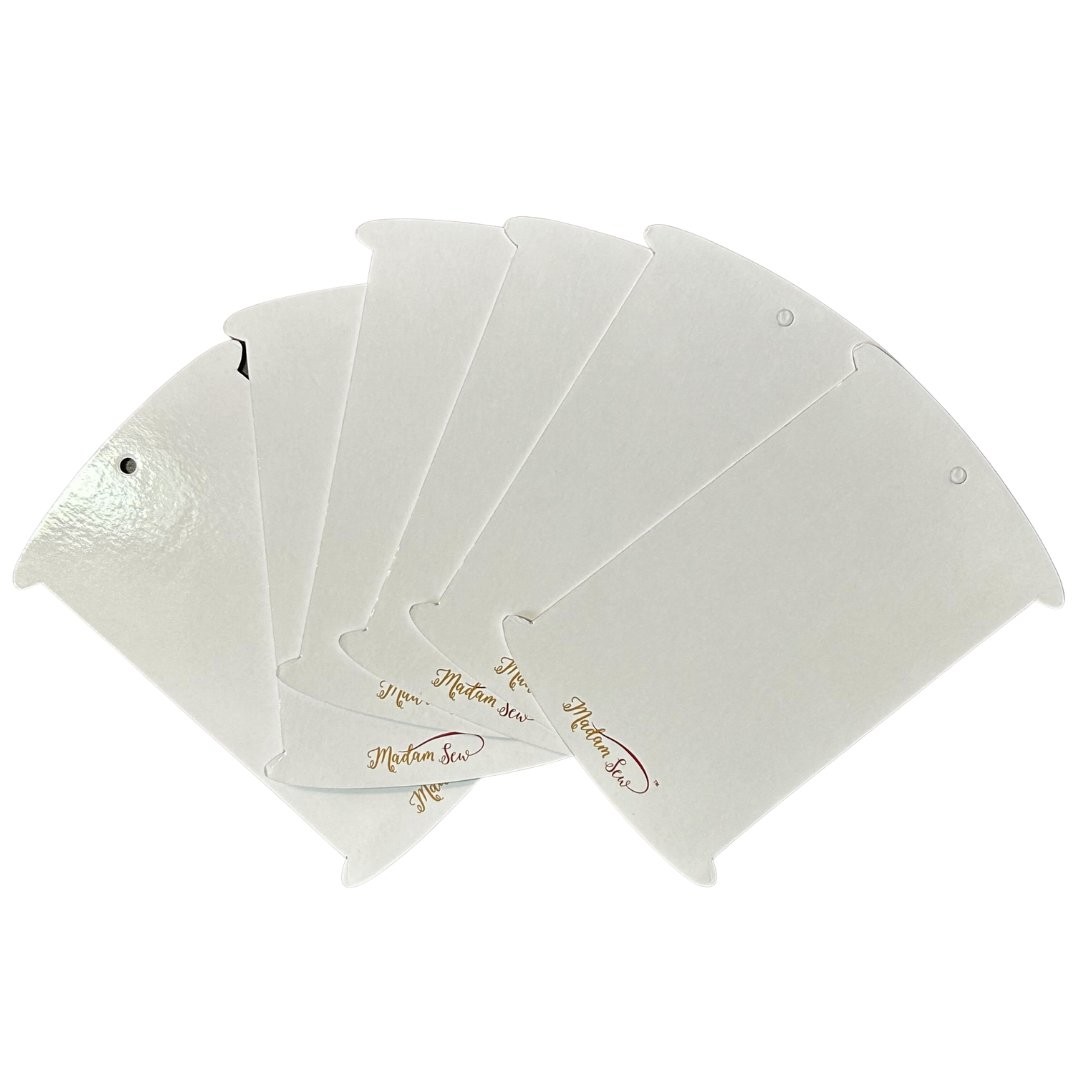
6 Bias Tape Bobbins
1 Awl
Why Make Your Own Bias Tape or Binding?
If you’ve gone to the store, you’ll find that you are limited to solid colors and that none of them are 100% cotton. So, if you want custom bias tape or binding that matches your project or if you want it in 100% cotton, then making your own is the way to go. On top of that, it is surprisingly easy to make bias tape yourself, especially with a bias tape maker. And you'll save some money as a strip of fabric that you probably already have is less expensive than buying ready-made bias tape.
How to Use the Bias Tape Makers to Make
Your Own Bias Tape or Binding
Step 1: Make Fabric Strips
Cut your fabric so that it is a big square.
Fold your fabric in half diagonally, and cut in the fold so that you get two (2) big triangles. You are cutting at a 45° angle.
Take your rotary cutter, ruler, and mat, and start cutting strips --- cut right through the two (2) triangles
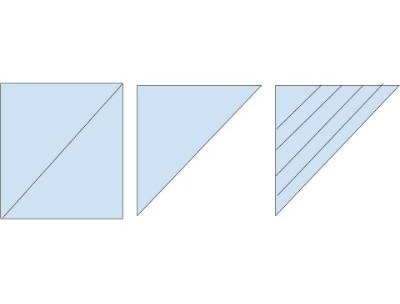
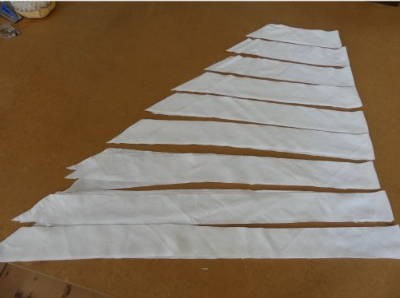
It’s important to cut the fabric on the bias, rather than parallel to the fabric. The bias is the diagonal line of your fabric. If you cut it like this, your bias tape will have stretch. It will be easier to use around curves, it will stay flat, and it won’t pucker. For some projects, however, you will need to cut straight-grain strips, without stretch.
How wide to cut the strips depends on the bias tape you need. See table below for more details.

The first strips of your triangle shape will be the longest. Stop cutting when the strips become too short or you will have to make many seams.
When you cut the strips from the triangles, the ends of your strips will automatically have a 45° angle. This is important for sewing several strips together, and it’s also easier to pull the strips through the bias tape maker.
Step 2: Sew the Strips Together
Put your strips in a 90° angle, right sides together. Let each strip overhang the other about a 1/4”. This is necessary because we’re sewing them with a quarter of an inch seam allowance.
Sew on the red line.
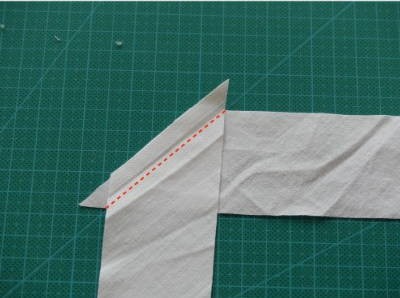
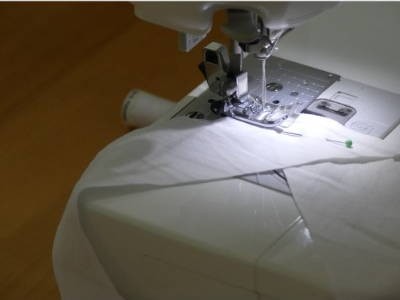
Cut that little overhang of fabric right off and press the seam open.
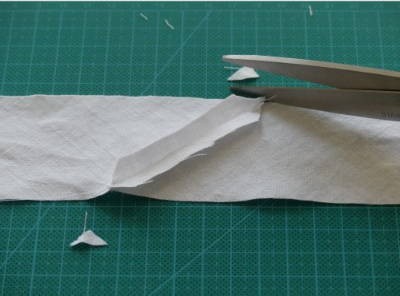
Now we have a nice strip of fabric. Just continue like this with the rest of your strips until you have the length you need.
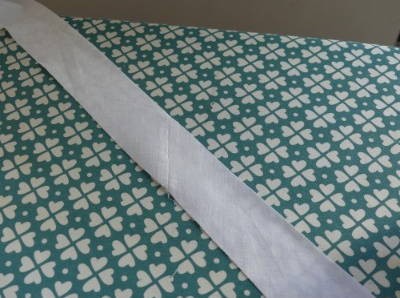
Step 3: Iron the Strips with the Bias Tape Maker
Take the bias tape maker that you need, depending on the width of your bias tape. You can use the table in Step 1.
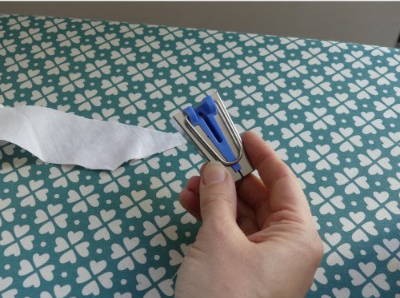
Put the point of the strip into the wide end of the tape maker. You can use an awl to push the fabric trough if necessary.
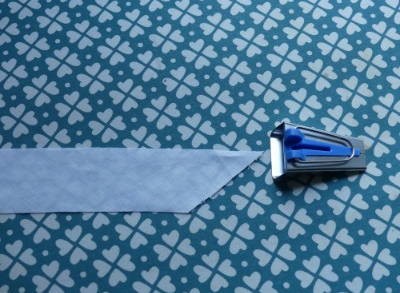
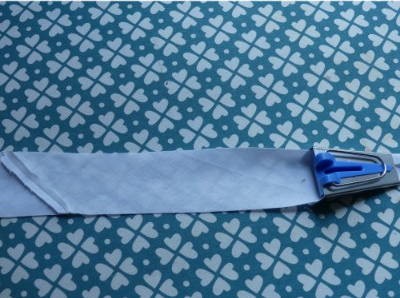
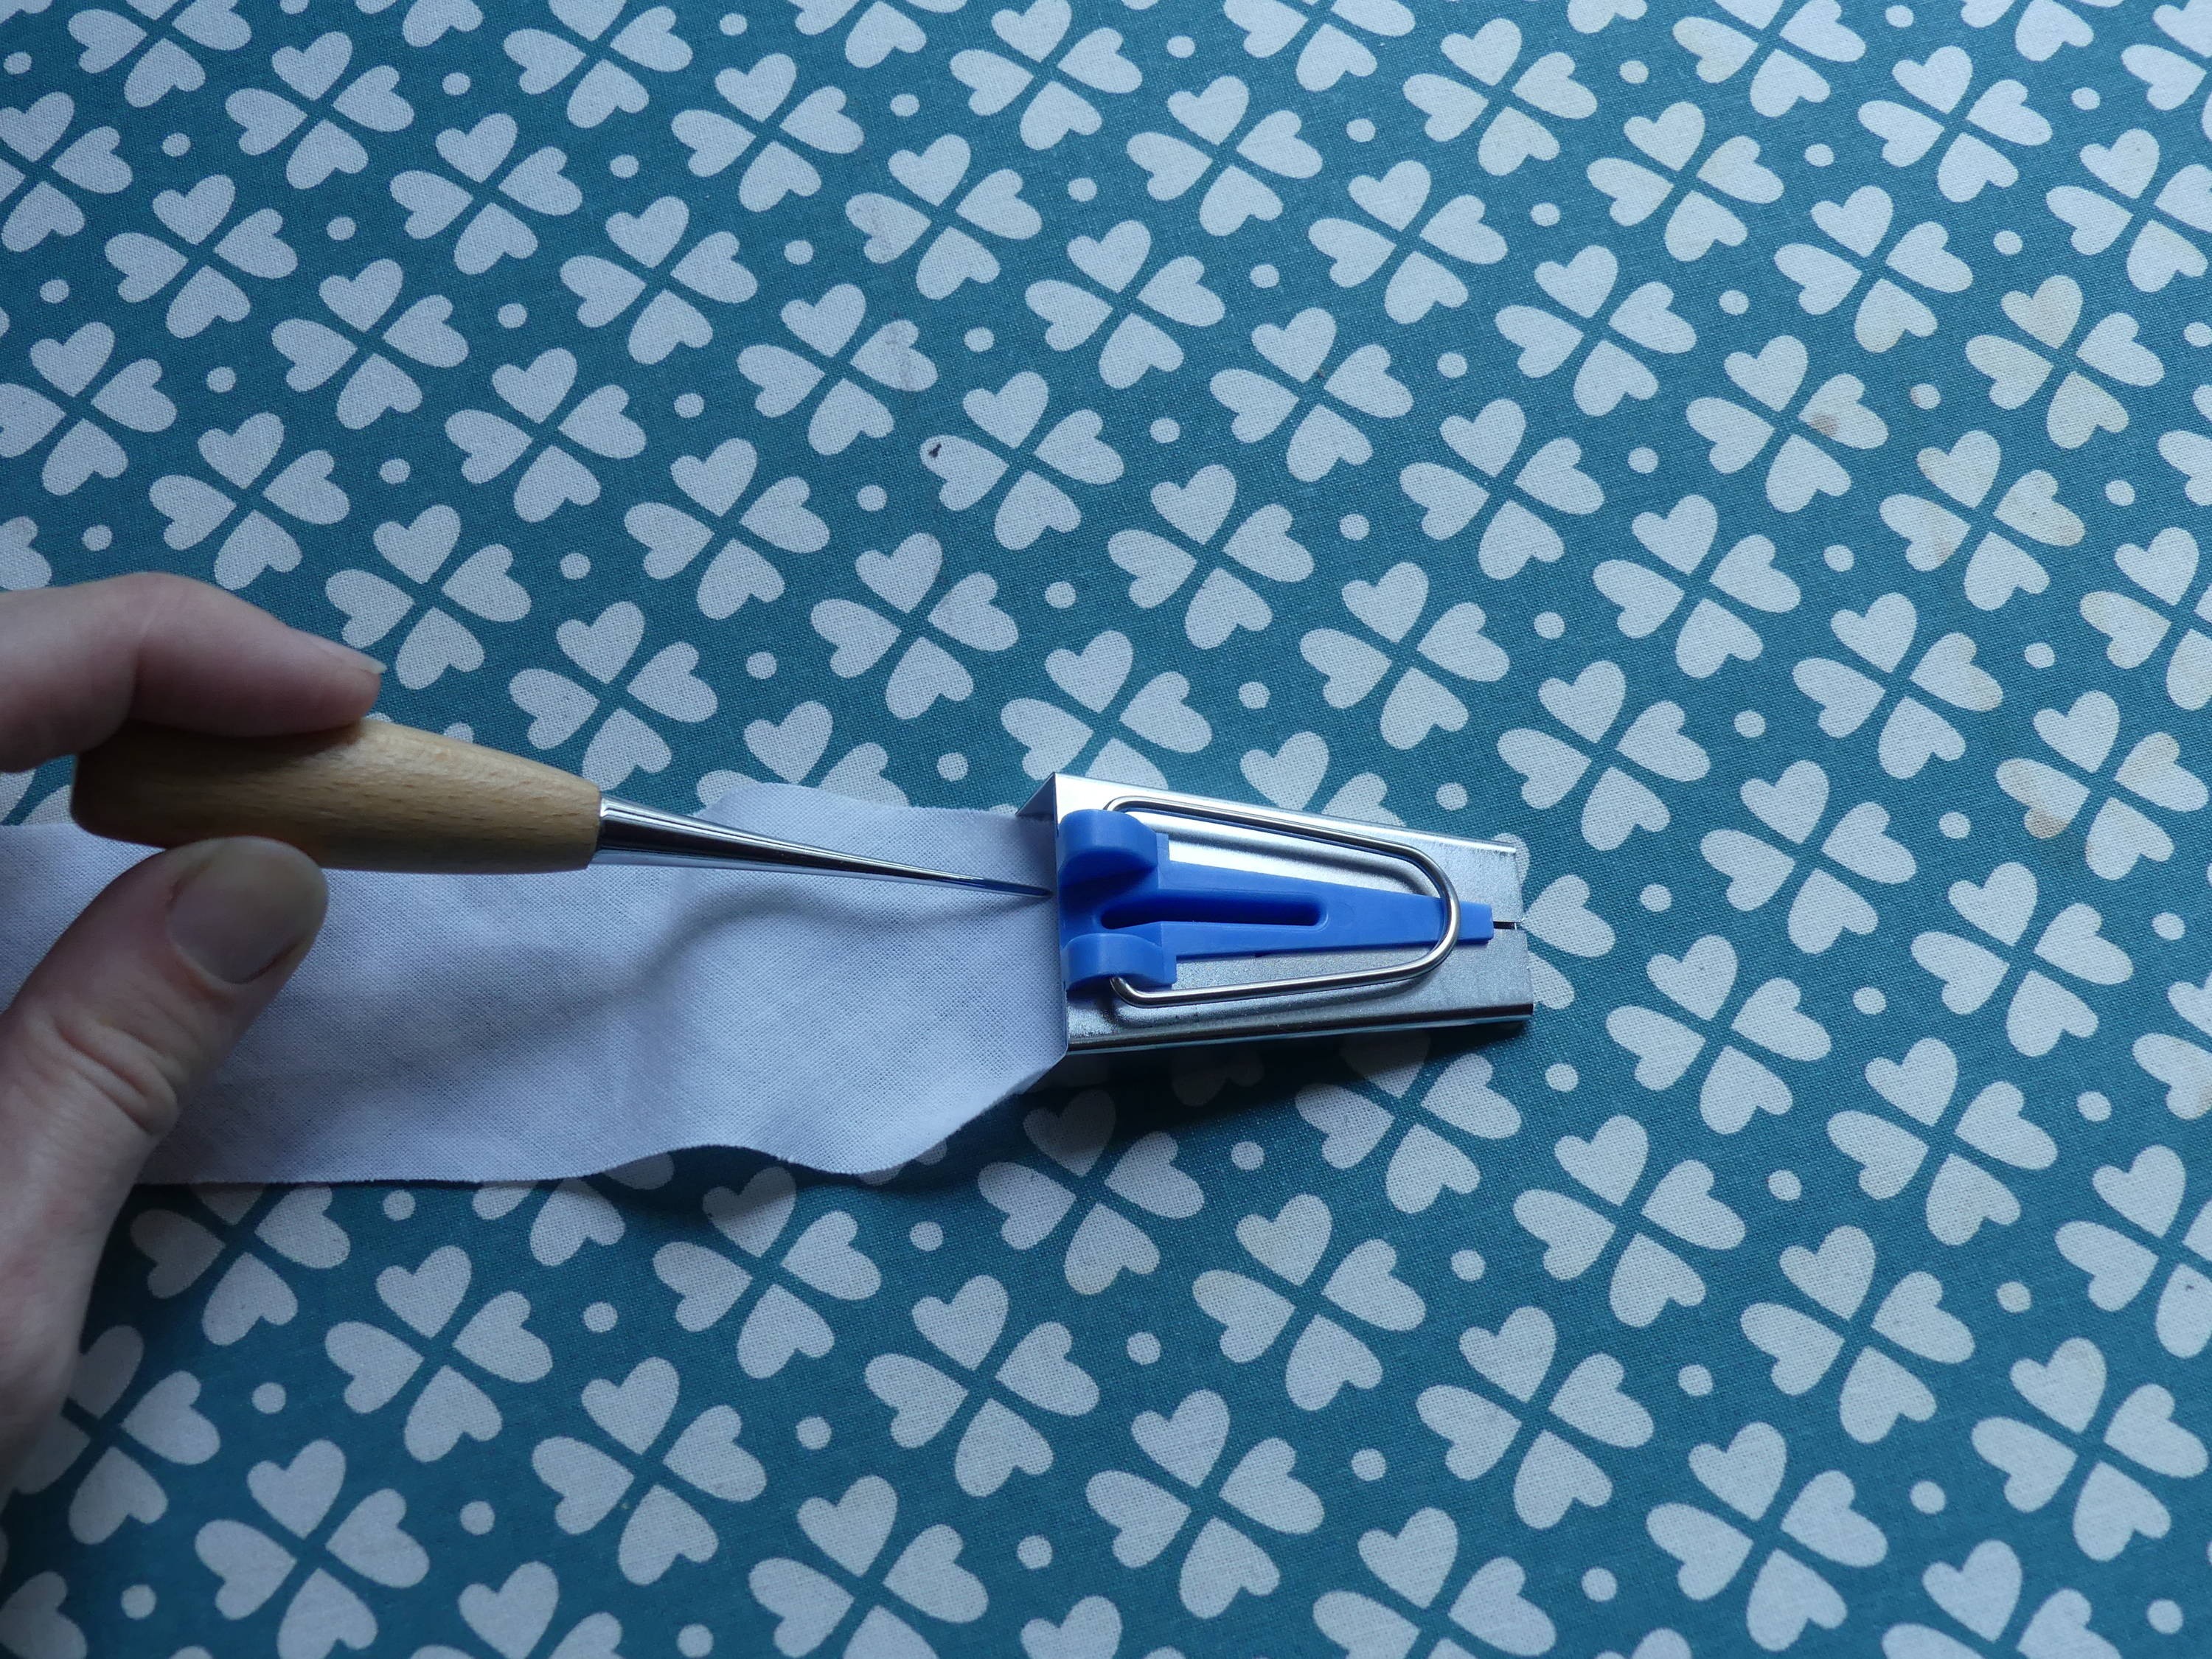
Pin the end of the strip to your iron board using one of the enclosed long flower pins.
Do this instead of a regular pin as shown in the picture below.
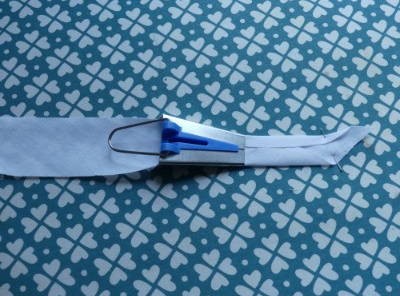
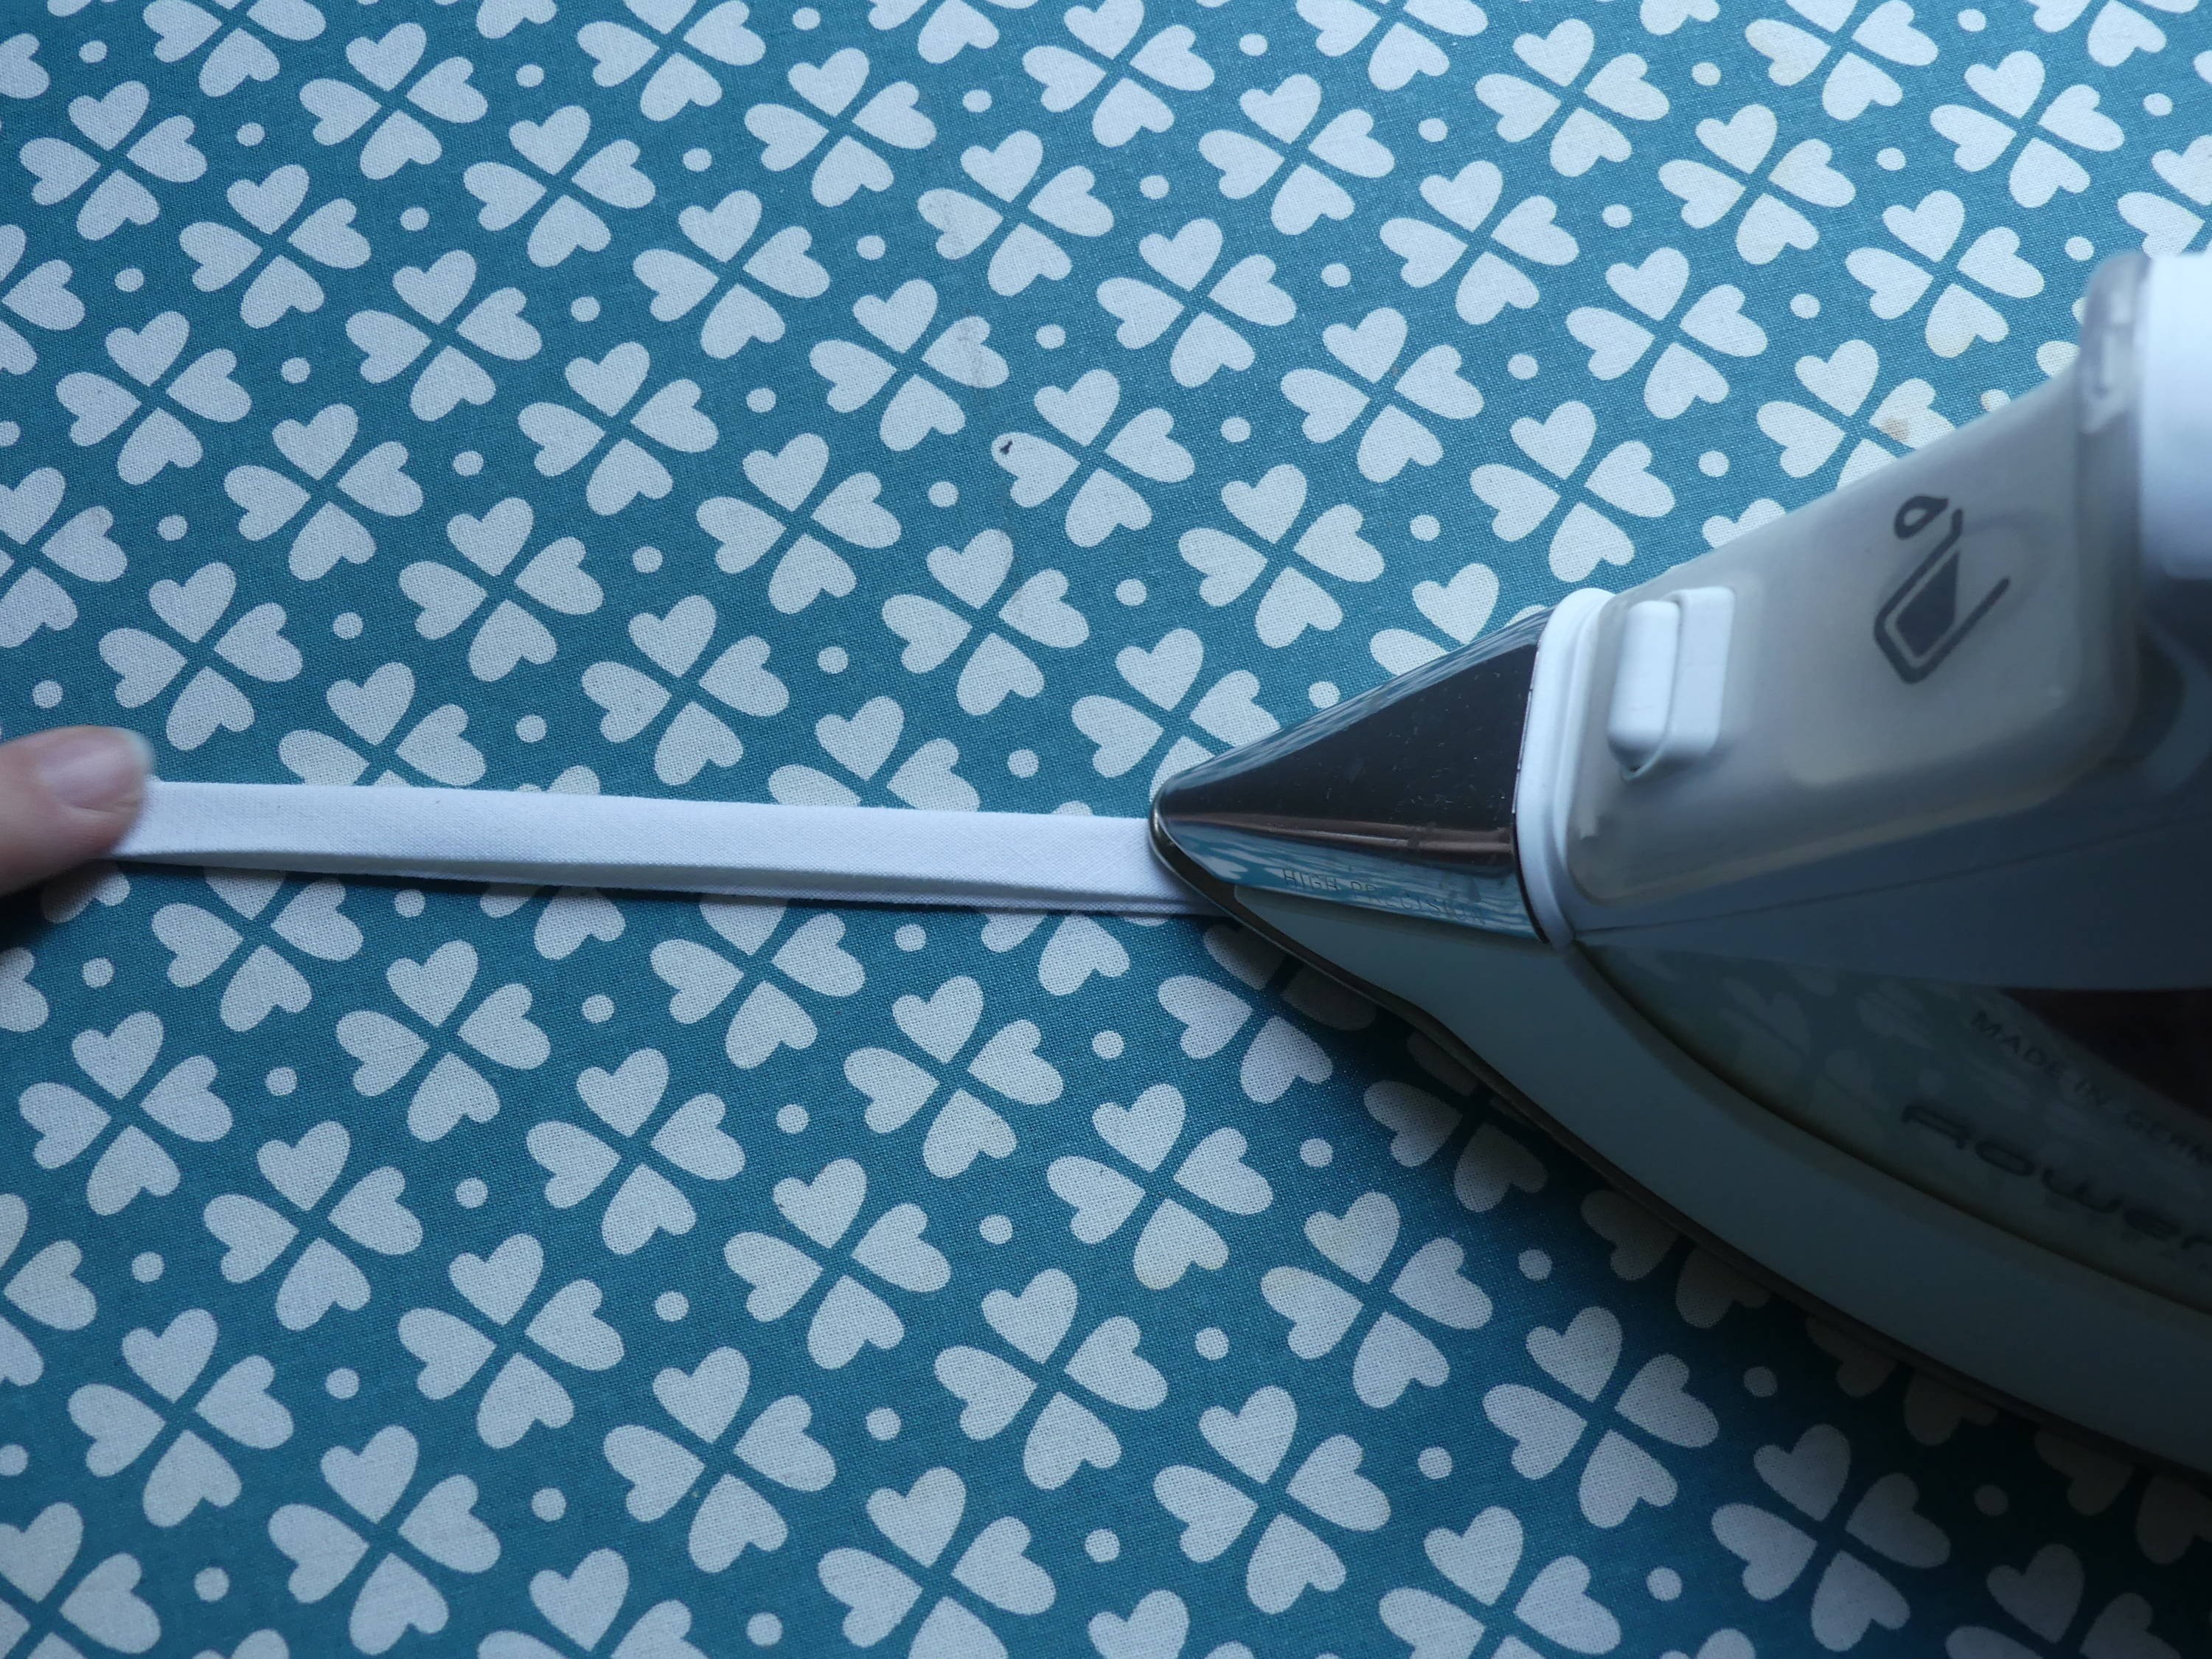
Pull the tape maker and press the folds with your hot iron. Keep your iron close to the tape maker, and just continue ironing.
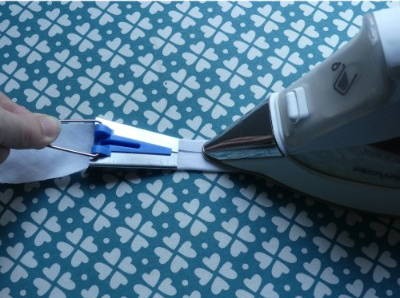
When you come to a seam, just pull and iron.
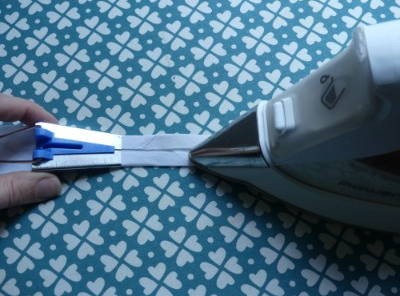
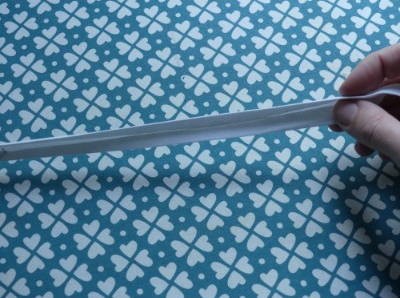
Now you have a single fold bias tape!
Step 4 (Optional): Make Double Fold Bias Tape
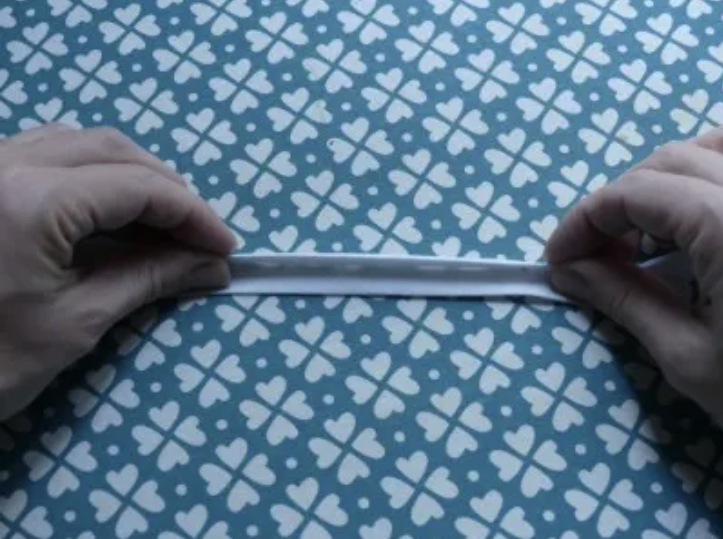
If you want to make a double folded bias tape, fold the bias tape in half and press with your hot iron.
Storing Your Bias Tape or Binding is Easy!
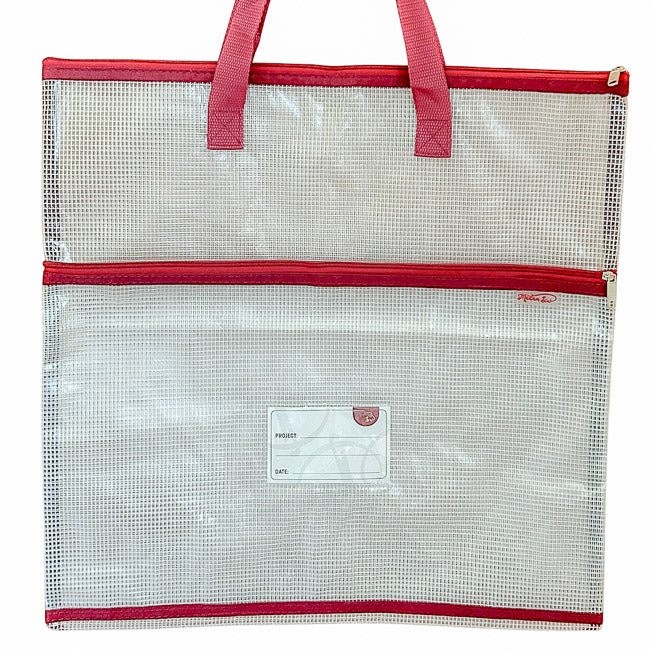
To keep your bias tape or binding organized, wrap it around the included Bias Tape Bobbins. Use one of the Long Flower Pins to secure it in place. Easily store on a shelf, in a drawer or even in a Project Bag until you need your bias tape or binding.
How to Attach Bias Tape or Binding
to Your Project
Use your preferred method of attaching the bias tape or binding to your project.
This set includes both XL Clips and Small Clips plus Long Flower Pins so you can secure the bias tape or binding in place while you work.
If you are unsure how to do this step or want more information about bias tape or binding, we have a few video tutorials available to help you out. Just click on the name of the tutorial to see it.
How to Bind a Quilt Using an Edge-joining Foot
Beginning Quilting - Finishing with binding
Three Binding Hacks in a Free Table Runner Project
How to use an Adjustable Bias Binder Foot
Want or Need More of the Items in This Set?
Like using the Long Flower Pins? Or perhaps you found the XL Clips or the Small Clips to your liking and you want more. Just visit our shop by clicking on the links above.
And, if you like how easy it is to store your Bias Tape or Binding on the Bias Tape Bobbins, you can get more of those too! Plus, these are great for storing embellishments like ribbons, lace and more!


