The Beginner Sewing Machine Setup Kit


The Beginner Sewing Machine Setup Kit
"I bought this for myself when I started sewing last year and I genuinely don't know how people sew without these. The light is incredible — I didn't realise how dark my machine was until I put it on. The needle threader means I can actually thread the needle without reading glasses. And the seam guide ruler taught me what a seam allowance really means in about two minutes. Perfect starter set."
- Helen R., Madam Sew Verified Customer
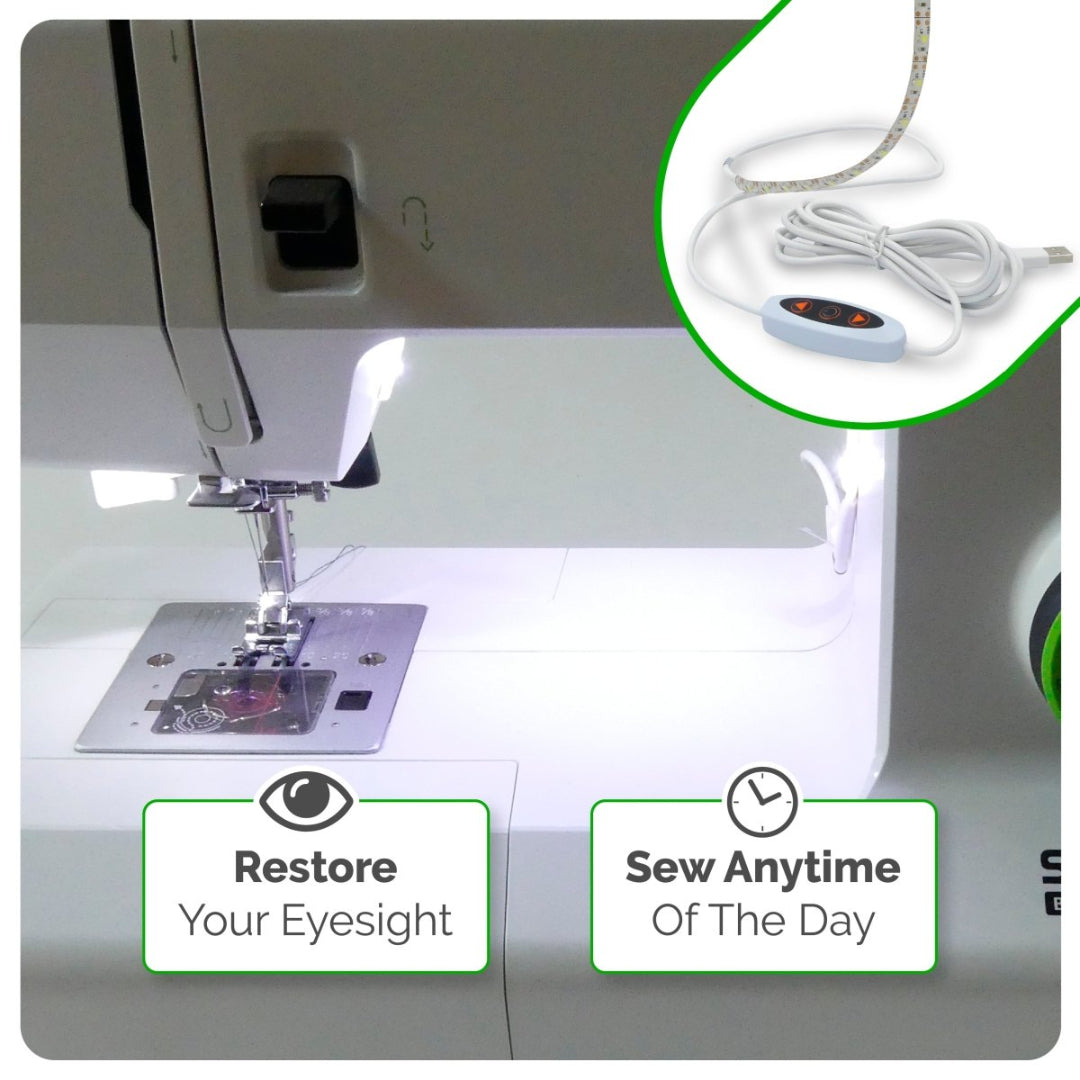
24-LED dimmable light strip adds bright, adjustable illumination directly at the needle — eliminating the most common visibility frustration for new sewists
Needle Threader & Inserter threads any size 70/11+ needle in one motion — no squinting, no failed attempts, no putting the machine away in frustration
Seam Guide Ruler shows you visually exactly where each seam allowance falls — Magnetic Seam Guide locks it for every seam in your session, making consistency effortless from day one
Light It. Thread It. Sew It Straight — From Your Very First Stitch.
Couldn't load pickup availability
"I bought this for myself when I started sewing last year and I genuinely don't know how people sew without these. The light is incredible — I didn't realise how dark my machine was until I put it on. The needle threader means I can actually thread the needle without reading glasses. And the seam guide ruler taught me what a seam allowance really means in about two minutes. Perfect starter set."
- Helen R., Madam Sew Verified Customer
Fast shipping from USA

60 days Money back guarantee

Premium Quality - 11k+ 5 stars review
Before you sew a single stitch on a new machine, three things need to be right: you need to see what you're doing, you need your needle threaded without frustration, and you need to know exactly where your seam allowance is. This beginner starter kit solves all three.
The Sewing Machine LED Light Strip sticks directly to the underside of your machine's arm and floods your needle area with even, adjustable LED light — eliminating the single most common frustration for new sewists: not being able to see clearly what's happening under the presser foot. The Needle Threader & Inserter puts the thread through the eye in one motion and holds the needle while you insert it into the machine, so you never struggle with either task again. And the Seam Guide Ruler with Magnetic Seam Guide teaches you — visually and practically — exactly what a seam allowance is, where to position your needle, and how to keep every seam consistent from that point forward.
Three tools. The first three things to set up when you sit down at a new machine.
Why You'll Love It
- See Your Machine Clearly, Finally — Most entry-level sewing machines have inadequate built-in lighting. The 24-LED dimmable strip light adds bright, shadow-free illumination directly where you need it — at the needle. Adhesive-backed and resizable, it installs in minutes and transforms what you can see at your machine.
- Thread Your Needle in Three Seconds, Every Time — The Needle Threader & Inserter uses a small pin to push the thread through the needle eye from above — no squinting, no licking the thread end, no threading failures. The opposite end holds the needle itself for hands-free insertion into the machine.
- Learn What Seam Allowances Actually Mean — Practically — The Seam Guide Ruler's 16 holes show you, in the most direct way possible, exactly where your needle sits for every common seam allowance from ⅛" to 2". Once you see it, you understand seam allowances in a way no diagram can teach. The Magnetic Seam Guide then holds that position for every seam in your session.
- Three Tools That Solve Three Everyday Beginner Frustrations — Can't see the needle clearly (LED light). Can't thread the needle easily (needle threader). Can't keep seams consistent (seam guide ruler). This bundle was built around the three most common reasons new sewists get frustrated and put the machine away.
- All Three Are Permanently Useful — Not Just for Beginners — The LED strip, needle threader, and seam guide ruler are tools that experienced sewists use every day. You won't outgrow any of them — they'll be at your machine for as long as you sew.
1. Seam Guide Ruler + Magnetic Seam Guide
- Ruler: 5½"×2½", fluorescent yellow-green acrylic, 16 holes (⅛"–2"), ¼" pivot cross, 45° trim line
- Magnetic Guide: Steel ~½"×2"; attaches to metal needle plate; requires 1.5" flat metal surface; safe for computerised machines
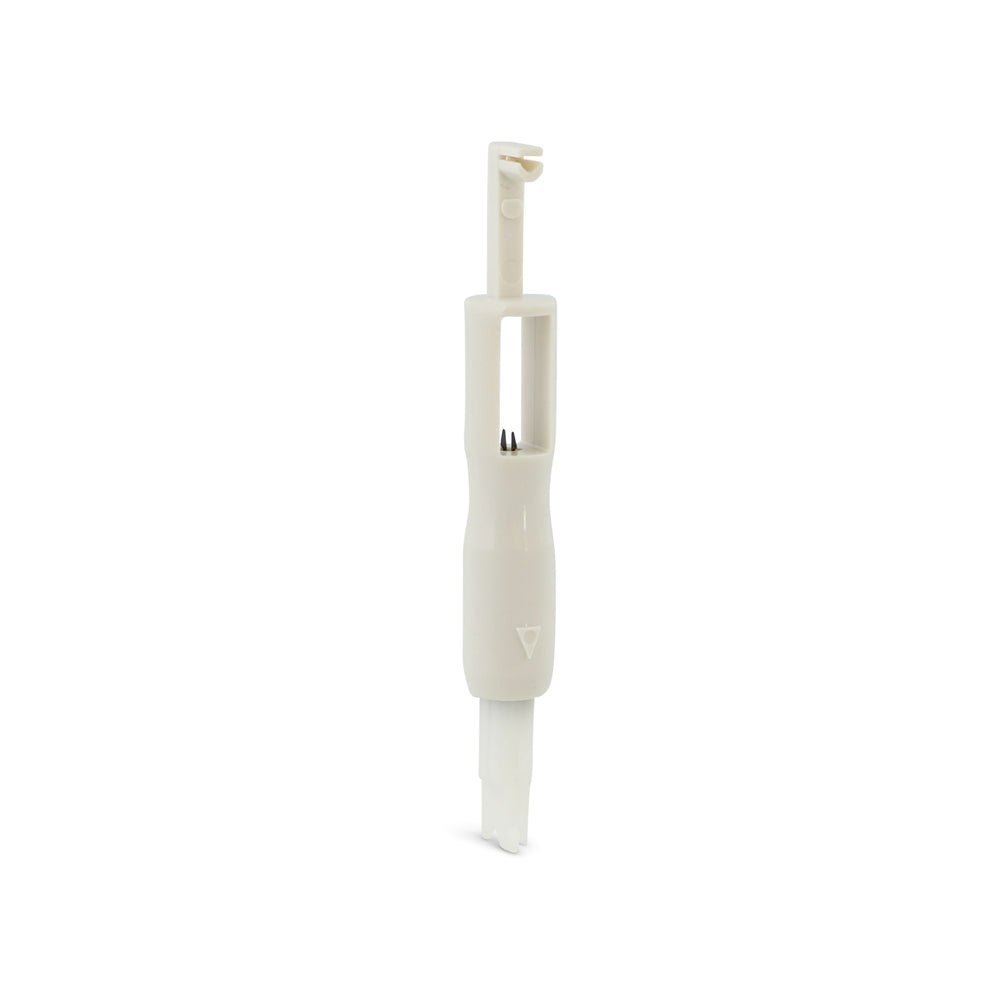
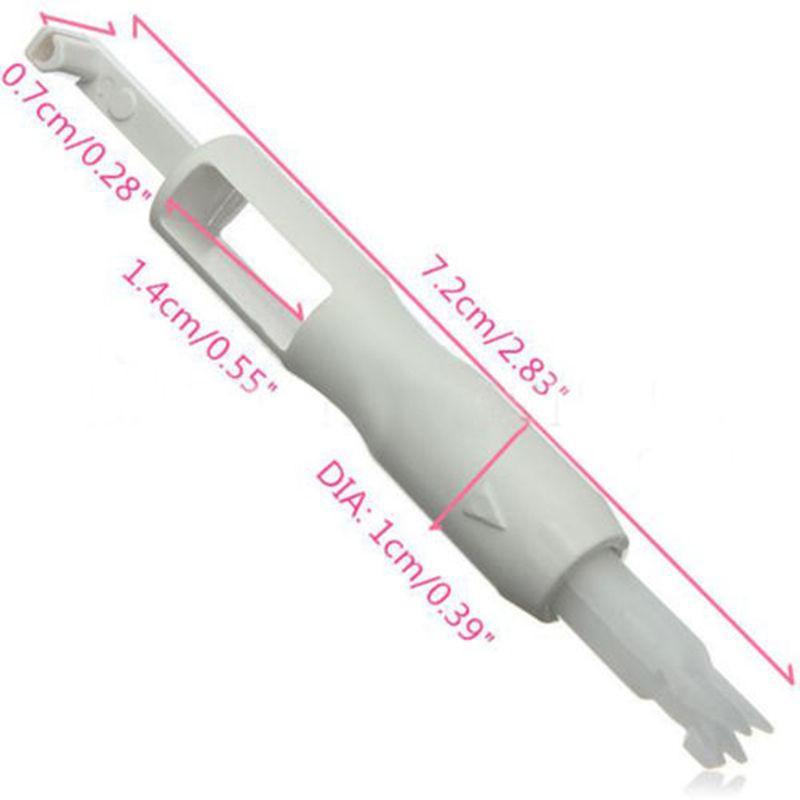
2. Needle Inserter & Threader
- Size: 3" long; 0.18 oz
- Functions: Two-in-one — threads needle eye in one motion; holds needle for hands-free machine insertion
- Compatibility: Sewing machine needles size 70/11 and larger; also works with serger/overlock machine needles
- Instructions: Clear instructions included; online manual available at madamsew.com
3. Sewing Machine LED Light Strip
- Dimensions: 12" long × 5/16" wide; resizable
- LEDs: 24 individual LEDs; dimmable
- Attachment: Self-adhesive backing; 5 mounting clips included; 4 cord organisers included
- Power: 98" (approx. 8 ft) USB cord + USB adapter included
- Features: USB-powered; dimmable from full brightness to low; resizable by cutting; mounts under machine arm above needle area
- Use: Illuminates needle, presser foot area, and fabric for sewing and quilting; eliminates shadows from machine housing or room lighting
- Install the LED light strip first — before your first session. Measure and cut the strip to fit the underside of your machine's arm if needed. Peel the adhesive backing and press firmly into position directly above the needle area. Clip the USB cord along the machine frame using the included cord clips. Plug into any USB port or the included adapter. Dim or brighten using the controller.
- Thread your machine, then use the Needle Threader for the final step. Once the thread is through the machine's path and through the last guide above the needle, hold the thread end against the threader's slit (left to right). Slide the threader down the needle until the small internal pin pushes the thread through the eye. Pull through and you're threaded.
- To change needles: use the Inserter end. Place the new needle into the small recess at the opposite end of the tool. The needle is held firmly while you position it in the machine's needle clamp without touching the shaft. Tighten the clamp screw and you're done.
- Set your seam allowance with the Seam Guide Ruler. Before sewing, place the ruler on the needle plate under the lowered presser foot. Lower the needle into the hole for your required allowance — ¼" for most quilting, ⅝" for most garments. Position the Magnetic Seam Guide flush against the right edge of the ruler, then lift the ruler away. The guide stays in place.
- Sew your first seam. Guide your fabric's raw edge against the Magnetic Seam Guide as you feed it through. The machine will sew every seam at exactly the width you set. To check while sewing, glance at the guide — the fabric edge should stay consistently against it.
- Use the LED light to check your work. The illuminated needle area makes it easy to see thread tension, needle position, and fabric alignment during sewing — especially useful when starting out. Dim the light as needed to reduce glare on reflective fabrics.
When Will I Receive My Order?
- You should receive your order within 2-5 business days after your package ships. We make every effort to ship orders, first in first out, contingent on product availability, as fast as possible.
- For international orders, Your order ships from our international warehouse and will be delivered within 2-5 weeks. We mostly succeed to stay well under that upper limit though.
Do You Offer Refunds?
- Of course! All Madam Sew products come with a 60 Day Money Back Guarantee, we stride to provide our customers with the best customer service possible. If you want to request a refund, please email our customer service email for help.
How Can I Contact You?
- Our customer service email is hello@madamsew.com or you can call us at 1-844-284-5336.