PART 4: Quilting vs. Sewing Clothes: The Ironing Setup and Pressing Tools
Pressing Tools for Quilting and Sewing Clothes: Same Iron, Very Different Tables
Your iron is your best friend if you want accurate results when sewing or quilting. If you didn’t know, you know now. Both quilters and garment sewists would agree, but if you look at their pressing stations side by side, you can find different setups. Same basic tool, a hot iron, but surrounded by different accessories, used in different ways, and even sitting in a different place in the room.
This is Part 4 of our series comparing the quilting and garment sewing toolkit. In this post we look at the pressing and ironing setup each craft actually needs, from the surface you press on to the tools that shape, flatten, and set your work. Browse through our pressing tools collection if you are looking for a specific sewing and/or quilting tool.
Missed the earlier parts of this blog? Catch up here: Cutting tools, Measuring & Marking Tools], The Sewing Machine.
Pressing vs. Ironing: The Difference That Matters
Before we get into tools, you need to know that pressing and ironing are two different techniques and the distinction matters in both quilting and garment sewing.
Ironing is the familiar back-and-forth motion you use to smooth a piece of clothing. You move the iron across the fabric to push wrinkles out. Pressing is different: you lift the iron, place it down on the fabric, apply pressure, and lift it again. No side-to-side movement. In sewing and quilting, pressing is almost always the right technique. Moving the iron sideways across pieced or cut fabric risks stretching it, distorting the grain, and shifting the shape of something you have worked hard to make accurate. A well-pressed seam, done with a straight up-and-down motion, sets the stitches, flattens the fabric, and makes the next step of your project easier. It is one of those habits that separates results that look finished and more professional from results that look “homemade” (in the best possible sense of the word).
Over the years we’ve published different blogs about pressing mainly for quilting, if you want to know more about the technique. There is Carol’s blog about pressing principles for quilting and Ana’s blog about pressing basics.
The Quilting Side
The Iron
For quilting, a good steam iron is fundamental. That said, many quilters actually prefer to use a dry iron for piecing, relying on a water spray bottle for moisture when needed. Steam applied directly from the iron can stretch bias edges and distort blocks, particularly when you are pressing half-square triangles, flying geese, or any unit that has diagonal cuts. A dry iron with a spritz of water when needed gives you more control. For the quilting phase (when you are pressing the finished quilt top before sandwiching) steam is more useful.
Weight matters in an iron for quilting. A heavier iron applies more pressure with less effort, which is what you want when you're pressing dozens of seams flat in a session. Look for an iron with a smooth, non-stick soleplate that glides easily and heats up quickly. A precise temperature control is also useful because quilting cotton tolerates high heat well, but if you occasionally press specialty fabrics, you need to be able to dial it back.
A mini iron is a tool many quilters keep at the sewing machine alongside their main iron. It is small, heats up quickly, and is perfect for pressing individual seams immediately after sewing without having to walk to a separate ironing station every time. For paper piecing, appliqué, and small blocks, a mini iron is more precise and easier to handle than a full-size iron. It does not replace the main iron, but it keeps the rhythm of cut-sew-press flowing without constantly getting up and down.
The Pressing Surface
Most people own an ironing board, and it remains the go-to surface for pressing larger pieces, full quilt tops, and any fabric that needs a long flat run. A good ironing board cover matters more than the board itself. The cover should be thick, well-padded cover with a smooth, heat-reflective surface. Its quality makes a difference in how crisply seams press out. If yours is old, thin, or has developed that slightly bumpy texture from years of use, replacing the cover is a small investment that improves every pressing result immediately. For quilters, a board with a sturdy, stable surface is more useful than a wobbly lightweight one, since you are often pressing with firm downward pressure rather than a light gliding motion.
The wool pressing mat has become one of the most talked-about tools in quilting in recent years, and for good reason. A wool pressing mat is a dense, thick pad of compressed wool (typically around half an inch thick) that you place on your work table or ironing board. Because wool is naturally heat-resistant and absorbs and reflects heat, pressing fabric on a wool mat effectively presses from both the top and the bottom at the same time. The result is a flatter, crispier seam in less time. The surface of the mat also grips your fabric lightly, which prevents blocks from shifting or stretching as you press them. This is especially interesting when you are working with bias edges.
The practical advantage is that a wool pressing mat can sit right next to your sewing machine if you want. You sew a seam, press it immediately on the mat, and sew the next one, all without leaving your sewing station. For a craft that involves pressing dozens or even hundreds of seams in a session, that matters.
One note: use a dry iron on a wool mat, or use steam only sparingly. Wet wool has a distinctive smell that most sewists would rather avoid. A spritz bottle gives you moisture control without soaking the mat.
For pressing larger pieces, a full-size ironing board is still useful, but many quilters are happy with a table-top pressing surface combined with their wool mat for most of the work.
Non-Electric Pressing Tools
We talked about an iron, but there are also other tools that can press fabric. They are not substitutes for an iron in most situations, but can be used for fabrics that cannot take heat, or for quick presses in between or for pressing in tight spaces. I dedicated a specific blog to these non-electric pressing tools.
A seam roller is one of them. It is a small roller, preferably wood, that lets you press seams flat by rolling over them with hand pressure. It is also a favourite on the go, at retreats for example, to avoid fighting over one communal iron.
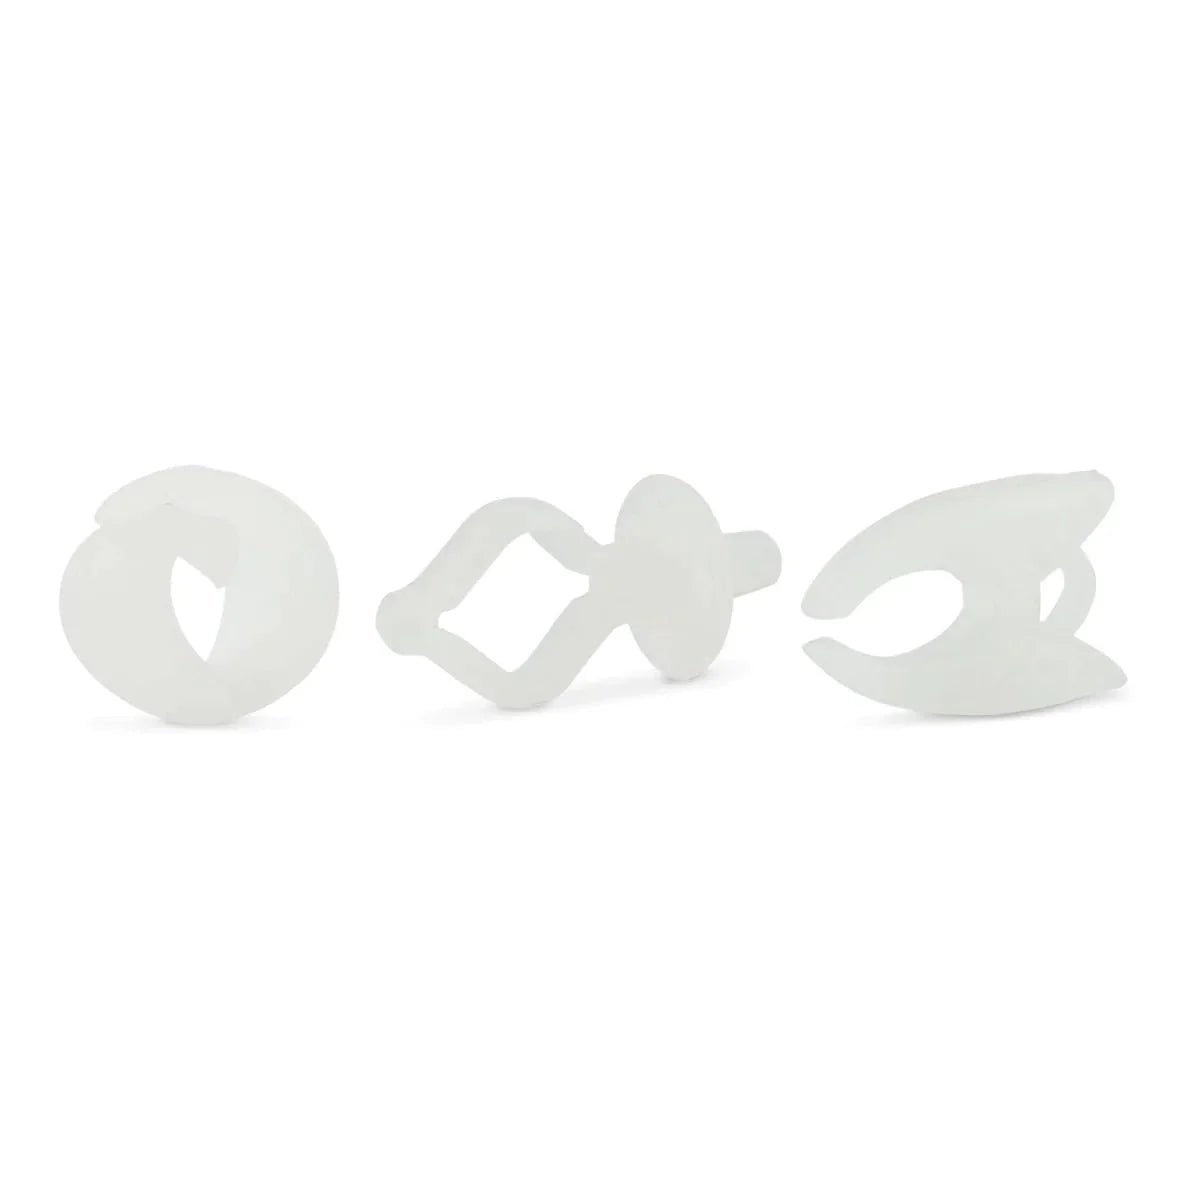
A finger presser can also be used for a quick cold in-between press, to press open seams, binding edges or folding over hems. Quilters use it for foundation paper piecing and to flatten small fiddly seam intersections. With this tool, you avoid grease or dirt from your finger transferring to the fabric which can happen if you are using your own finger to press.
A tailor's clapper is a smooth block of hardwood. This tool is an accessory to your hot iron. After pressing a seam with steam, you place the clapper on top and hold it there for several seconds. The wood absorbs and traps the steam and heat, pressing the seam to a particularly sharp, flat finish. Quilters who work with heavier fabrics or who want very crisp seam lines reach for it when the iron alone does not do the job.
The Garment Sewing Side
The Iron
Garment sewists need the same qualities from an iron as quilters: good heat, a smooth soleplate, responsive temperature control. But sewers lean more heavily on steam than quilters. Steam is what allows you to ease a sleeve cap, shape a dart, and work fabric into a curved seam without distorting it. The ability to control steam is more important in garment sewing than in quilting.
Some garment sewists also keep a mini iron for detail work around collars, cuffs, and small seam allowances in tight areas.
The Pressing Surface
A good large and stable ironing board is more central to garment sewing than to quilting. Garment sewists press longer seams, hems, and full garment pieces that need a proper flat surface to lie on. The cover of your ironing board matters more than most people think. A thick, well-padded cover with a smooth surface makes a noticeable difference in how seams press out.
Besides an ironing board, sewists can rely on a whole set of specialty pressing surfaces to handle the wide variety of seams and hems in clothing.
The tailor's ham has almost no equivalent in quilting. It is a firm, densely stuffed cushion shaped roughly like a ham, covered in cotton on one side and wool on the other. The curved shape allows you to press curved seams (darts, princess seams, sleeve caps, hip curves). Pressing a curved seam on a flat surface creates wrinkles. The ham gives the seam somewhere to curve to. The cotton side is for high-heat fabrics, the wool side for lower temperatures and
The sleeve roll (also called a seam roll) is a long, firmly stuffed tubular cushion. It is constructed the same way as a tailor’s ham but the shape is different. It slides inside a sleeve or trouser leg and lets you press the seam inside without creating a crease line on the other side of the tube. Because it is narrow and rounded, only the seam itself contacts the iron, which prevents the seam allowance from leaving an impression on the right side of the fabric. It does a similar job to the ham but for long, narrow tubular areas.
The sleeve board is a small, narrow ironing board, like a miniature version of the full-size board. You use it on top of your regular ironing board. It allows you to slip a sleeve over it and press it from all sides without flattening it. Not every garment sewist owns one, but it definitely helps when you sewing shirts or tailored jackets.
The tailor's clapper earns its place on the garment sewing table just as much as on the quilting table, if not more. Heavy fabrics like wool, denim, and canvas respond beautifully to the clapper after steam pressing, and sharp collar points, lapel edges, and pocket openings all benefit from the extra pressure it delivers.
The point presser is a narrow wooden tool with a pointed tip. It is designed specifically for pressing open seams in tight corners (collar points, cuff corners, the tips of a pointed hem). You slide the corner of the garment over the point, which holds the seam open from the inside so you can press it flat without the seam allowance folding back on itself. It usually has a clapper surface on the base as well, making it a two-in-one tool.
A pressing cloth is a simple piece of cotton or muslin fabric placed between the iron and the garment fabric. It protects delicate fabrics from direct heat, prevents shiny marks on wool and silk, and is especially useful when pressing on the right side of a garment. You can use a piece of fabric but there are also cloths in specific materials on the market: mesh pressing cloths or non stick pressing sheets made of material that is also used for reusable baking sheets.
Where They Overlap
Both quilters and garment sewists press seams as they go. This is not optional in either craft. It is one of those habits that has a direct, visible impact on the quality of the finished project. When sewing or quilting your iron lives next to your sewing machine (or at least in the same room), not in a cupboard.
The tailor's clapper is a classic tailoring tool that is finding a new generation of fans. Quilters working with heavier fabrics are discovering it, and garment sewists who love crisp seams and precise results swear by it. The best tools never really go out of style.
The seam roller and finger presser both earn their place on either side of the craft table. Any situation where an iron is overkill, inconvenient, or potentially damaging (heat-sensitive fabrics, tiny seam intersections, pressing at a retreat) calls for a non-electric solution.
A water spray bottle is universal. Both quilters and garment sewists keep one at the pressing station for controlled moisture without having to trust the steam function of the iron.
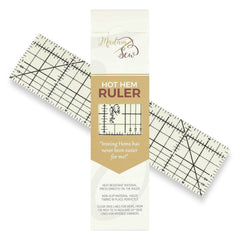
The hot hem ruler is another tool that earns its place on both sides. It is a heat-resistant ruler you lay on your fabric, fold the hem over it, and press directly on top. The ruler acts as a guide so your hem folds to a perfectly consistent depth every time. Garment sewists use it constantly for trousers, skirts, and sleeve hems. Quilters reach for it when pressing binding, borders, or any edge that needs a crisp, even fold. It works with any iron and sits flat on the pressing surface, making it one of those small tools that quietly saves a surprising amount of time.
Press before you cut, press after every seam, and never skip the pressing step! The iron is not the last step. It is part of every step.
Conclusion
Both crafts press. Both crafts depend on it. But the tools around the iron can look different depending on what you make. Quilting keeps the pressing station close to the machine (a wool mat, a mini iron) all within arm's reach. Garment sewing builds out into three dimensions with curves, tubes, corners, and collar points, these all need tools that match the shape you are pressing into.
The good news is that the crossover tools (the clapper, the seam roller, the finger presser, the pressing cloth, a spray bottle) are the ones that tend to get the most use regardless of which side of the table you are on. If you are just starting to sew or quilt, start with those, add the discipline-specific tools as your projects grow, and your pressing station will build itself over time.
Up next in Part 5: Fitting and planning tools: design walls versus dress forms, and everything in between. And if you missed earlier parts of this series, catch up here: cutting tools, measuring and marking, and the sewing machine.
Happy sewing and quilting!
An Blogging for MadamSew