How to Hem Pants With Your Sewing Machine
Are you wondering if you should bring your pants to a local seamstress for a quick hem or give them a try yourself? Hemming pants at home is perfectly doable for everyone with a sewing machine and basic sewing skills. Don’t start with a pair of silk pants (or any other slippery or thin stretchy fabric) if you have never done this before but, apart from that, shortening pants is pretty straightforward.
This “topstitched machine hem” is perfect for hemming denim and other medium-weight to thick fabrics. You can use this technique if you are okay with seeing the stitches. If you are working with a more delicate fabric or want a more formal look, you might want to consider using a blind hem. Check out this tutorial about invisible hemming and this blind hem tutorial that we already have on our sewing and quilting blog. Blind hemming is a little more advanced than the sewing technique which I’m explaining here.
In the images and the video, I’m hemming pants for my daughter. They are old pants from her brother and she likes to wear them to the youth organization she goes to on Saturday. They are comfy, warm, and perfect to get dirty. The fabric is a thick soft cotton, a bit flannel-like. At first I thought she could just wear them rolled up, but they unroll and she brings some dirt back home in those folds 🙂. Let’s get to it!
What you Need to Hem Pants the Easy Way
- A temporary fabric marker
-
A ruler or a hot hem ruler
-
Pins
-
A hot iron and ironing board or pressing mat
-
Fabric scissors
-
Sewing thread and needle
-
A sewing machine
To Hem Pants the Easy Way
 Deluxe Seam Ripper with A Large Ergonomic Handle
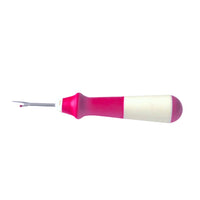
Deluxe Seam Ripper with A Large Ergonomic Handle
 Heat Erasable Fabric Marking Pens - 4 colors/set + refills
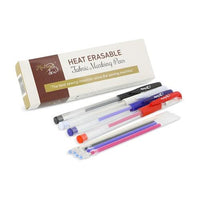
Heat Erasable Fabric Marking Pens - 4 colors/set + refills
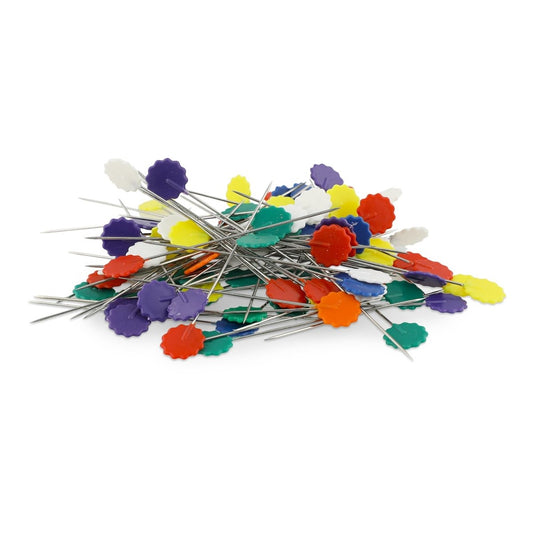 Long Flower Pins - 200 Pin Value Pack - 7 Bright Colors/Box

Long Flower Pins - 200 Pin Value Pack - 7 Bright Colors/Box
 Hot Hem Ruler - More than just a ruler!
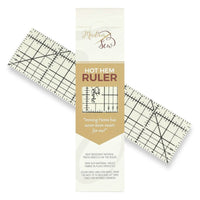
Hot Hem Ruler - More than just a ruler!
To Hem Pants the Easy Way
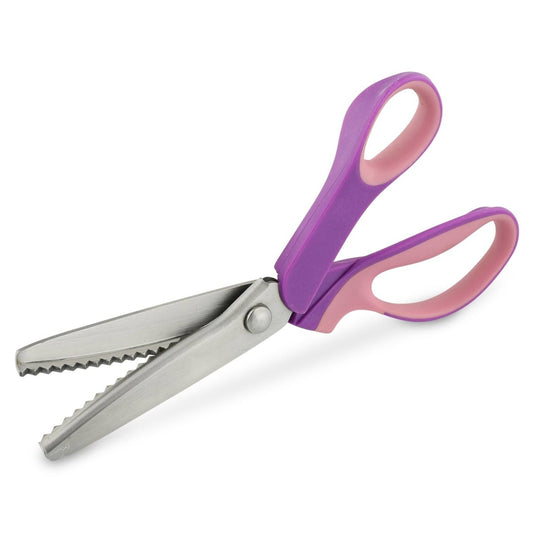 Pinking Shears for Fabric

Pinking Shears for Fabric
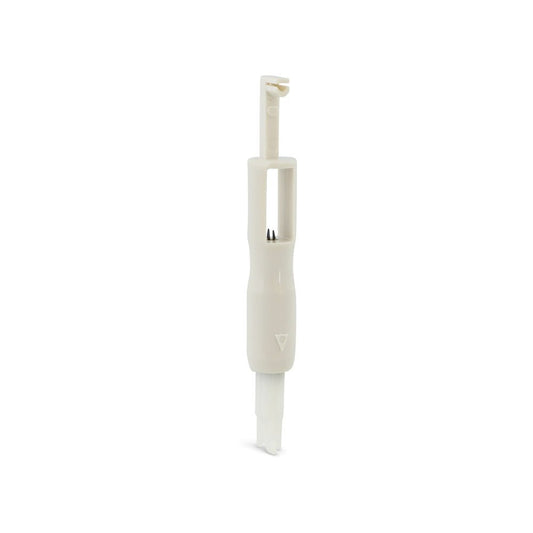 Needle Inserter and Threader for Sewing Machines
Needle Inserter and Threader for Sewing Machines
 Cotton Thread Set - Warm Pinks! For Quilting and Sewing - 8 Spools, 4 Colors,...
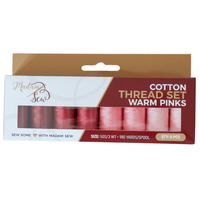
Cotton Thread Set - Warm Pinks! For Quilting and Sewing - 8 Spools, 4 Colors, 180 Yards Each
 Large Wool Pressing Mat for Sewing and Quilting - 17” x 13 ½”

Large Wool Pressing Mat for Sewing and Quilting - 17” x 13 ½”
How to Hem Pants for Beginners
The following six steps explain how to do a basic double-folded hem with a regular sewing machine using a straight stitch. To get a crisp hem don’t forget to use your iron to give the folds a good press. Ironing is the secret to perfect results!
STEP 1: Remove the original hem
If your pants already have a hem, grab a seam ripper, remove the stitches, and iron the creases out a bit before you start measuring. This is not necessary if you know you won’t need part of that hem to make the new one, If you will be shortening the pants more than 2 inches for example, you don’t need to put time and effort into this step.
STEP 2: Measure the Pant’s New Length
If you are shortening store-bought pants or hemming newly sewn pants, you first have to measure the new desired length. You need some assistance for this step if you are hemming your own pants. Stand on a stool or any other elevated surface and decide what length you want the new hem to be. Wear shoes that you would wear normally with the pants you are hemming. If you are doing it on your own, check the length in the mirror.
Fold the pants to the outside (up) and pin the desired length down at the back of your leg (heel). I always remove a consistent width all the way around but some people prefer the pants to be longer at the back. So, when you have the desired length, put the pants on your sewing table, measure and mark the same distance all around the pants leg with a little measuring gauge and add some extra pins. In the end, the hem should be turned up evenly all around.
When it comes to trouser length, you have to decide how much ‘break’ you want. The amount of ‘break’ is how much of a crease occurs at the bottom of your trousers when they touch your shoes. There is no right or wrong choice when it comes to the length you wear your pants. It’s up to you. If you are interested in reading more about trouser length for men’s wear and what is advised for what occasion or what type of pants, check out this article.
STEP 3: Mark and Shorten The Pants Length
Place the pants on your ironing board or pressing mat. Iron the folded hem on each pant’s leg and create a crease. This is your first mark, showing where the new underside of the pants will be.
Now decide how much seam allowance you want. The hem we are making is a double-folded hem so if you want to sew the hem at ½ inch from the bottom, you need to add about ⅞ of an inch to 1-inch seam allowance under the crease: ⅜ of an inch for the first fold plus ½ inch for the second fold. I always make the first fold a little smaller than the second fold so the fabric doesn’t bunch up. If you want a larger hem, say 1 inch, then add 1 ¾ inches under the crease (¾ inch for the first fold and 1 inch for the second fold. Draw the cutting line with a temporary fabric marker.
In the images and the video, I used 1 ¼ inch seam allowance, ½ inch for the first fold and ¾ for the second fold.
Remove the pins and turn your pants inside out.
Cut off the excess fabric on the marks. This might be a bit scary. Be sure to double-check if you got the measurements right. Don’t cut the 2 layers together. To keep it accurate, cut all the way around.
Write down what seam allowances you used and how much fabric you cut off, so you can repeat this for your other leg without needing to start all over.
STEP 4: Iron The Double Folded Hem
Back to the ironing board. Fold over the raw edge toward the wrong side of the fabric, at the distance you decided earlier. Mark this first fold with a temporary fabric marker or use a hot hem ruler to measure and iron this fold in one step. Fold the first crease for the hem and iron flat.
Now iron the second fold for the hem, at an equal distance or a little bigger. This should be on the same crease you ironed in step 3, the actual underside of your pants. Pin the double folded hem down to keep everything in place.
STEP 5: Sew The Double Folded Hem Down
Thread your sewing machine with a top and bobbin thread that matches your pants. Set your stitch to a straight stitch with the stitch length at a medium length (between 2.5 and 3). If the fabric of your pants has stretch in them, you can use a bigger length, up to 3.5, or even use a little zigzag.
Position your presser foot and needle at ⅛ to ¼ inch from the top fold line of the hem. Your pants should still be the wrong side out. If you want, you can use a presser foot with a guide to keeping you right on that edge. The edge joining foot can be a big help for this task.
Positioning your fabric under the needle can be a bit tricky if the pants are narrow, like skinny jeans. If you have a machine where you can remove part of the sewing machine bed, that is helpful when sewing sleeves or legs. You can wrap your leg around the machine bed. If not, you have to pay attention to not catch another part of the leg when sewing the hem. Check regularly.
Start sewing on the inside seam of the pants. Do a couple of stitches, then a reverse stitch to secure the stitches, and then off you go. Sew all the way around and take out the pins when you approach them with your needle. The bulky seams can be a bit tricky to sew over. We have a little helper for this job, the bulky seam jumper. It is a little plastic helper that makes sewing over bulky seams very easy. If you don’t have this helper, you can slowly sew the bulky parts using the hand wheel while guiding the seam slowly under the presser foot.
Backstitch when you are back at your starting position and cut off the thread ends.
STEP 6: Shorten the Other Leg
Repeat all the above steps from step 3 for the other leg and when you are done, iron both newly sewn hems and turn the pants right side out. If you have written down all of the measurements, you can just mark on the inside the leg edge, then make a mark for the seam allowance, cut the fabric off, iron the two folds, pin down and sew all around. It’s as easy as that!
Hemming pants yourself is a good way to save some money and always have pants that fit you perfectly! And a little extra warning, don’t go bragging too much about this skill or you will need to start wearing this t-shirt 🙂
Happy Sewing!
An
Blogging for MadamSew.com
Madam Sew is an online sewing and quilting store. It carries Tools, Notions, Presser Feet, Essentials, Handy Helpers, Organization/Storage Items, and more for sewers and quilters. Plus, it has many manuals and free tutorial blogs to help increase your skills.
Visit us at www.madamsew.com and discover all we have to offer you.
Join our Facebook communities too!


5 comments
Nice and clear instructions. All worked out well! Thank you.
Thank you, Thank you for this tutorial!!!
Don’t forget to wash & machine dry the pants beforehand. Your hard work can be ruined when/if the garment shrinks.
Thank you for the tutorials. I’m a Beginner
I really appreciate the tutorials and they ae easy to understand. Thank you.