Fix a Tear in the Pocket of Trousers or Jeans
Having a hole in your pants' pocket can be very frustrating. Pockets are often the first thing that wear out on men’s trousers, when they hold keys, phones, wallets, coins or other sharp objects. If the trousers themselves are in perfect shape, it’s a pity you won’t wear them anymore because of the risk of losing your valuables.
This little tutorial will prolong the lifetime of your trousers and show you different ways to fix side pockets. I will focus on tears and holes that you don’t see on the outside of your pants or trousers. In this comprehensive guide, we will show you how to quickly and effectively repair those pesky pocket tears. These techniques can also be used to repair side pockets of vests or jackets when they are not hidden behind the lining. Whether it's a small hole or a larger rip, we've got you covered with easy-to-follow steps. Say goodbye to loose change and keys slipping through the cracks! Read on to discover the best methods for fixing holes in pants' pockets.
Assess the Damage of the Pocket
Before you start the repair process, examine the size and location of the hole in your pocket. This will help determine the appropriate method for fixing it. Small holes or minor tears can be addressed using very simple techniques, like hand stitching, sewing a new seam or using iron on interfacing. Larger damage may require more extensive repairs.
Small Holes and Minor Tears in a Pocket
For small holes and minor tears, you can either hand stitch, use an iron-on patch or even fix it with duct tape. Usually you can use your sewing machine for most repairs but if you can’t reach the hole with your sewing machine, you will need to hand stitch. I’ll explain both scenarios. Depending on the location of the small hole or tear, you can use the following techniques.
The Seam
When the tear is in the seam, repairing it is very straightforward. You can sew the seam with a hand stitch or put it under your sewing machine and sew over the seam again. This is the easiest tear to repair. Always cut away threads, iron the seam flat and pin in place before going to your sewing machine.
A more unconventional way to repair a pocket’s seam is with duct tape. I have never tried it but it should hold for a while according to reviews I’ve read.
To repair a seam by hand you can use a whip stitch. Thread a hand needle with matching thread. Knot the thread. Pull the needle up through both layers of fabric close to the edge. Loop the needle over the top of the seam to the back side of the fabric. Poke it again through both layers, beginning beneath the spot where the thread came out but angle the needle so that it comes out through the top a ½ inch away from the previous stitch.
Near the Bottom Edge
If there is a hole in the bottom edge, you can sew a new seam and make the pocket a little smaller or grab the hole, lay it down flat and sew it closed. This last option is not my preferred method because the pocket won’t lay flat any more. After you’ve sewn the new seam, finish the edges with pinking shears (see image below with green fabric) or with a serger or overcast stitch (see image below with yellow fabric) to avoid fraying or hide the edge with an extra topstitching. This is the case for many store-bought pockets. The raw edges are on the inside and are hidden by an extra row of stitches ¼ inch from the edge on the outside. In the first image with the two pockets you see the outside of the pocket. This is how you see it when your trousers are inside out. In the second picture you can see the inside of the pocket.
To repair a tear or unraveled fabric by hand it’s best to use a back stitch (see image below with the blue fabric), which is strong and flexible and perfect for repairing areas of high wear and tear. Instead of just sewing a running stitch (see image below with pink fabric), you constantly take one step back and two steps forward along your stitch line. A running stitch can be used to sew on patches or to repair a hem.
Other
When the hole is in the middle of the pocket or you don’t want to make the pocket smaller, you will need one or two little pieces of iron-on interfacing or a little piece of fabric. Be sure to choose a soft fabric that resembles the pocket’s fabric in weight and feel.
 SOLD OUT
Bundle & Save
SOLD OUT
Bundle & Save
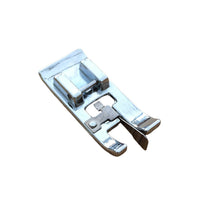
Overcast Presser Foot - Sewing Machine Overcasting Foot
 SOLD OUT
Bundle & Save
SOLD OUT
Bundle & Save

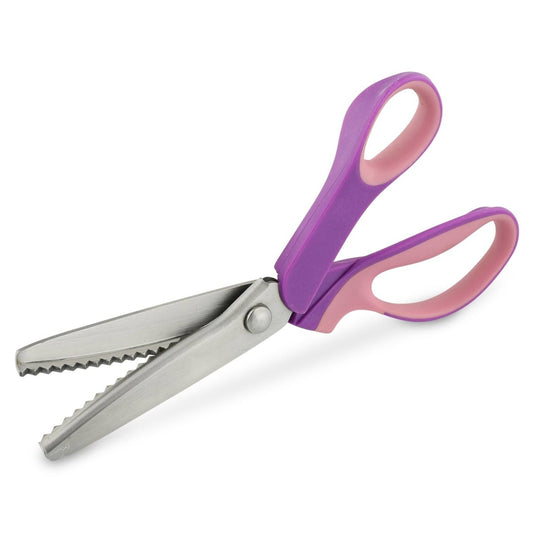
Pinking Shears for Fabric
1. Iron your pocket and cut away the frayed edges.
2. Cut the interfacing slightly larger than the hole, ensuring that the tear or hole is covered completely. I like to add two pieces of interfacing, one on each side (inside and outside)
3. Iron the interfacing on the hole, adhesive side down, on the outside of the pocket. Make sure the edges are stuck down nicely and not coming away.
For small tears, just doing this may be sufficient to repair the tear. However, I prefer to reinforce further with an extra layer of interfacing and some machine stitching if possible. Grab some matching thread. And if you can, carefully sew back and forth across the fabric piece covering the whole area of the tear, using the reverse button on the sewing machine. I used this technique before to repair holes in denim trousers. It’s like reweaving the fabric a little. If you can’t reach the hole with your sewing machine, just reinforce the seam, if the hole is close to the edge.
More Extensive Repairs
When the hole is big or the fabric has become too worn out and thin to repair, the only way to fix the pocket is by replacing an entire part of the pocket. This type of repair requires a little more effort and experience than the repairs described above. But if you follow these steps it is totally doable and worth the effort.
You will need:
- Fabric to replace the part of the pocket that is torn. Choose a fabric that is similar to the fabric of the original pocket in weight and feel.
- Scissors, fabric marker, sewing machine, matching thread, seam ripper
Marking Tool Collection
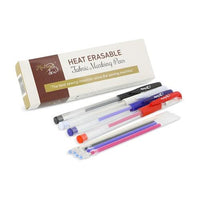
 Heat Erasable Fabric Marker Refills - Mix or Single Color Pack - 20 pcs
Heat Erasable Fabric Marker Refills - Mix or Single Color Pack - 20 pcs
 Heat Erasable Fabric Marking Pens - 4 colors/set + refills
Heat Erasable Fabric Marking Pens - 4 colors/set + refills
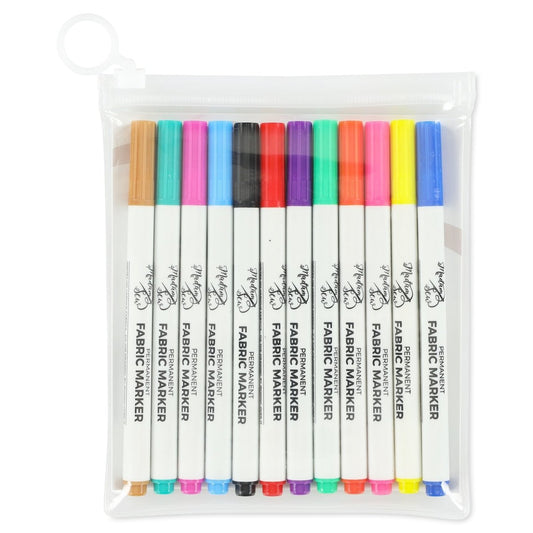 Permanent Fabric Markers - 12 colors in 1 set

Permanent Fabric Markers - 12 colors in 1 set
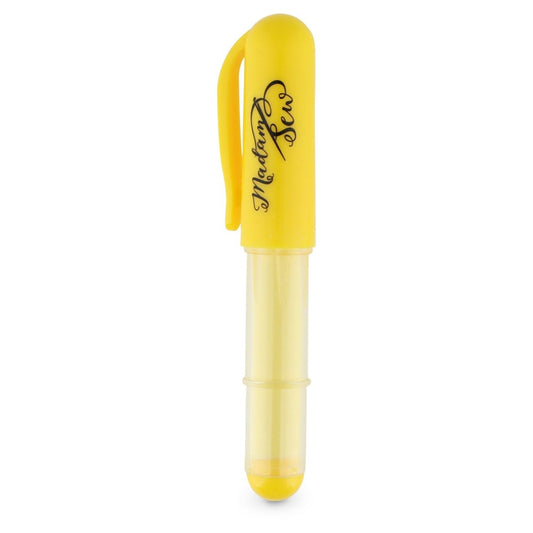 Chalk Marker for Sewing | Yellow

Chalk Marker for Sewing | Yellow
Follow these instructions:
1. Identify the part of the pocket you need to replace.
2. Draw a line with a fabric marker and add two notches on both the part that will be cut off and the part that will stay so you can match them easily. Cut this ripped pocket part completely off both sides.
3. Unpick the seam at least an inch on both sides of the remaining part of the pocket.
4. Copy the part that is cut off on the new fabric. Make sure you copy it on two layers, if your pocket has a fold, copy it on the fold. Add ¼ inch seam allowance on all sides that require a seam (depending on how your original pocket is constructed) and add an extra wide seam allowance cutting edge, ½ to 1 inch. We can’t add a seam allowance to the pocket part that is still on your trousers so we need to add an extra seam allowance here. Copy the notches as well.
5. Pin the new fabric to the pocket, right sides together. Match the notches you previously marked. And match the seams and the fold (if you have one). The pinning itself is a bit tedious. It might look like it won’t match but it will, just use enough pins.
6. Sew the edges together all around.
If you have two seams (no fabric fold, so two separate pieces of fabric for the pocket) sew one edge together with the front part of the original pocket and then sew the other piece with the back part of the pocket.
7. Finish the edges of this new seam with pinking shears. Be careful not to cut into the seams.
8. Iron this seam flat towards the bottom on the inside and add an extra topstitching on the outside to make the seam lie flat.
9. Sew the side seam(s) like the original one. Very often you need to start on the inside of the pocket with one row of stitches. Turn to the right side and add a second row, top stitching this time, to hide the inner raw edges.
That’s it.
You might only want to do this type of repair when they are your favorite pants.
Don't let holes in your pants' pockets ruin your day any more! With these simple and effective repair methods, you can mend those tears and get back to using your pockets without worry. Remember to assess the damage, choose the right repair technique, and use the proper materials for the best results.
By following the steps outlined in this guide, you can extend the life of your favorite pants and avoid unnecessary expenses on replacements. Say hello to functional pockets and goodbye to loose change disappearing into the unknown.
Happy mending!
An
In-house blogger for MadamSew.com


2 comments
Thank you for this tutorial. I have just used it to repair the pocket in my partner’s jeans. The tutorial was easy to follow and my partner is very happy to have a useable pocket again.
Thank you so much for an enlightening read 😁👍
Best wishes from Dorset 🤗