Everything you need to know about Madam Sew's Buttonhole Foot
Sewing buttonholes is one of those techniques that many beginner sewers try to avoid… but once you get to grips with them, buttonholes are pretty straightforward. Plus, it’s a great skill to have under your belt, as it opens up a whole world of shirts, blouses, dresses, skirts and more.
VIDEO TUTORIAL
With this specialty presser foot you can easily and quickly sew buttonholes with a sewing machine. No need to mark the size of your buttonhole on the fabric. Just set the foot to the size of your button and let the foot guide you through the 4 steps of sewing a buttonhole really easy and quick. The result is a nice and sturdy square buttonhole.
COMPATIBLE SEWING MACHINES
This foot is made for:
low-shank household sewing machines
with snap-on presser feet
mechanical machines with 4 step buttonhole settings
If your machine doesn’t have buttonhole settings, this foot will also help to sew buttonholes. However, you will need to manually adjust your stitches after every step. Go to ‘Sew a buttonhole without a buttonhole setting’ lower on this page.
If you have a digital machine with a 1 step buttonhole setting, this foot will probably not fit your machine and this tutorial will not be of great help.
A 1-step buttonhole setting is the most automated way of sewing buttonholes. You don’t need to turn a knob or decide when to change from one step to another. The machine does all that for you. But not everyone has a digital machine :-) and even though four-step buttonholes take a bit more effort than the one-step kind, the good thing about them is you have more control over how they turn out.
If your snap-on bar is wider or thinner than the universal bars, you can also use this foot. Just get the low-shank snap-on adapter and you have access to all our snap-on presser feet. This adapter can be bought separately but it is also a part of the Ultimate Presser Foot Set.
PARTS OF THE BUTTONHOLE FOOT
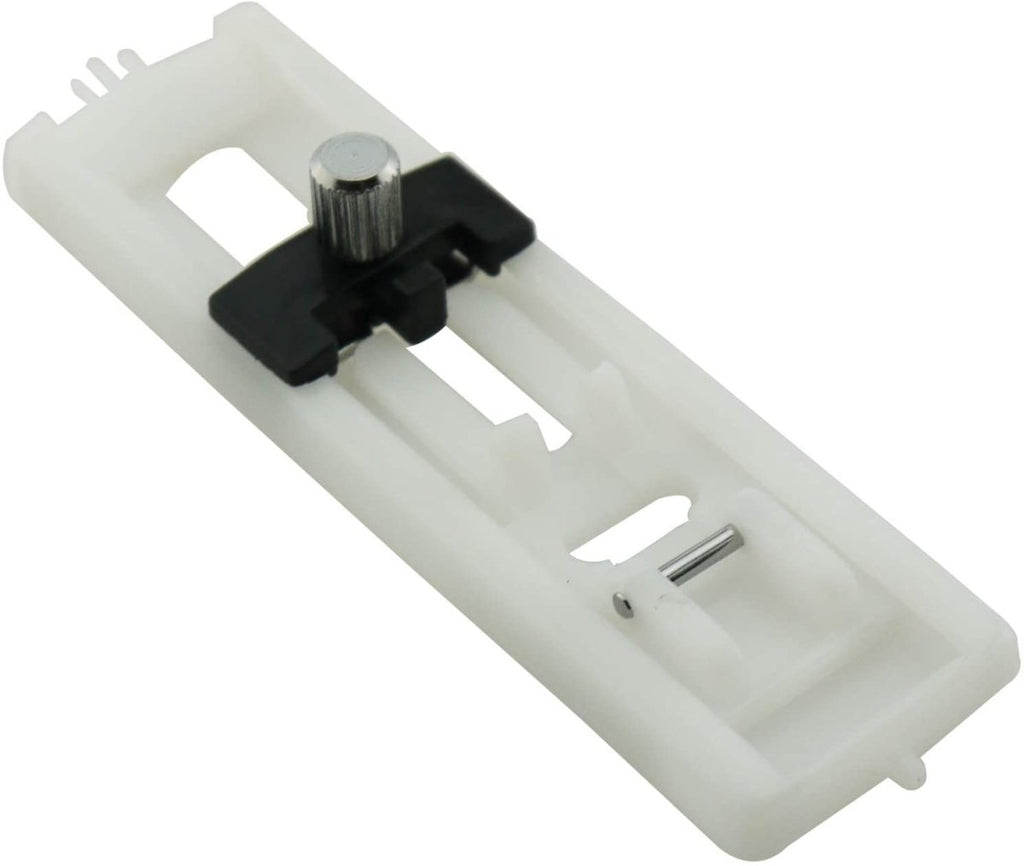
To set the buttonhole foot to the size of your button, you will need to move the black slider by loosening the screw and tightening it when the size is set.
The white slider is where the foot is attached to your machine and moves along with the needle.
The little pins at the short edges are there to add cording to your buttonhole to make them more stable.
INSTALLING THE FOOT ONTO YOUR SEWING MACHINE
The MadamSew Buttonhole Presser Foot simply clips onto your machine with a snap-on bar. Remove your current presser foot, and then clip the buttonhole foot on. The black slider with the screw goes in the front.
SET THE SIZE OF YOUR BUTTON
Place your button in the buttonhole presser foot at the end which is closest to you - between the white slider and the black slider with the tightening screw. Push the black slider toward the needle and tighten the screw so the button is fixed between the 2 sliders. The buttonhole itself (or where you want the buttonhole) will be sewn under the white slider. The far end of the buttonhole is underneath the needle.
Please Note: This is for flat button measurements, raised or upholstery buttons may need more room and therefore a larger buttonhole. Add the thickness of the button to the diameter. If the button is more than 1/8th of an inch add some extra space.
MAKE A BUTTONHOLE
Before you start, always interface your buttonhole area. If you don’t, you’ll probably get a puckered buttonhole because of the dense stitching. I never reinforce the whole strip if there are multiple buttonholes to be made. Little rectangular pieces will do. So don’t throw away the little cut-offs of interfacing. They might come in handy when making buttonholes!
Always test on a scrap first!
USING A 4-STEP SETTING
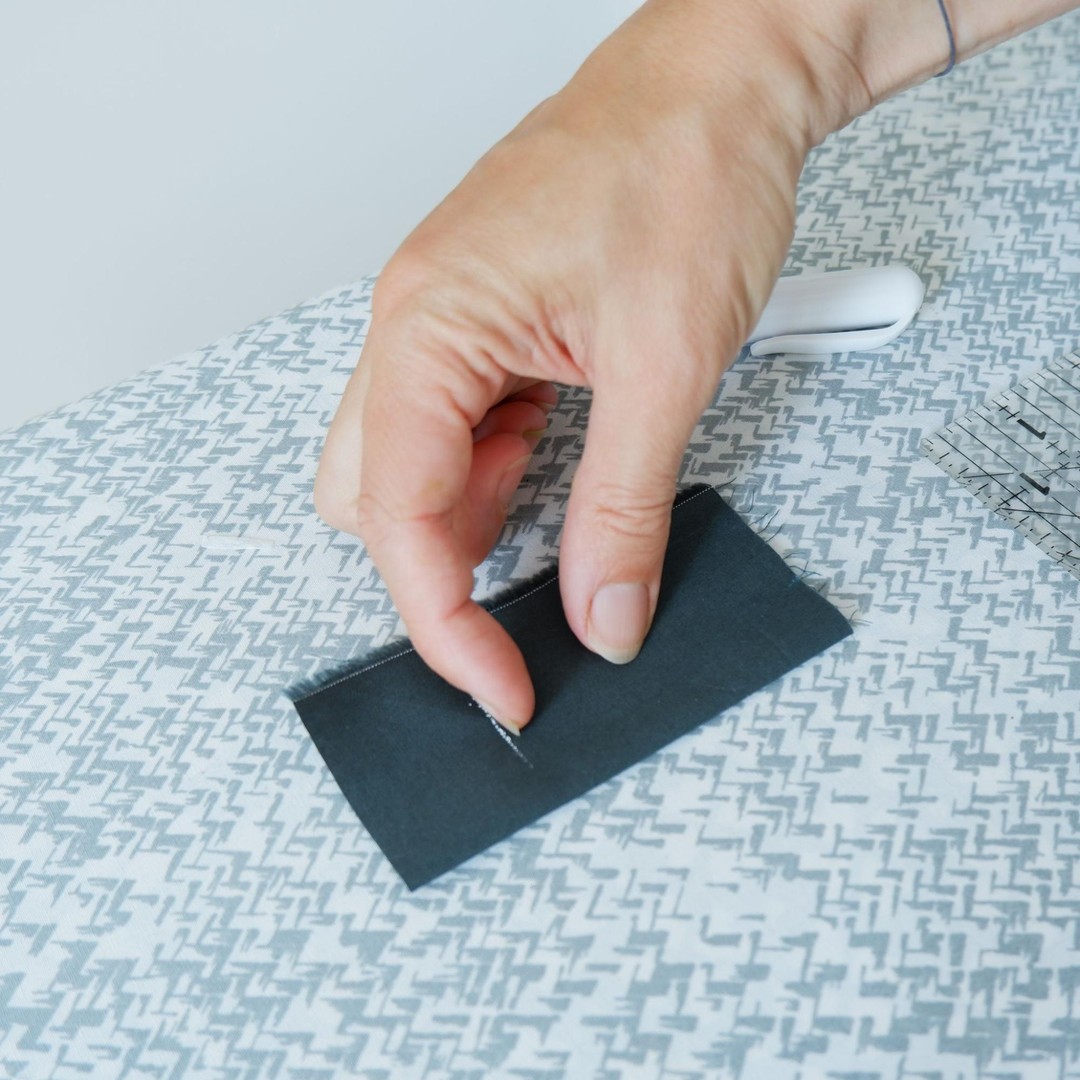
Measure and mark the top end or the bottom end of the buttonholes on your fabric. Which end you need to mark depends on what direction your 4 step setting is moving first. Mine is sewing away from me first, but some settings sew toward you in step 1.
Position the fabric underneath the buttonhole foot so your marking is underneath the needle. When the first step of your buttonhole setting is sewing away from you, you need to slide the foot away from you before you start (as shown in the first image below). The white slider is against the black slider. If the first step is sewing towards you, slide the foot toward you before you start. The white slider is against the back part of the foot (as shown in the second image below). The foot will indicate how far you need to sew to get the buttonhole exactly the right size.
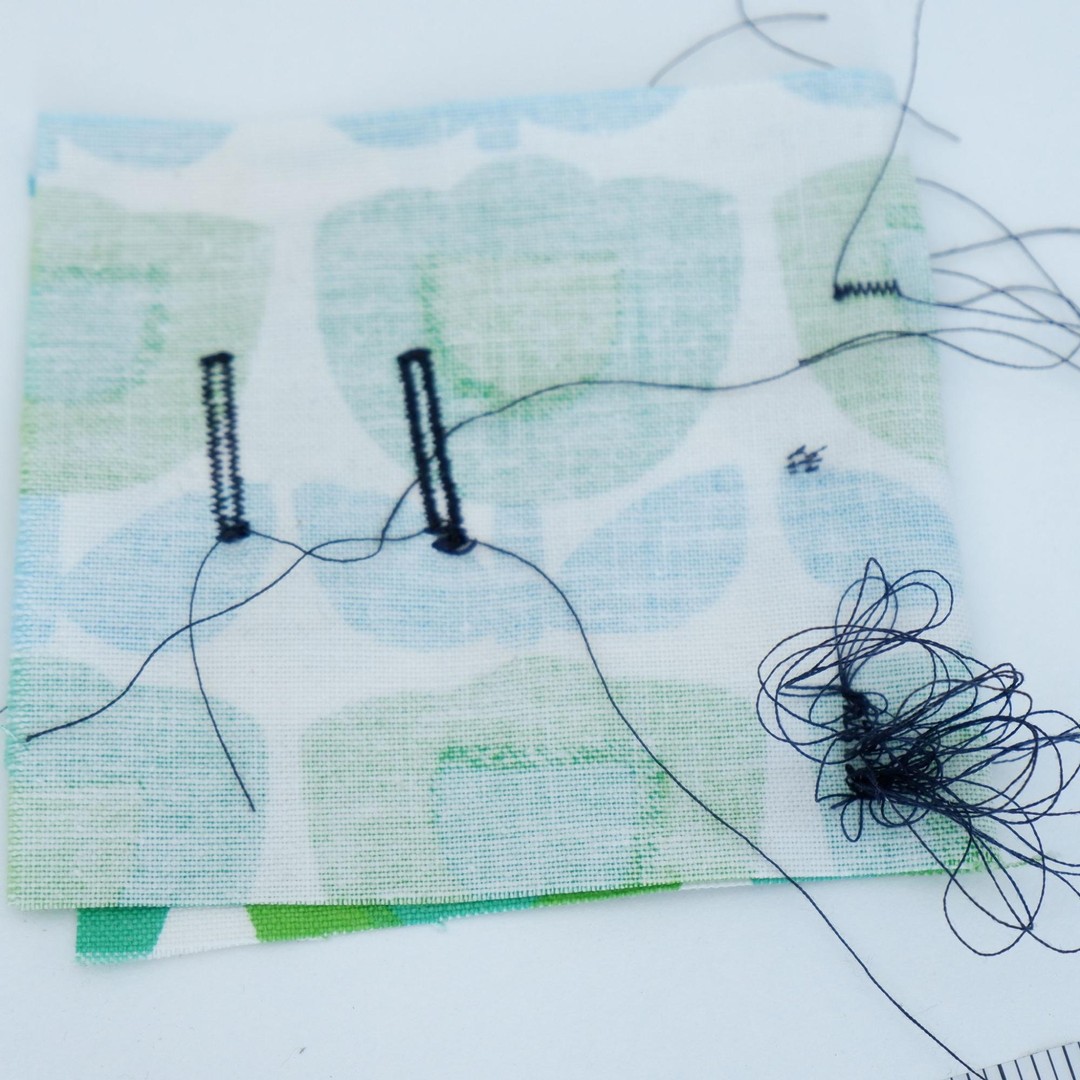
I repeat, ALWAYS test your first buttonhole on one or more scrap fabrics, preferably the fabric that you are using to be sure the stitches are the way you want them and the button fits the buttonhole well! I had some trouble with my machine when I made this tutorial, I changed my needle, stitch length and the thread tension before I got a nice button hole. Bird nest alarm!
Set your machine to buttonhole stitch step 1. Check your manual if you’re not sure which one that is. The order of the 4 steps might be different depending on your machine, sometimes there are 5 steps, that is no problem.
On my machine it looks like this:
On other machines it could be like this:
Make sure your stitch length is set between 2 and 2.5 and your stitch width between 0 and 1. This is a widely used setting but you can make the stitches smaller or wider, as you please. Lace the thread under the foot and toward the back.
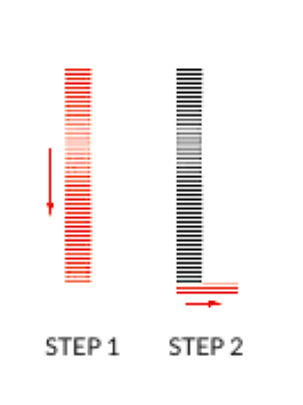
STEP 1 will usually sew short zigzag stitches down the left or right of the buttonhole. Stop sewing when the white slider touches the black slider (the 2 legs are now completely hidden under the black slider). End with the needle on the outside of the zigzag.
Lift the needle out of the fabric and set your machine to STEP 2 (the same as step 4). Slowly sew five-six stitches to form the bottom of the buttonhole, stopping with the needle on the side that has no stitches yet.
To sew the other long side of the buttonhole, set the machine to buttonhole stitch STEP 3. Sew upwards until the white slider reaches the top of the buttonhole foot.
Set the machine to buttonhole stitch STEP 4 (the same as step 2) and sew five-six stitches across the top of the buttonhole.
Once that’s done, lift the foot, release the fabric and clip the extra threads, front and back. Carefully use a seam ripper to open the inside of your buttonhole. Slide down the center of the material being careful not to cut the end stitches.
TIPS
If you are worried about cutting too far, place a pin in the fabric across either end of the button hole. Your seam ripper will stop when it hits the pin.
Sewing on buttons can also be done with your machine. There is another foot that is perfect for this job. For instructions on how to use the MadamSew’s Sew-On Button Foot please visit the sew-on presser foot manual.
To check out this product in our store, click the image below.
WITHOUT A BUTTONHOLE SETTING
This part explains briefly how to sew on a button with a sewing machine that doesn’t have a buttonhole setting. Basically you are going through the same 4 steps but you need to adapt the stitch width yourself before every step and know how to lower the feed dogs. Check your manual to see how to do this on your machine. This prevents the fabric from moving forward when you are sewing the 2 buttonhole ends.
1. Attach the buttonhole presser foot. Set the foot to the size of your button as explained above.
2. Set your stitch to a small stitch length, between 0 and 1.
3. Position your needle at the far end of the buttonhole foot, on the right.
4. Sew a small, dense zigzag stitch towards you, 2-3 wide.
5. Stop with the needle up when the white slider reaches the black slider. Set your machine to a zigzag stitch, 4-5 wide. Disable the feed dogs so your machine will stitch in place and doesn’t pull the fabric forward. Sew 5 to 6 stitches and stop on the left with the needle in the fabric.
6. Turn your fabric around. Activate the feed dogs again and sew a small dense zigzag (2-3 wide) next to the other zigzag until the white slider bumps into the black one again.
That’s it!
HOW TO ADD CORDING TO A BUTTONHOLE
Check out this video from Singer from minute 1:57 to learn how to do this.
INTERESTED IN THE BUTTONHOLE FOOT?
Buttonhole Presser Foot (4-step setting)
Makes the buttonhole sewing process so much easier!
This buttonhole foot will help you sew a buttonhole more quickly and accurately. You can set the size of your buttonhole easily on the foot and use the same setting for multiple buttonholes. Less measuring and marking, better looking results!
Retail Price:
Your Price:
You Save:
Makes the buttonhole sewing process so much easier!
This buttonhole foot will help you sew a buttonhole more quickly and accurately. You can set the size of your buttonhole easily on the foot and use the same setting for multiple buttonholes. Less measuring and marking, better looking results!


