Everything you need to know about the Sticky Seam Guide
VIDEO TUTORIAL
BEFORE STARTING
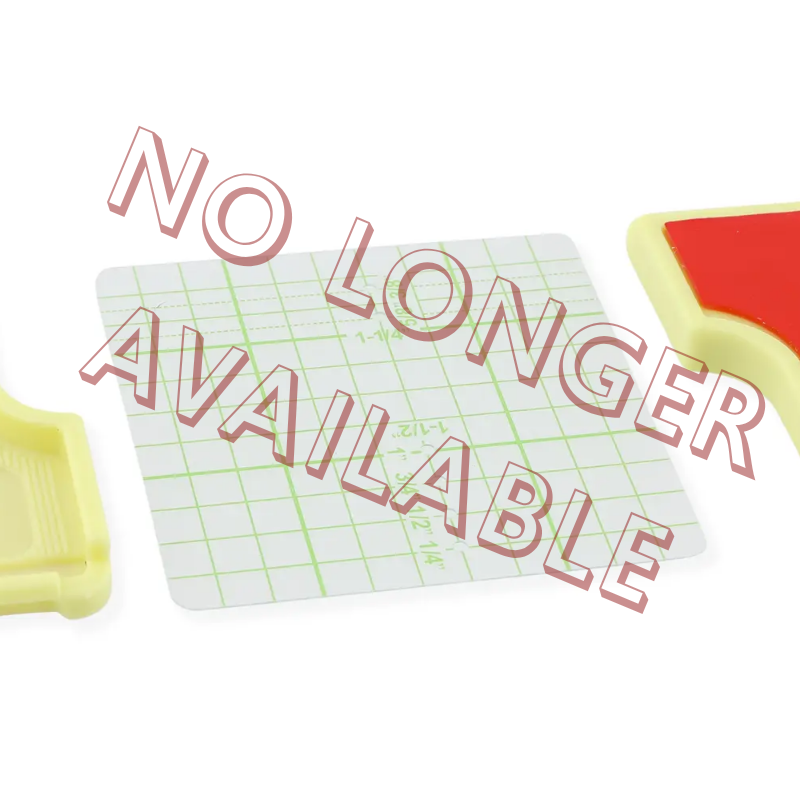
The packaging of the stick seam guide contains 2 guides and a transparent measurement sheet. You can connect the 2 guides to get one long guide or use them separately. The enclosed measurement sheet has 6 holes to insert your needle and check the distance from your needle to the fabric’s edge.
Peel the red film from the bottom of the guides. Stick the guides onto the plastic measurement sheet for safe storage.
Before every use: Wipe away dust from your machine bed.

USER INSTRUCTIONS
1. Position the seam guide on your machine bed before the presser foot at the distance you need for your seam, hem or topstitching.

If you want to double check the exact distance, you can use the enclosed the plastic measurement sheet. Insert your needle in one of the holes (¼”, ⅜”, ½”, ⅝”, ¾” or 1”) and place the guide against the sheet.


2. Bring your fabric in place.

3. Stitch and guide your fabric gently against the guide, without pushing or pulling the fabric.
4. Remove the guide(s) from your machine, stick them on the plastic sheet and store away.
VARIOUS USES

SEAMS: the fabric guided on the left or on the right side. Use the long side of the guide or attach the 2 guides.
INNER CURVES: Use the curved short side of the guide.


OUTER CURVES: Use the curved short side of the guide.
TOPSTITCHING ON THE EDGE: Position the guide with the curved recess in front of the presser foot, this way you can place the guide much closer to the needle.


GUIDED ALONG THE 2 SIDES: for strips for example.
REFRESHING THE STICKY SIDE
When the adhesiveness of the seam guide decreases over time due to dust gathering on the sticky underside, rinse using a neutral detergent diluted in water and let it dry completely. The stickiness will recover and you can continue to use the guides.
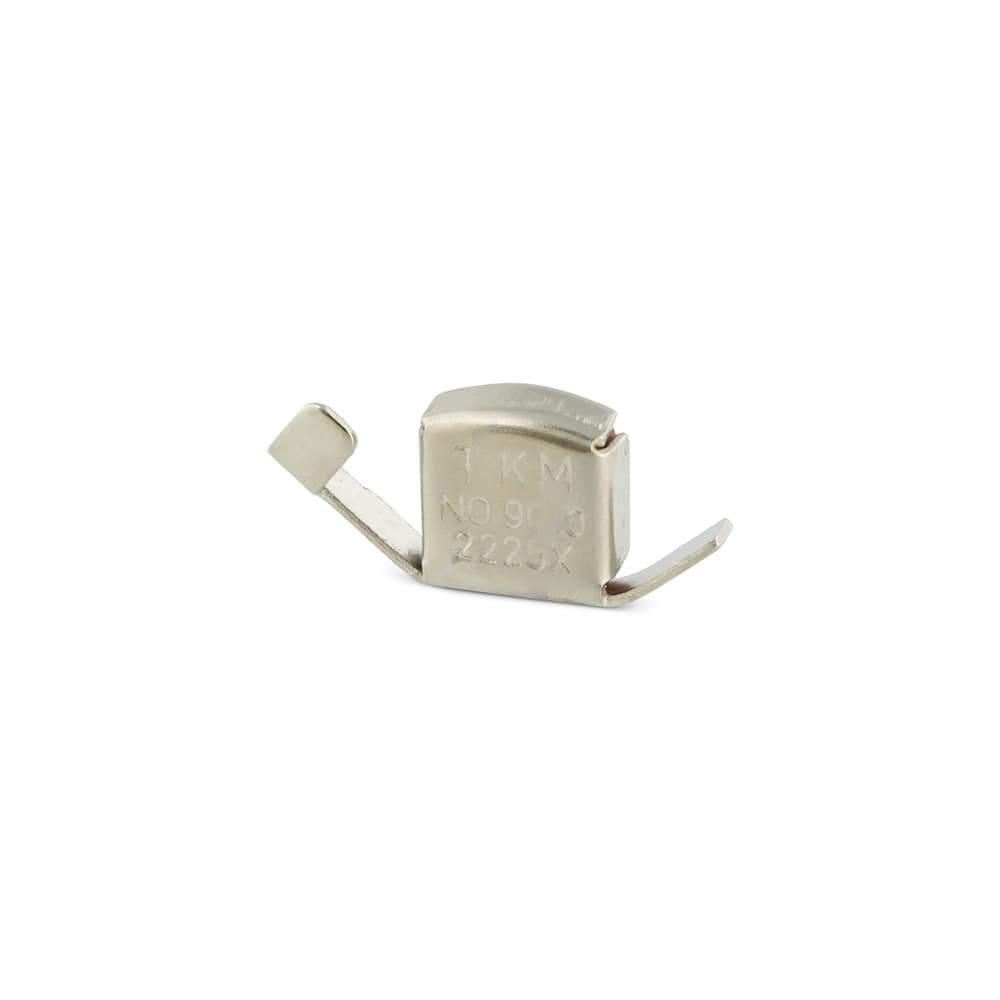
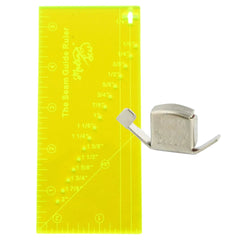
Looking for a tool to help you to sew straight plus more accurately? The magnetic seam guide is a little tool with a great impact when sewing on a sewing machine. It can be attached to any machine with a metal needle plate and positioned an repositioned over and over again at the seam allowance you need for you project. Click on the button below to learn more about this tool and discover the best deals on MadamSew.com