Everything you need to know about Madam Sew's New Rotating Cutting Mat
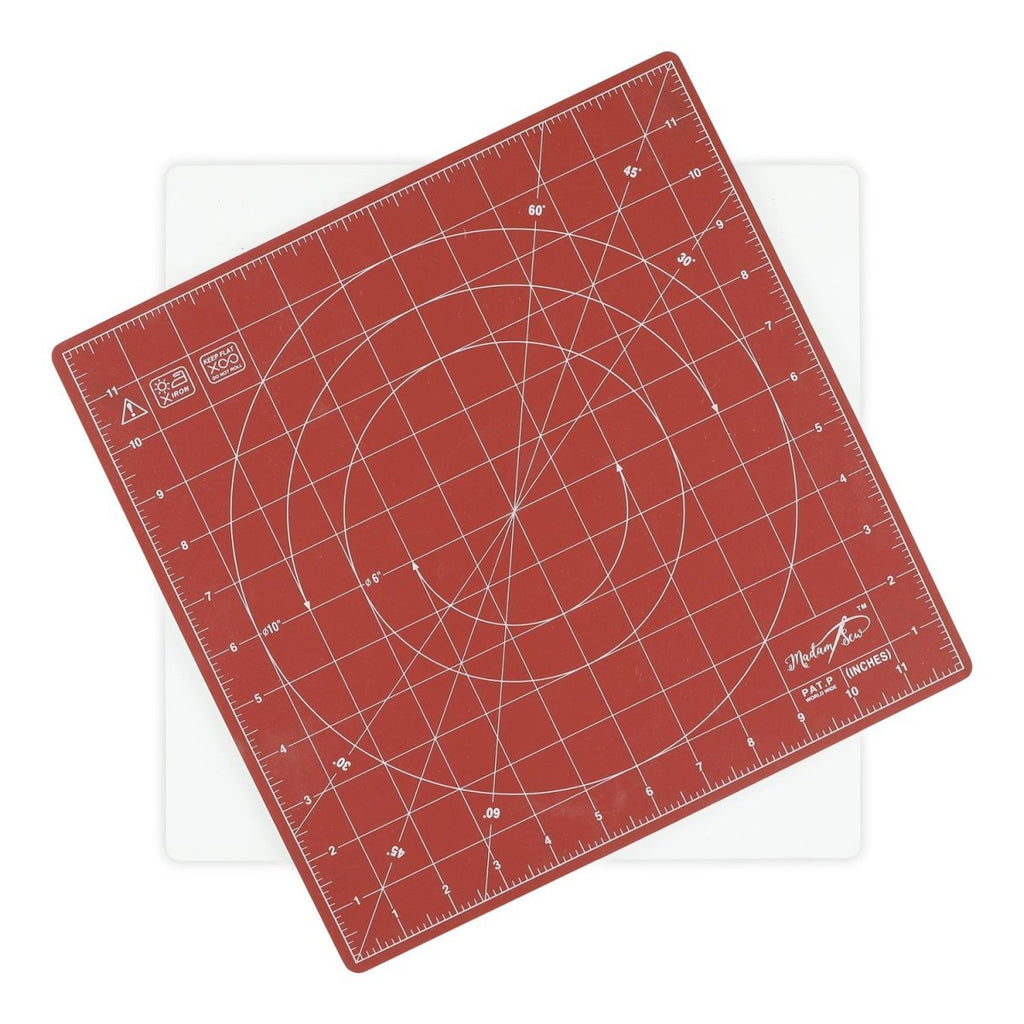
The Rotating Cutting Mat has two parts: The top is a durable self-healing red mat that has a round, black rotating mechanism on the backside. The bottom is a soft, black, non-slip base with an opening for the lockable turning mechanism.
VIDEO TUTORIAL
USER INSTRUCTIONS
THE ROTATING MECHANISM
To unlock or lock the mat’s rotating mechanism, first turn your cutting mat over so that the black base and rotating mechanism are now in view.
Rotating (mat is unlocked): Put your fingers in the holes of the turning mechanism’s two sliders and slide them toward the center of the mechanism. This will give you a round shape to the mechanism. The mat and base are now unattached allowing the mat to rotate freely 360 degrees.
This is the Rotating (Unlocked) Position:
THE CUTTING MAT
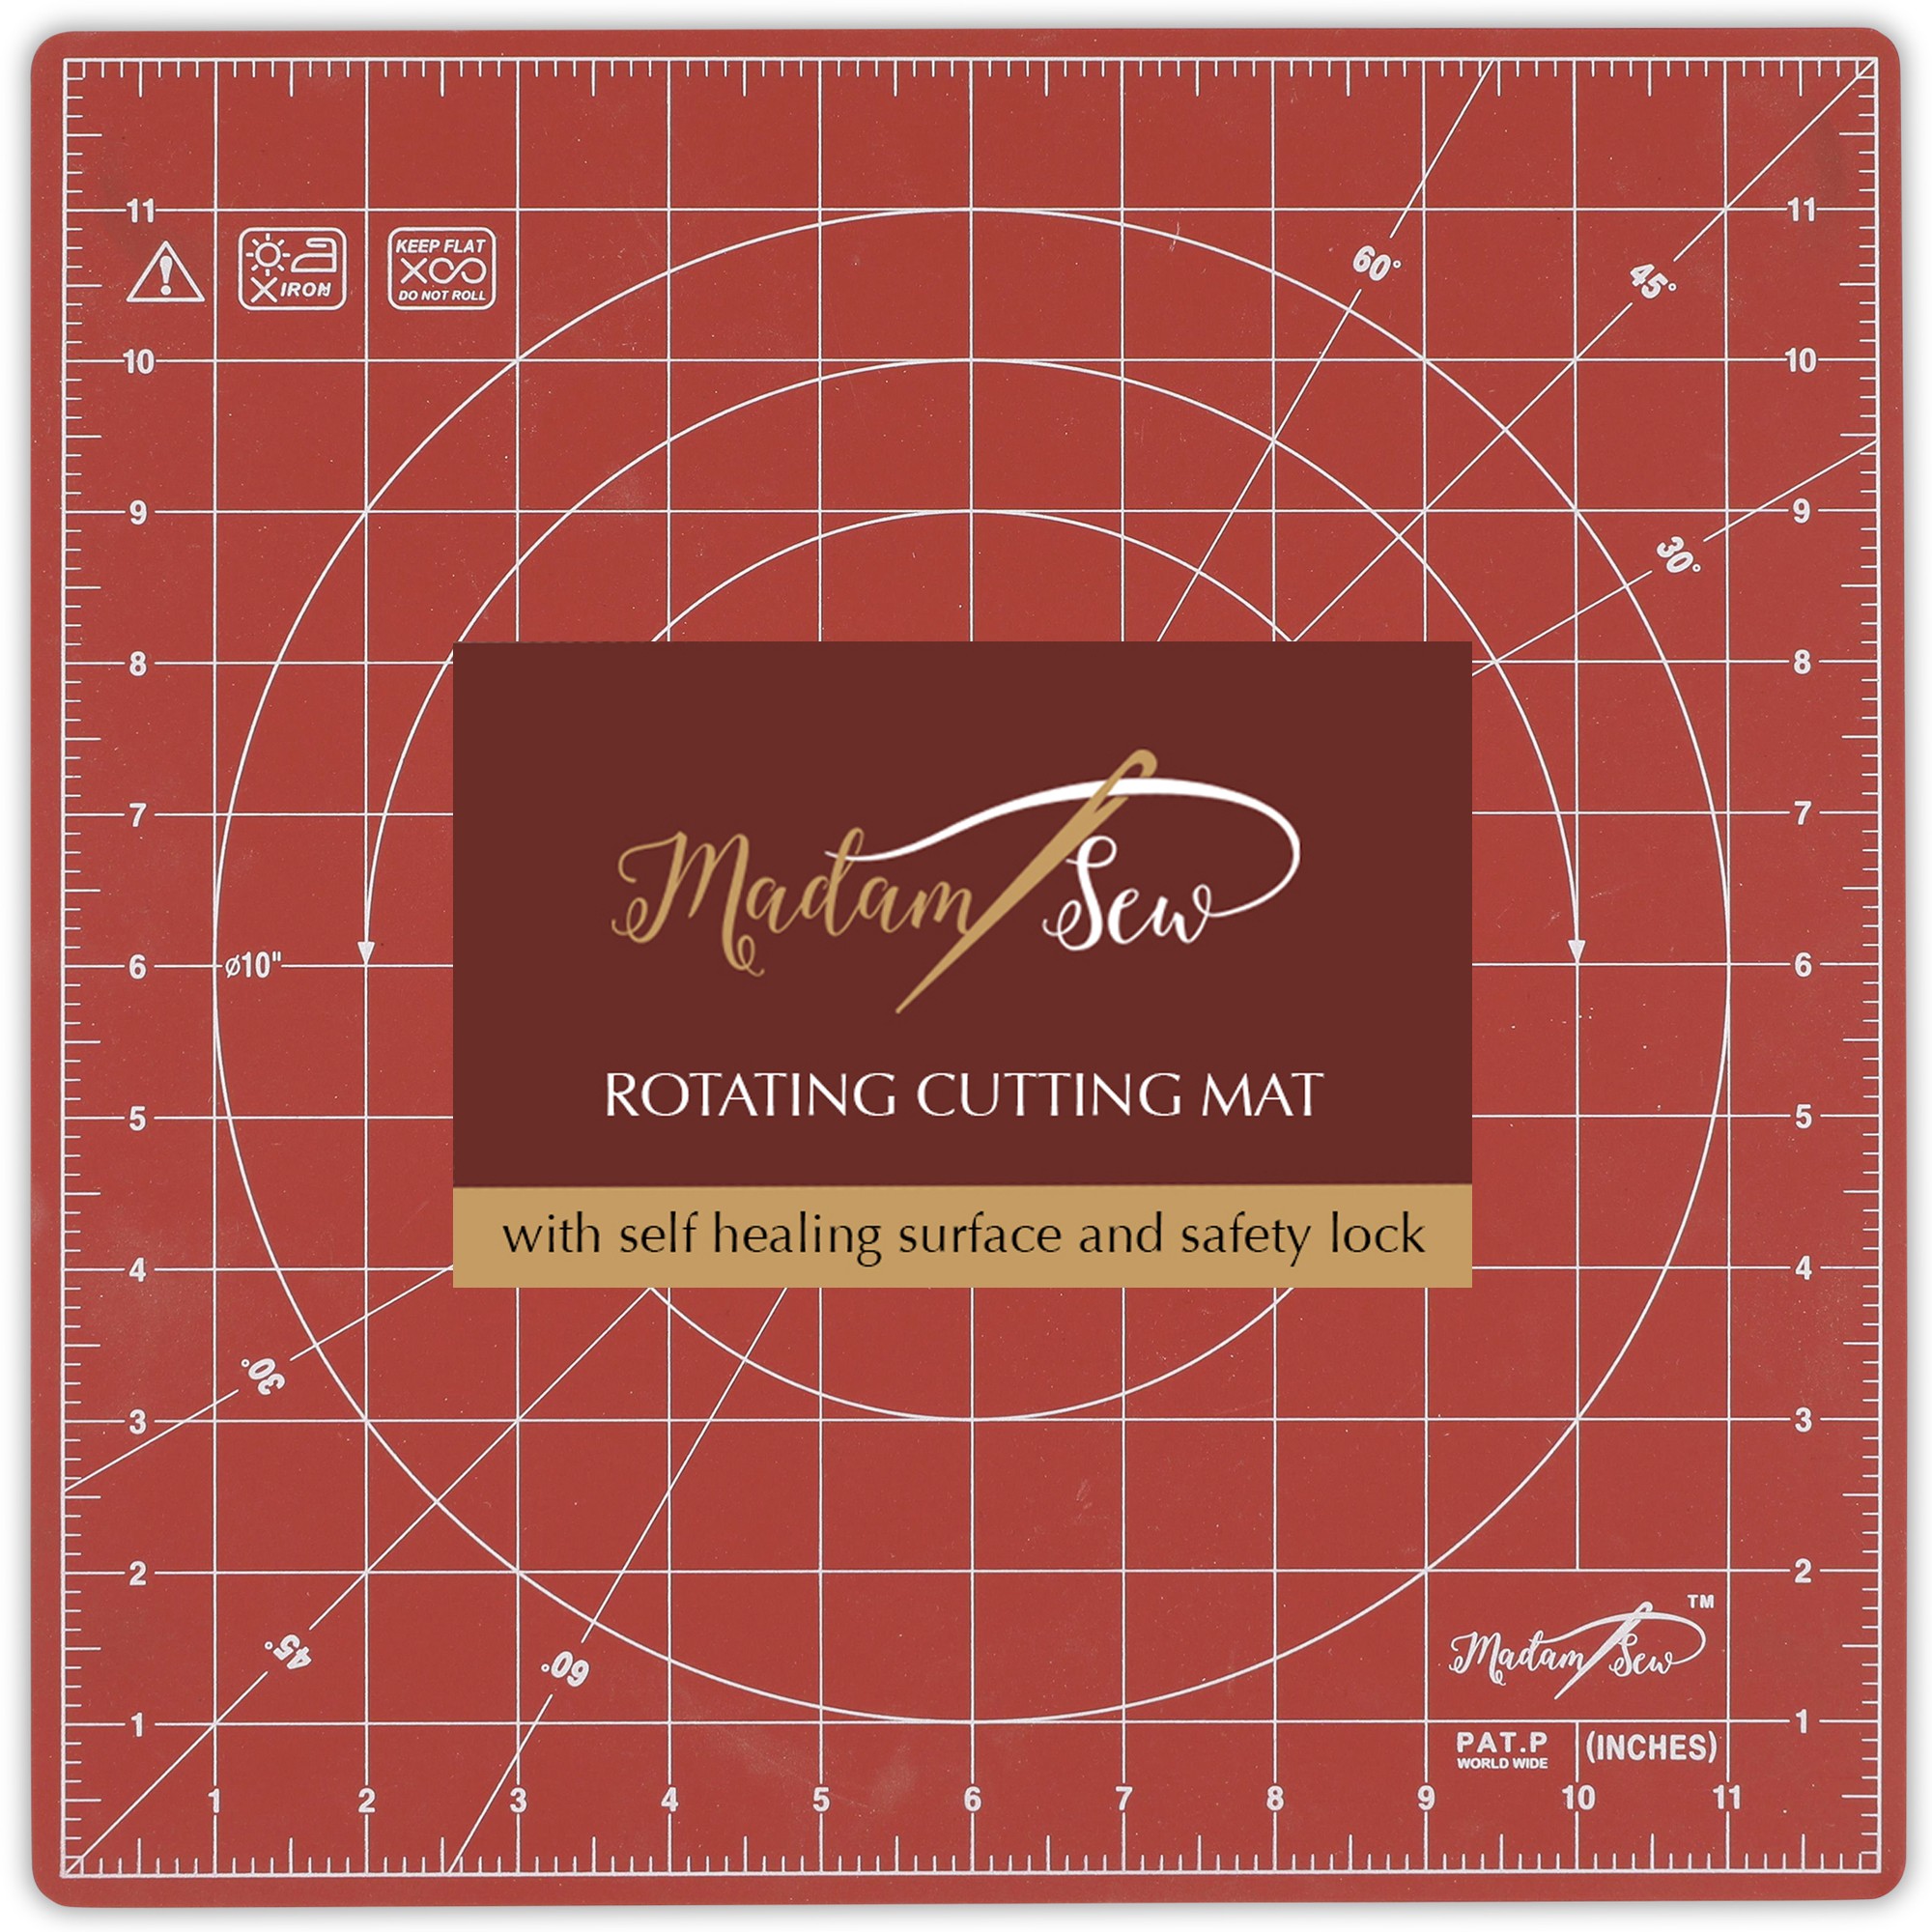
The 12” x 12” cutting mat has accurate, easy-to-read grid lines with ⅛, ¼, ½, and 1 inch markings and 30, 45 and 60 degree bias lines to allow for precise cuts at all angles.
For best results, make sure to use your Rotating Cutting Mat on a level surface.
Use as a stationary cutting mat:
First make sure the rotating mechanism is in the non-rotating, locked position, and then use it like you would any standard cutting mat.
Using the rotate feature (great for cutting around templates):
First make sure the rotating mechanism is in the rotating, un-locked, position to allow the cutting mat to rotate freely.
Then using a rotary cutter (also available from MadamSew - click HERE) cut along one side of your shape. Turn the mat and make your next cut. Continue in this fashion until you have successfully cut around your shape.
Take it with you:
Lock the rotating mechanism and place the cutting mat in a standard project tote.
It is light (26 ounces) and small (12” x 12”) so it can travel with you.
***WARNING: Do not iron on the mat. Keep the mat out of direct sunlight.***


