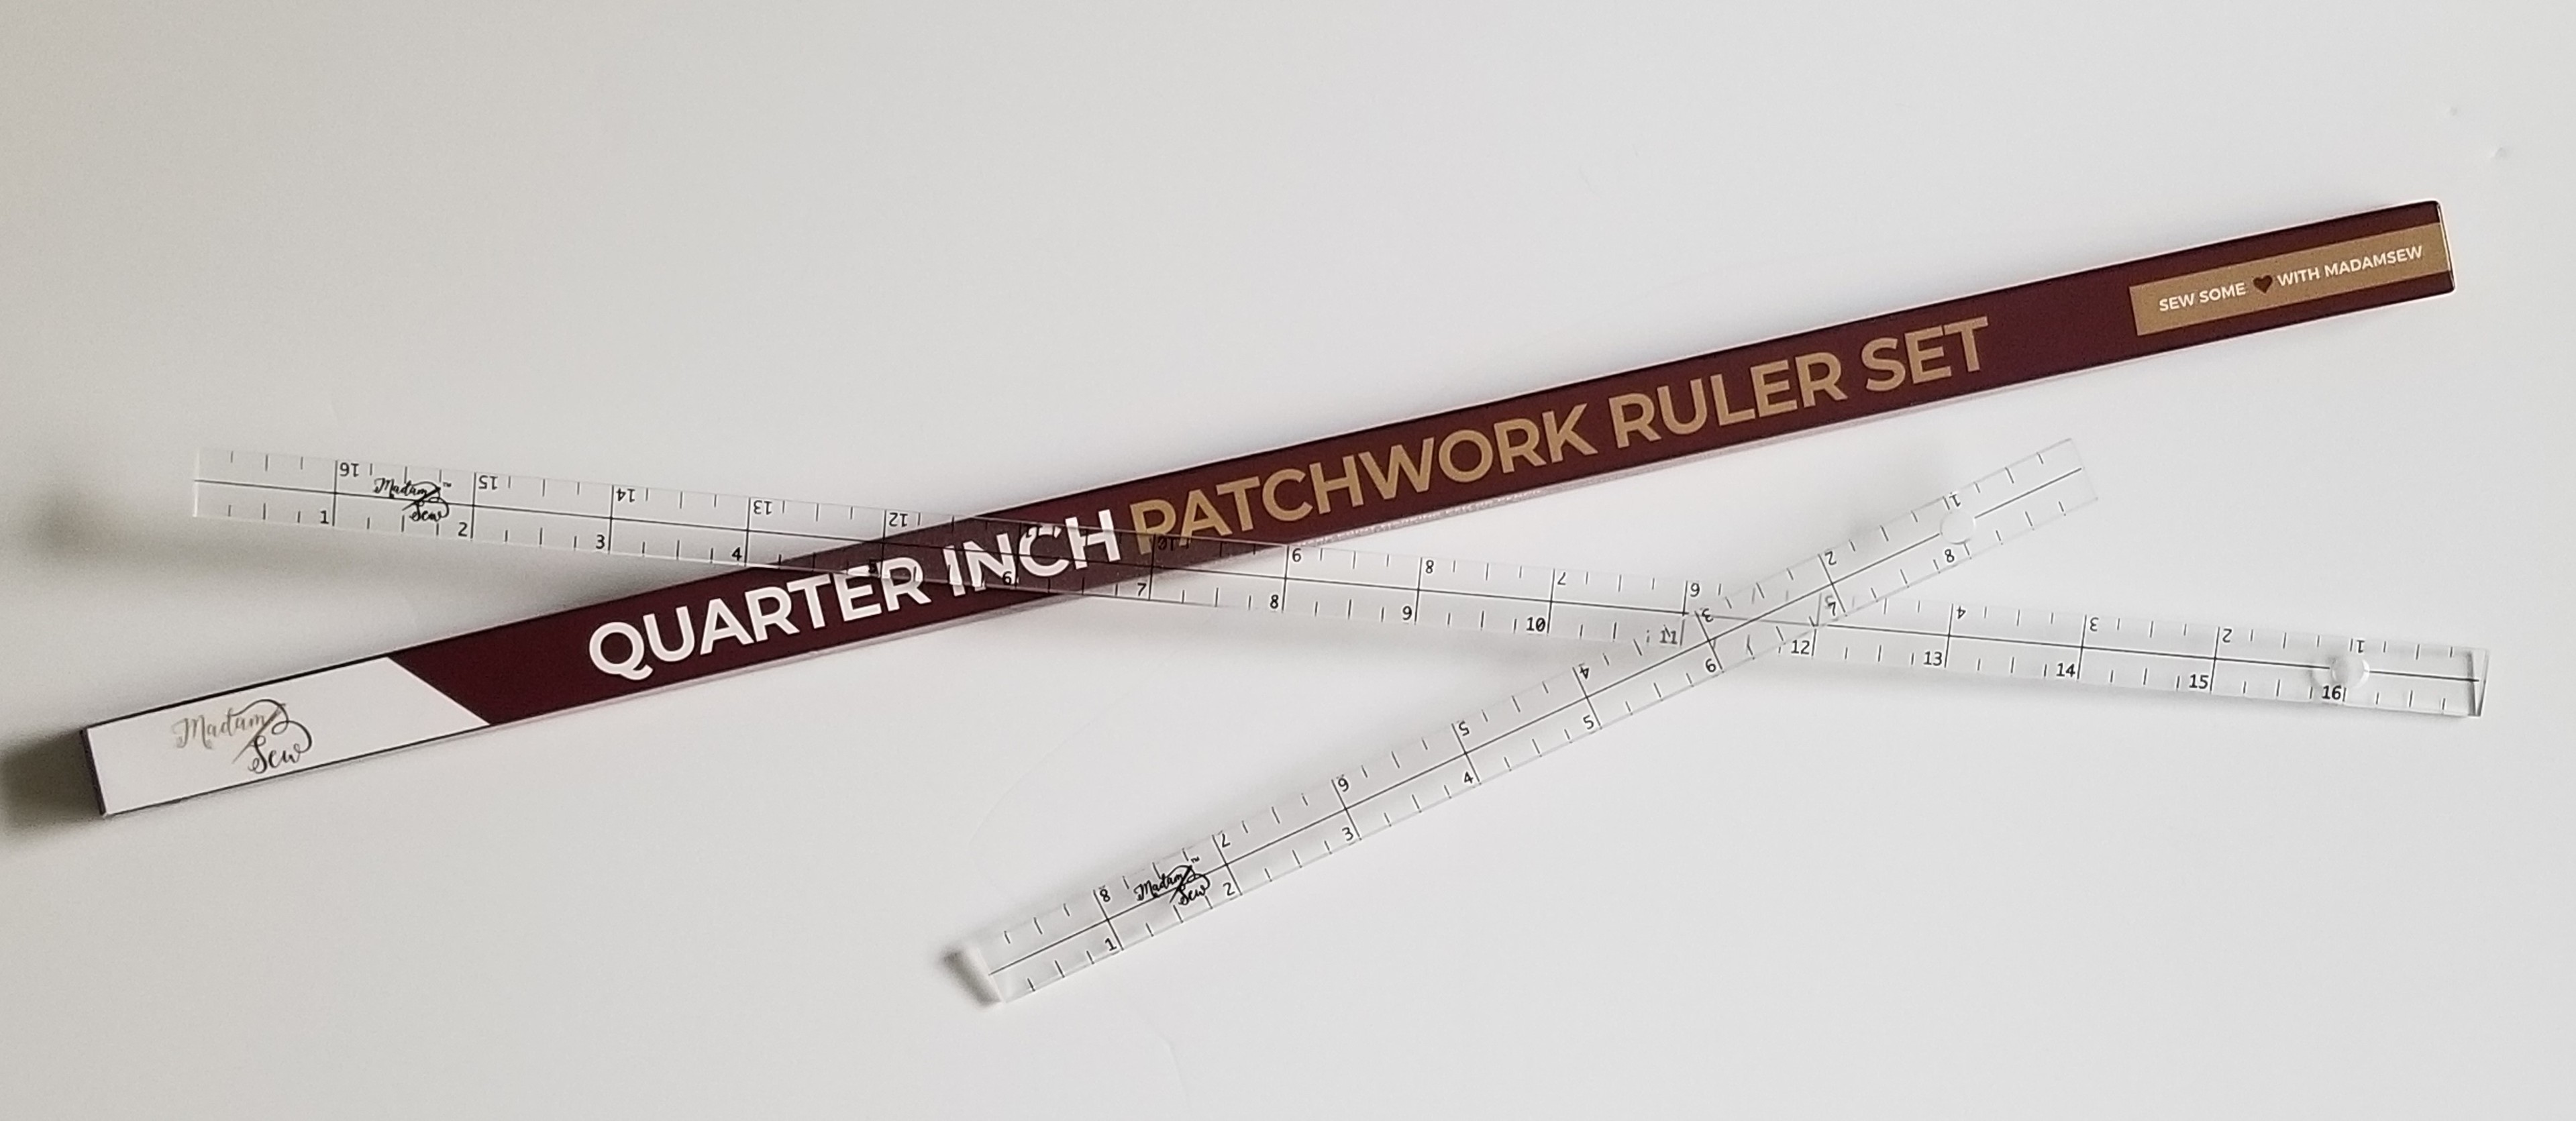
Everything you need to know about Madam Sew's Quarter Inch Patchwork Ruler Set "QIPS"
These, Madam Sew exclusive design, Quarter Inch Patchwork Rulers (QIP rulers) are great for marking ¼” sewing lines on your patchwork quilt pieces such as half-square triangles, hourglass, combination units and more!
These special rulers can be used for making ¼” and ½” markings on your quilts.
And the QIPS are handy for marking and checking ¼” and ½” seam allowances on sewing projects.
Plus, with ¼”, ½” and 1” markings along each side, you can use these rulers for crafting too!
USING QIPS TO MAKE HALF SQUARE TRIANGLES
For squares up to 6” use the 9” ruler and for squares larger than 6” and up to 12” use the 17” ruler.
Place the lighter colored fabric square on your work surface, with the wrong side facing up.
Place the QIP ruler on the square with the middle line running through opposite corners on the diagonal.
Using a sharp marking pen or pencil, draw a line on both sides of the ruler. These will be your sewing lines.
Watch the YouTube video of marking squares for half-square triangle units to see the QIP ruler in action.
Place your lighter fabric square on your darker square with the right sides together.
Pin or clip if needed.
If you are using small squares, you can combine this step before marking your lighter square, like in the video, just realign the squares as needed before sewing.
Sew on the edge of both marked lines closest to the middle.
Trim your threads.
Using a cutting ruler and rotary cutter, not the QIP, cut down the middle between the two sewn lines to make your half-square triangles.
Carefully press toward the darker side if you can, or press open.
Square up your half-square triangle unit by cutting off the little tails.
It’s that fast and easy! Just think of all the projects you can make with this useful tool!
For an additional, detailed blog about Half-Square Triangles read Beginning Quilting - Making Half-Square Triangles just use the QIP Rulers to mark your sewing lines instead of a regular quilting ruler.
HOW TO MAKE OTHER PATCHWORK UNITS
Want to try your hand at making other patchwork units with the Quarter Inch Patchwork Ruler Set?
To make Hourglass Units, check out our blog post Using QIPS to Make Hourglass Units.
To make Flying Geese Units, check out Beginning Quilting - Flying Geese just use the QIP Rulers to mark your sewing lines instead of a regular quilting ruler.
Return to our blog posts at MadamSew.com periodically for more blogs that will showcase how to use this helpful ruler set to make patchwork pieces.
HOW TO MAKE 1/4" AND 1/2" MARKINGS
To make ¼” markings on your quilt, align the middle line of the QIP ruler with the line you wish to mark your ¼” distance from, then using a chalk marker or a fine point, erasable pen, mark your quilt.
Remember to test on a scrap of the same fabric before marking on your project.
To make ½” markings on your quilt, align one edge of the QIP ruler with the line you wish to mark from, then using a chalk marker or a fine point, erasable pen, mark your quilt.
Remember to test on a scrap of the same fabric before marking on your project.
To make ½” markings on your quilt, align one edge of the QIP ruler with the line you wish to mark from, then using a chalk marker or a fine point erasable pen, mark your quilt.
Remember to test on a scrap of the same fabric before marking on your project.
HOW TO MAKE 1/4" AND 1/2" SEAM ALLOWANCES
There are times when you need to adjust your sewing or quilting pattern by a ¼” or ½”.
Use the middle line on the QIP ruler, which is a ¼” from the edge, to line up on your pattern or fabric and make your own lines. It is that simple.
You can also use the whole ruler, which is ½” wide, to make your own lines on the fabric or pattern…easy, peasy.
HOW TO CHECK SEAM ALLOWANCES
If you want to check if a seam allowance is indeed ¼” or ½” wide this ruler helps you do it easily.
To check for ¼”, align the middle of the ruler with your sewing line, the edge of your ruler will be ¼” away and you’ll be able to see if your sewing is too.
To check for ½”, align one edge of your ruler with your sewing line, the other edge of your ruler will be ½” away and you’ll be able to see if your sewing is too.
SAFETY WARNING
Do not use these rulers with rotary cutters, knives or other cutting tools. They are designed for marking only.


