Everything You Need to Know About Your New Madam Sew
Mini Iron!
Specifications
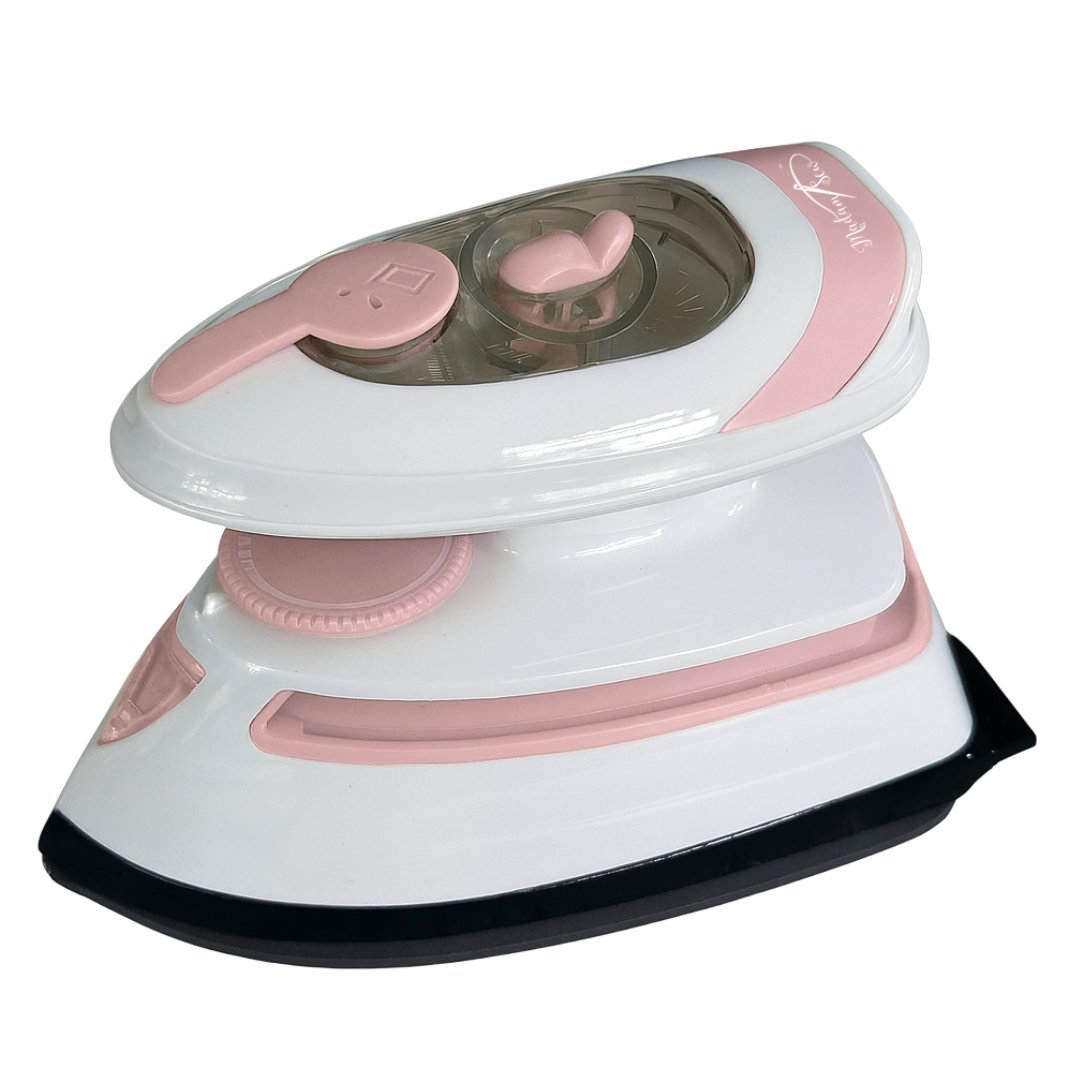
Product: Mini Iron + Fill Cup + Travel Bag
Model: Y-889 (Travel Steam Iron)
Electrical Details: 100-127V/220-240V; 60Hz;
260-420W/343-408W; Power Cord Length: 8 feet
Materials & Size:
Mini Iron: PP + Aluminum; 5.5”L; 0.25”-2.75”W; 3.25” H
Fill Cup: PP; 2.5”H; 1.25-1.5” W
Travel Bag: Polyester; 7.09” x 7.87”
Safety Certification:

Important Safety Instructions
When using an iron, basic precautions should always be followed, including the following:
READ ALL INSTRUCTIONS BEFORE USING
-
Only use an iron for its intended use. For household use only.
-
To avoid the risk of electric shock, do not immerse the iron in water or other liquids.
-
Always turn the iron OFF before plugging or unplugging the iron from the electrical outlet. Never pull on the cord to disconnect the iron from the electrical outlet; instead, grasp the plug and pull on the plug to disconnect the iron.
-
Do not let the cord touch hot surfaces. Let the iron cool completely before putting the iron away. Coil the cord loosely around the iron when storing.
-
Always disconnect the iron from the electrical outlet before filling the iron with water, emptying the water from the iron, and when the iron is not in use.
-
Do not operate the iron with a damaged cord or in the event the iron has been dropped or damaged. To avoid the risk of electric shock, do not disassemble the iron. Take it to a qualified serviceman for examination and repair. Incorrect assembly might result in a risk of electric shock when the iron is used after reassembly.
-
Close supervision is required for any appliance used by or near children. Do not leave the iron unattended while the iron is connected or on an ironing board or ironing mat.
-
Burns can occur from touching hot metal parts, hot water, or steam. Use caution when you turn a STEAM IRON upside down - there might be hot water in the reservoir.
-
To avoid circuit overload, do not operate an iron on the same circuit with another high wattage appliance.
-
If an extension cord is absolutely necessary, a cord with an amperage rating equal to or greater than the maximum rating of the iron shall be used. A cord rated for less amperage can result in a risk of fire or electric shock due to overheating. Care shall be taken to arrange the cord so that it cannot be pulled or tripped over.
Mini Iron Parts
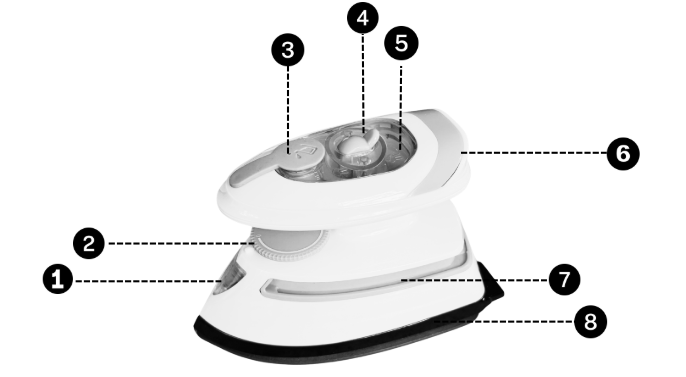
-
Heating Indicator Light
-
Off + Heat Settings Dial
-
Water Reservoir Cap
-
Steam On/Off Toggle
5. Water Reservoir
6. Handle
7. Power Cord Clip
8. Sole Plate
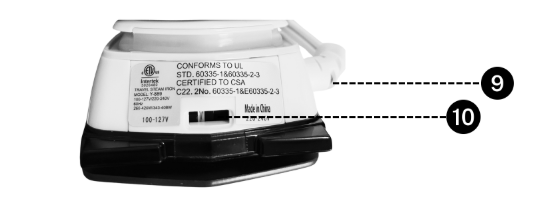
9. Power Cord Exit Point
10. Voltage Toggle Switch
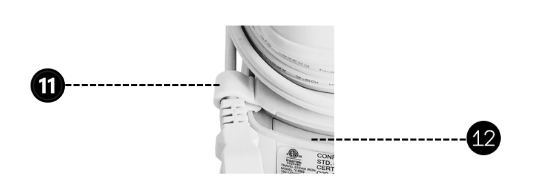
11. Power Cord Clip
12. Power Cord Clip Holder
Instructions
Voltage and Voltage Toggle Switch (Part #10)
-
The mini iron comes preset on 100-127V which will work in standard 120V outlets in the U.S.A.
-
If you need to use the 220-240V you must change the voltage toggle switch prior to plugging the iron into the higher voltage outlet.
-
To do so, use a small pointy object, while iron is unplugged, to move the voltage toggle switch (#10) to the 220-240V setting.
-
Failing to do so could damage the mini iron or pose a safety hazard.
Off + Heat Settings Dial (Part #2)
-
For no heat, set the dial to the off “O” position.
-
For low heat, set the dial to the one dot position.
-
For medium heat, set the dial to the two dot position.
-
For high heat and when using steam, set the dial to the three dot position.
-
When not in use, set your mini iron to the off position on the dial and unplug the iron.
-
Let the iron cool completely before storing it in the travel pouch or putting it sole plate down on a surface.
Heating Indicator Light (Part #1)
-
Once you plug in your mini iron and turn the heat dial, the Heating Indicator Light will come on.
-
The light will turn off once the mini iron has reached the heat setting temperature you have set the iron to.
Water Reservoir (Part #5)
-
To fill the water reservoir, use the fill cup that came with the mini iron.
-
Fill the cup to the “MAX” line or just below.
-
Open the Water Reservoir Cap (#3) by gently pulling up on it.
-
Fill the reservoir to “Max” or just below.
-
Do not over fill as doing so may cause issues or water leakage.
-
Put the Water Reservoir Cap back in place firmly so that the opening is sealed.
Steam Toggle Switch (Part #4)
-
To obtain steam, your Off + Heat Settings Dial (#2) needs to be set to three dots.
-
Move the Steam Toggle Switch forward (toward the steam icon) to activate steam. Move it backward (toward the crossed-out icon) to deactivate.
-
To shut the steam off, set the Steam Toggle Switch back toward the crossed out puffy cloud with steam symbol and away from the Water Reservoir Cap.
Power Cord Storage
-
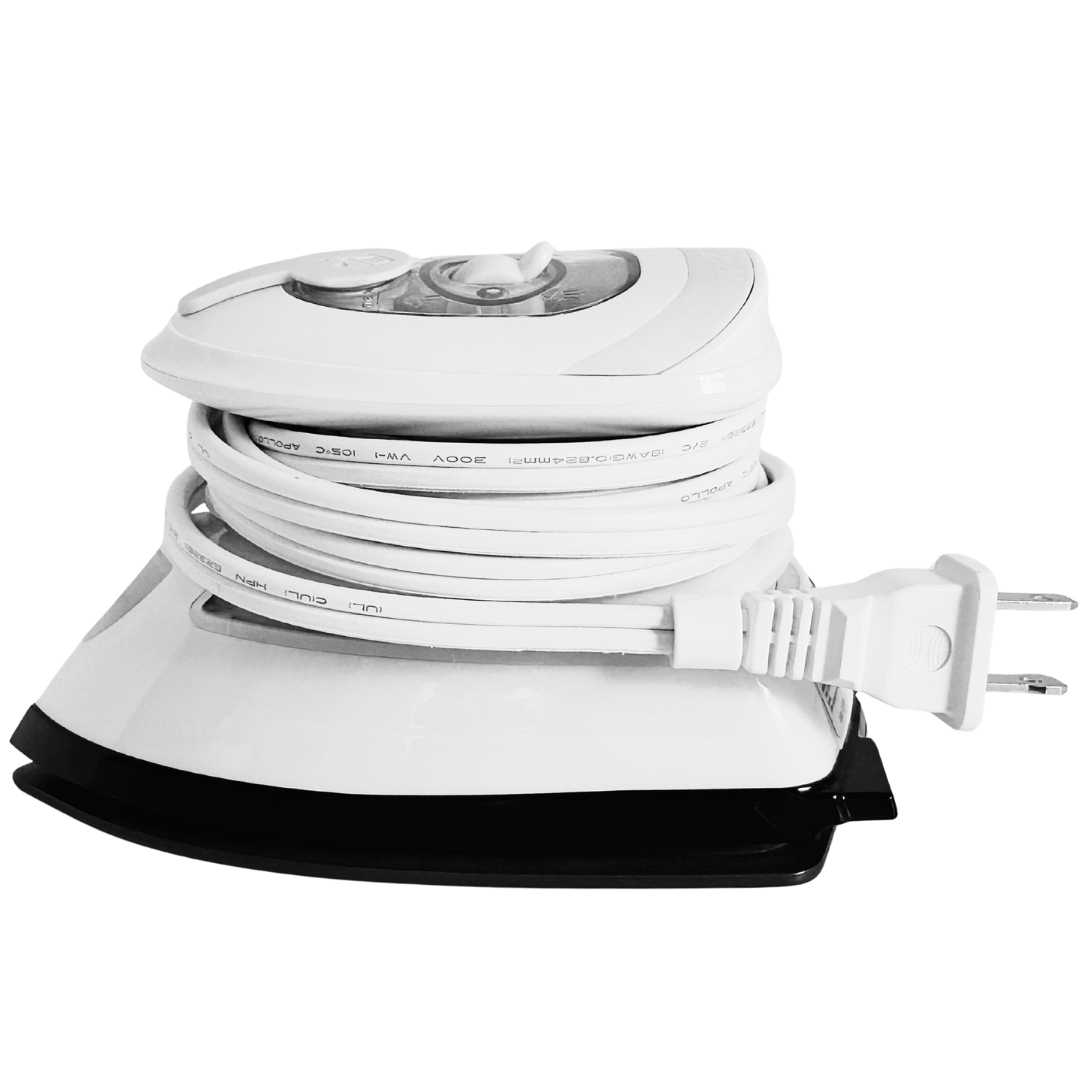
Wrap the power cord around the handle stem loosely as shown in the image below.
-
Slide the Power Cord Clip into the back section of the Power Cord Clip Holder (Part #7 & Part #12).
-
Then slide the clip along this holder to take up the slack on the cord.
Other
-
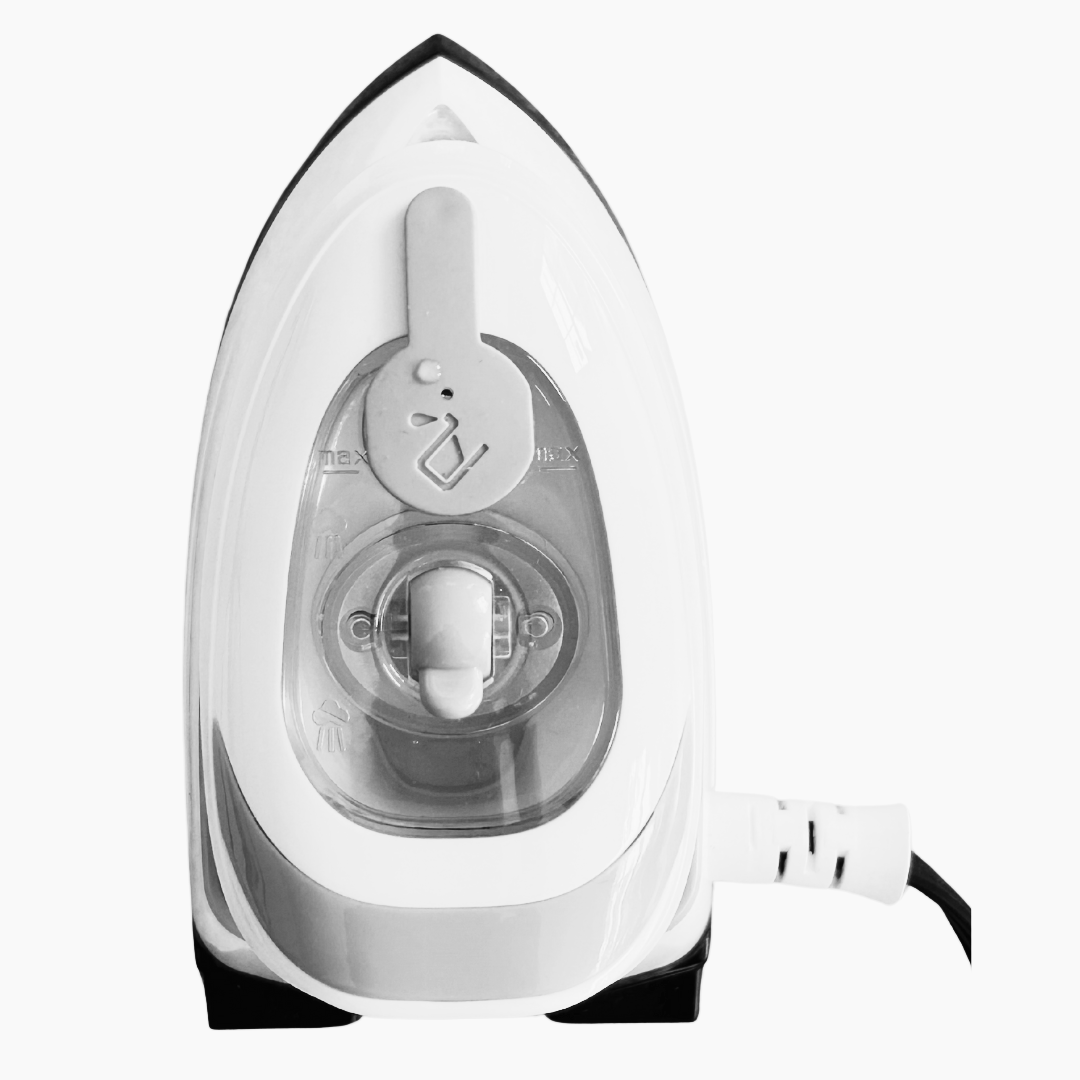
When using the mini iron, stand it up on its end to keep the sole plate up off the work surface like in the picture below.
See it in Action!
It’s great to have what you need right at your finger tips. Complete your pressing station today!
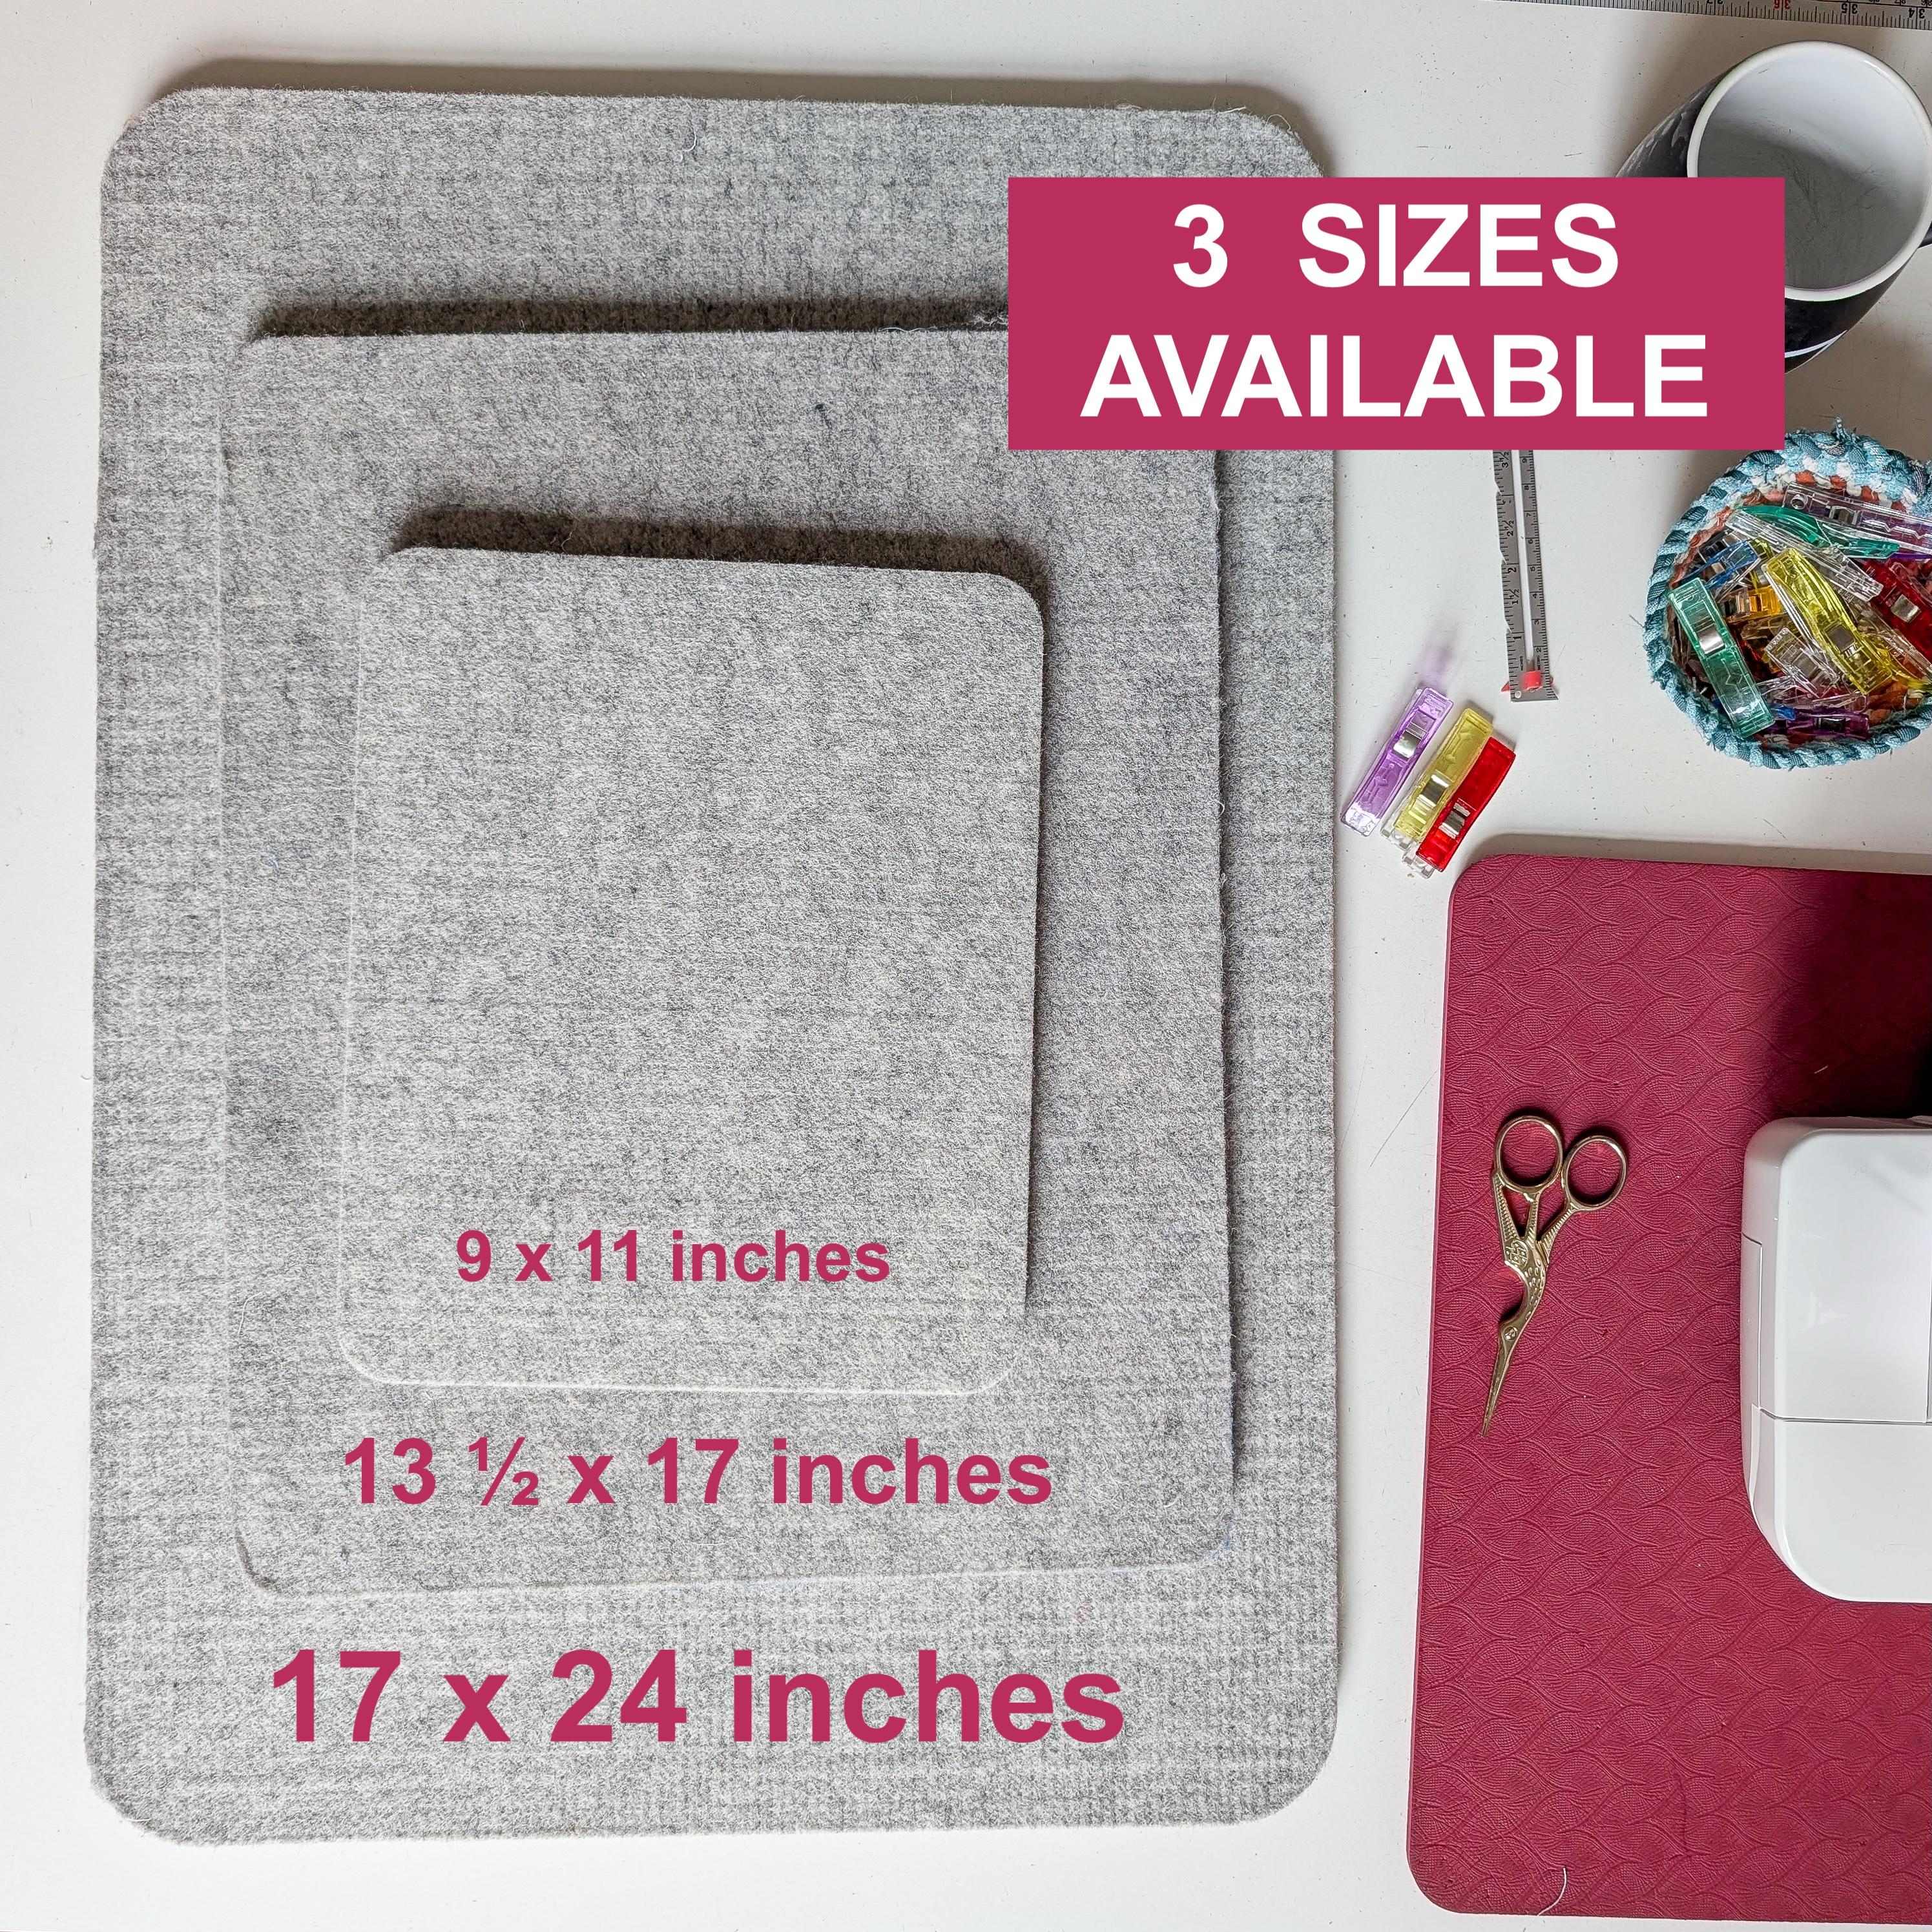
Check out the Mini Pressing Mat, its small size makes it ideal to have right next to your sewing machine.
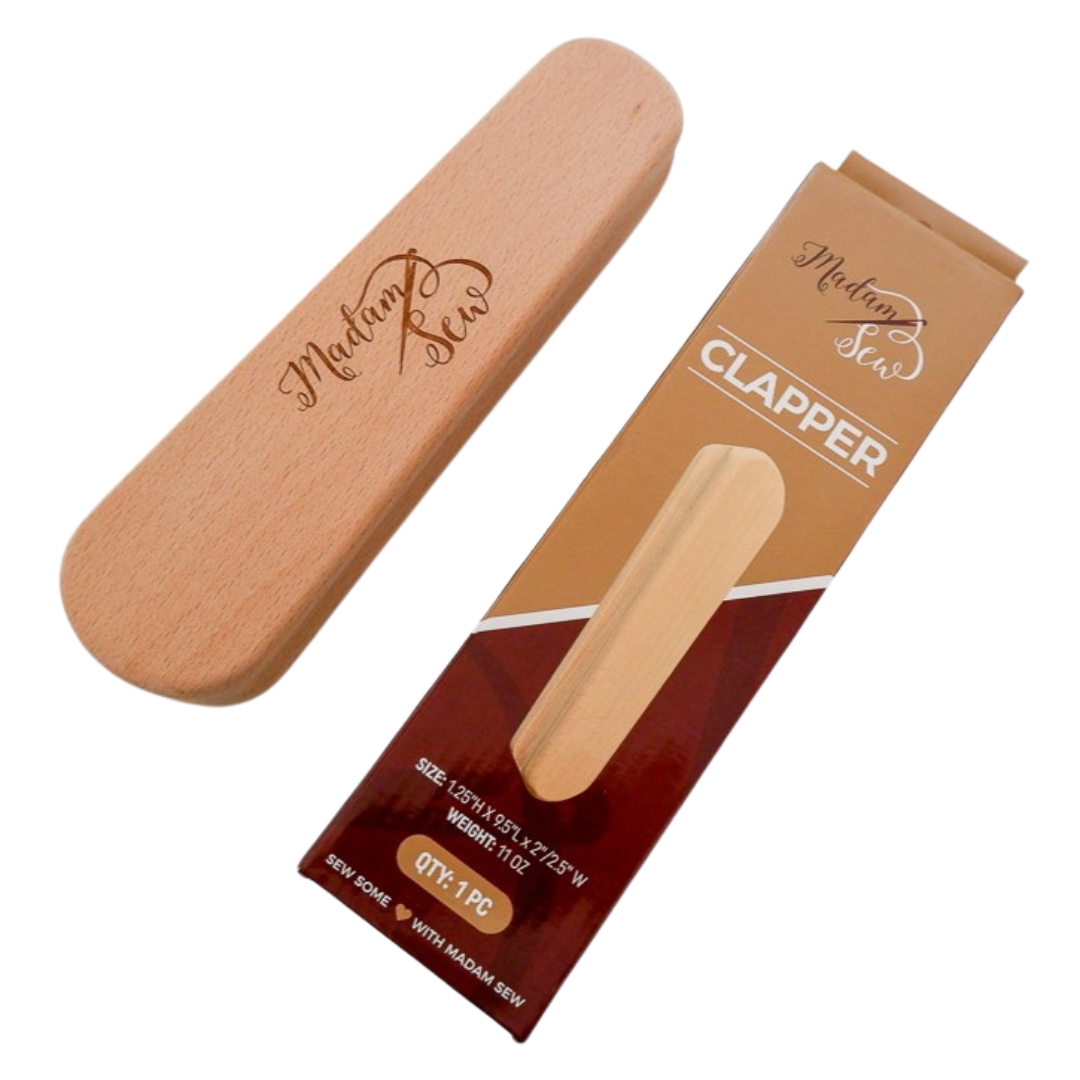
Looking for even crisper seams, consider getting the Clapper, it’s the secret for getting that professional look.
Just visit our shop by clicking on the links above.
Looking to have a pressing station right at your machine?