How To Create A Sharp Seamed Edge With Understitching
Want your homemade garment to look more professional? Learning how to understitch is an easy skill that makes a big difference in sewing garments. It means no more facing rolling outside the neckline of your garment and you don’t see any stitches. Understitching is simply stitching a line close to the edge of a facing to keep it from rolling toward the outside. And, there are no stitches showing on the outside. Bye bye topstitching!
When I started sewing, it seemed like topstitching was the way to go to finish off garments with facing or lining, especially for children’s clothing. I’m not such a big fan of a lot of stitches for necklines and pockets. If the stitching isn’t really neat, everyone can see your garment is homemade. I often skipped the topstitching part and just pressed the seams, but the facing always rolled out and showed. This is where the understitching comes in. You don’t see any stitches and the facing stays in place. Yes!
Understitching is referred to a lot in garment construction, especially around necklines with facings. You sew a row of stitches through the facing and seam allowance so the facing stays in place. You might also see understitching around the waist of a lined skirt – the style without a waistband-, and it is also used for pockets on trousers or skirts, for bindings, and under collars or straps.
Understitching is not a way of finishing your edges, like french seams or flat felled seams.
How to Sew Understitching
In the pictures below, I sewed understitching on the neckline of a bodice for a little blue cotton dress for my daughter. I also added some pictures at the end of two other projects:
-
The facing of the collar I made for a flowered summer dress for myself.
-
The pockets of a maxi summer skirt made out of a very lightweight vintage fabric.
Always choose a thread color similar to the facing or one that coordinates with the facing. Understitches are not to be seen.
1. Set up your machine for regular sewing with a straight stitch.
2. With right sides together sew the seam, attaching the right side piece to the lining piece. The little dress will be blue, so blue is the right side.
3. Trim the seam allowance back to 1/4" with your fabric scissors. Your fold will lie flatter if you grade your seams, especially with heavyweight fabrics. This means you trim one seam allowance edge narrower than the other. Trim the seam allowance that lies against the facing to 1/8″. You’ll find out very quickly that if you don’t trim them that way, it will be very hard to catch the short seam allowance with the understitching. On curved seams, clip the seam allowance.
4. Once you’ve clipped and trimmed the seam allowance, you can press the facing away from the garment, along with the trimmed seam allowance. Pin the seam allowance to the facing on the right side of the fabrics.
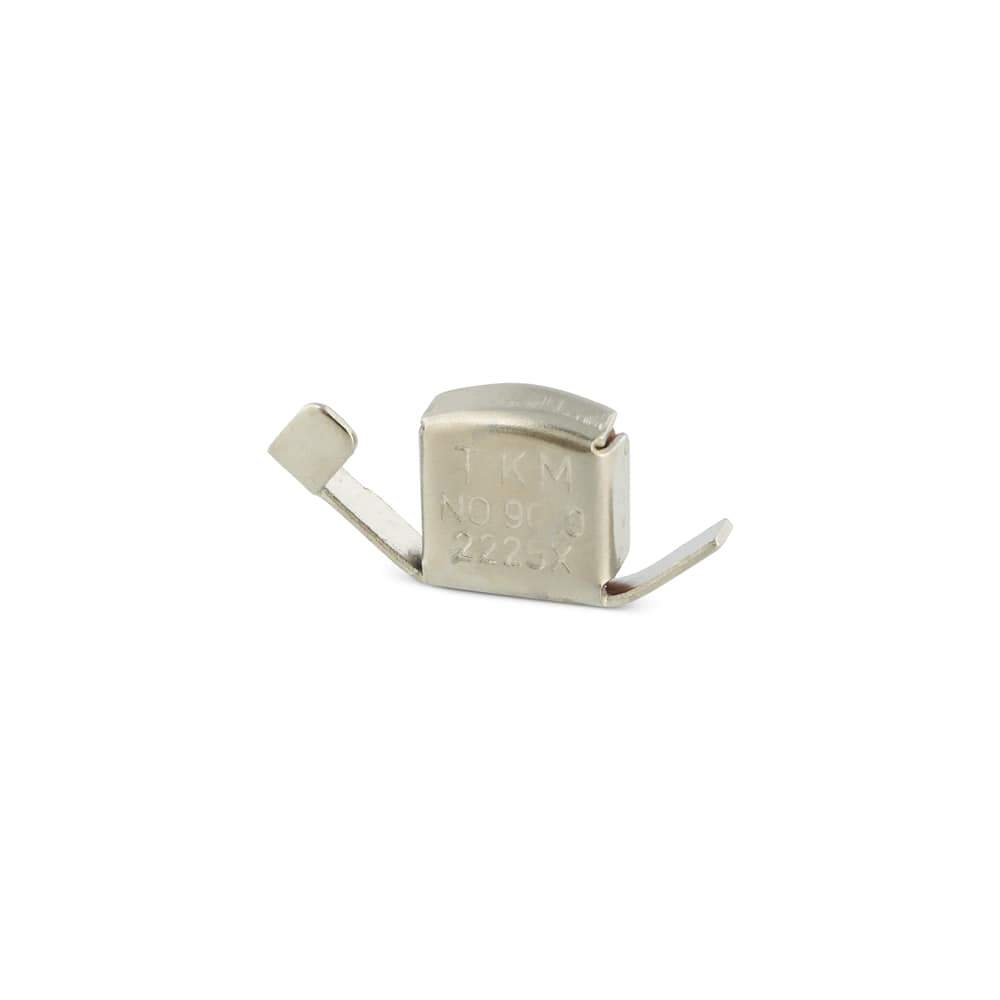
5. Lay the sewn piece out flat, right side up. The seam allowance should be lying underneath the lining. Put this part under your machine’s presser foot. Edgestitch at approx 1/8” from one end to the other with a straight stitch. This is the understitching. Try to stay as close as possible to the main seam. An edge joining presser foot is a great help for this job! Just snap this foot on your machine, put your needle in the left position, and sew with the guide in the crease of the seam. Staying at ⅛” from the seam is so easy!
If you want to find out more about universal presser feet, check out this blog that explains what feet will fit on your sewing machine.
6. Fold the main fabric and the lining pieces back together along the seam line, wrong sides facing, and press for a sharp edge. From the front, your seam edge should look straight and clean, just like the pictures below. You can't see the lining :-).
Some Projects With Understitching
Here are some other sewing projects where I used understitching:
The pockets of a summer skirt:
The collar of a summer dress:
Now, if someone asks you, “What is understitching?” You’ll be able to explain what it is, why it’s important, and how to do it. Understitching is often neglected because when you are rushing to finish a garment in between making dinner and the next domestic disaster, it’s an easy thing to skip. But, it’s so easy and it doesn’t take a lot of time. Once you get the hang of it, you’ll understitch everywhere :))). Understitching makes your garments look so much more neat and polished.
If you have any questions or hesitations about this post, just send me an email an@madamsew.com
An
Sewing aficionado and keen sewing blogger/vlogger.
An is Madam Sew’s dedicated creative brain, writing and filming insightful, inspirational content for the sewing enthusiast.
PS: Do share this blog post--just give clear credit to MadamSew, including our original blog post link. Thanks!


