Sewing a Transparent Vinyl Zipper Pouch
We are very happy to share with you this tutorial for an easy vinyl pouch with a zipper. With some basic sewing skills this is a very quick sewing project!
With a cute sewing motif on the fabirc, a clear vinyl bottom and a zipper to open and close this diy pouch, you can easily see what's inside this little homemade bag. Use it as a toiletry bag or a pencil case. This pouch is quick and easy to make with the roller foot from your Madam Sew Presser Foot Set and a pack of Sewing Clips.
Sometimes it is fun to have special bags for taking trips or sewing classes!
What you need to make a vinyl pouch
Sewing Motif Fabric
2 pieces 3-inches x 11-inches
2 pieces 2-inches x 3-inches
Clear Vinyl
2 pieces 6-inches x 11 inches
Notions
1 9-inch zipper
How to sew a zippered clear vinyl bag
Start by sewing the zipper
Start by pressing the 1x3” fabric pieces for the tabs on the zipper. Press the short ends to the wrong side about 1/4-inch. Then, meeting the folded ends, press in half, wrong sides together.
Place the tabs over the zipper ends, making sure the folded edges line up on both the top side and underside of the zipper ends. Be sure not to sew over the zipper itself, or the zipper stops. This will lengthen the zipper and keep the ends tidy.
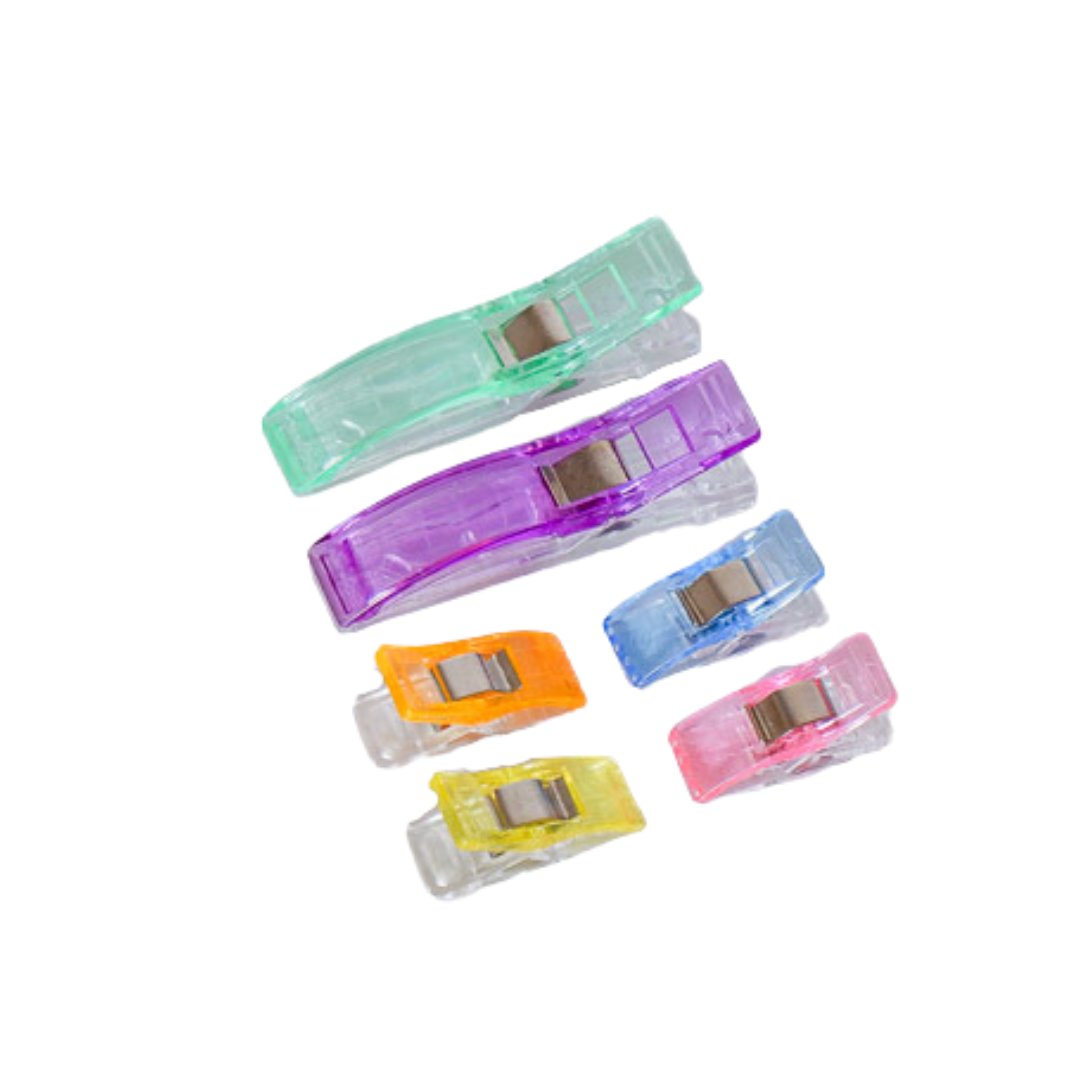
Place the zipper on one of the 3x11-inch fabric pieces, with the right sides together along the 11-inch side of the fabric. Use sewing clips to hold the zipper in place instead of pins. The clips hold the zipper without distorting it like pins do. Sew the zipper to the fabric with a 1/4-inch seam.
Repeat for the other side. Flatten out the fabric and zipper, and stitch along the folded edge to finish it.
Sewing the clear vinyl
Next, from the Presser Foot Set, find the #7 Roller Foot. This will help with the vinyl as it will roll instead of sticking to the vinyl. Change the foot on your machine to the roller foot. Line up the vinyl 11-inch side with the fabric. Hold with clips, stitch with a 1/4-inch seam.
On the wrong side, finger press the seam towards the fabric side. It is hard to see, but the vinyl in the picture below is extended to the right. Top-stitch the seam in the center of the seam allowance to keep it flat inside the bag.
Repeat for the other side.
Unzip the zipper to have a way to turn it right side out when the bag is finished. Clip the front and back of the bag together, meeting the vinyl to vinyl, and fabric to fabric, lining up the seams on the sides.
Sew from the zipper, down one side, across the bottom and up the other side to the zipper again.
Clip the corners off the vinyl at an angle near the seam corner. This will make the next steps easier by reducing the bulk.
Now, box the corners. Arrange the vinyl so that the corner is at the point, by pulling the front and back sides apart, and then line up the side seam line over the bottom seam at each bottom corner. Mark a line 1-1/2-inches from the point using a white marker.
Sew on the line drawn. Repeat for the other side.
Turn right side out through the open zipper. Push the corners out.
Add a sewing charm to the zipper pull for a cute detail.
Finished and ready to fill with your sewing tools!
Easy to make, fast to sew, and would make a nice gift as well.
The sewing clips are useful for any project that needs holding together for sewing when pins won’t work. Vinyl and leather are just two ideas, but you can also use them for sewing delicate synthetics like silk where pins might snag. There are lines on the clear side marking 1/8-inch and 1/4-inch.
This line is great for quilt binding as well, making sure your 1/4-inch is accurate.
Have fun using your new vinyl bag!
This vinyl bag is quick and easy to make with the roller foot from your Madam Sew Presser Foot Set. To work with vinyl fabrics, sewing clips come in handy to replace pins so you don't make holes in your vinyl. MadamSew has a pack of 50 sewing clips in the store at a great price.
I hope you liked our quick and easy zipper pouch tutorial. If you have any questions, don't hesitate to get in touch!
Happy Sewing!!
Carole @ From My Carolina Home


21 comments
Everything I’ve ever bought from you I’ve been more than happy with it….the clips and elastic you can cut to size was so handy when i was making masks….
What gauge vinyl did you use? Several comments were asked, but I saw no answers given. Thanks
Great project—what gauge vinyl did you use?
Great tutorial. I’m heading to my local fabric store tomorrow morning. Thank you for the instruction and inspiration!
Tried ur bag tutorial and excellent. Never thought of using the roller foot for the vinyl. And I’ve been sewing most of my life. Thank you.