Learn How to Make This Large Quilted Tote
Hello all!
I’ve been using Madam Sew’s quilting templates for a ton of projects lately, especially using a lot of my scraps which were threatening to take over my sewing room. Here is one of my favorites, a large beach tote using half-square triangles. Instead of using a print for my squares, I made some fabric using tiny scraps, but you can substitute it for any print you like.
Tools and Materials
- Rotary cutter
- Non-slip ruler 6" X 24"
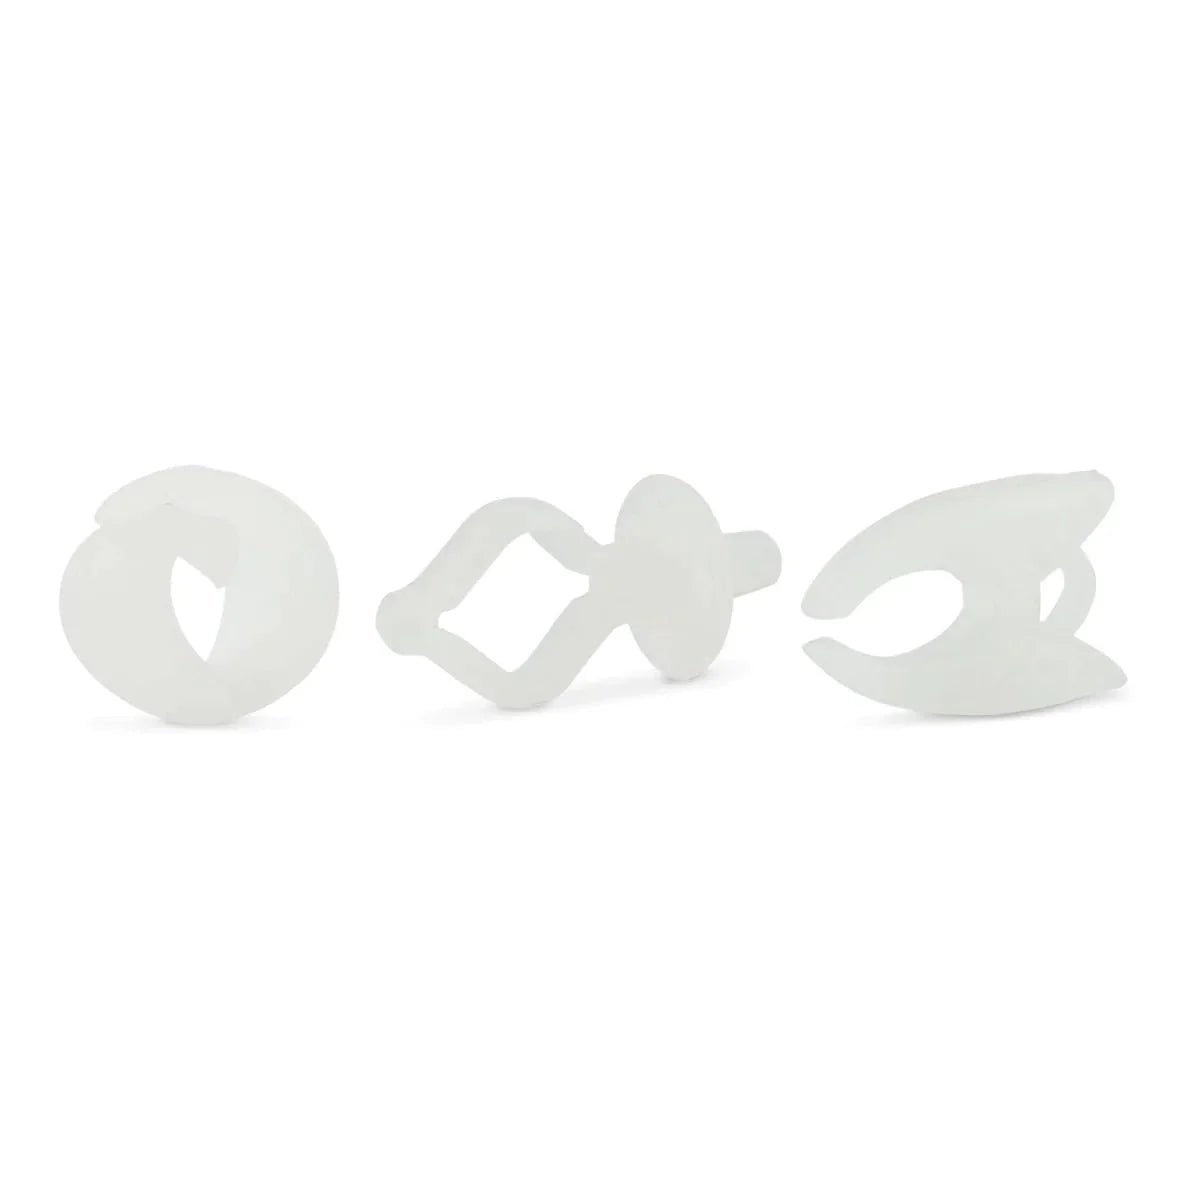
- Large square quilting template set
- Small scissors
- Gel pen
- Basting pins
- Straight pins
- Sewing clips
- Washable glue stick
- Canvas, denim or other sturdy fabric scrap for bag bottom
- 56” of 1” webbing or grosgrain ribbon
- Fabric scraps in white and a contrasting color
- 2.5” fabric strips: 84” main color (MC), 52” contrasting color (CC)
- 46x28” batting
- 48x30” backing fabric
- Lining fabric, about ½ yard (depending on the width of your fabric--you will need two pieces roughly 24x19”)
Cutting The Fabric Pieces for the Tote Bag
Cut your fabric as follows:
Denim/canvas in two pieces 26x7”.
MC strips: eight 9” pieces, two 6” pieces.
CC strips: four 13” pieces
5” squares - 8 white, 8 color
6” squares - 2 white, 2 color
Don’t cut the lining fabric yet, because the size of the bag will change slightly with quilting.
Make the Squares
Stack your 5” squares in pairs (one white, one color), right sides together, and mark a diagonal line from one corner to another. Repeat with your 6” squares.
Sew a ¼” seam on either side of the marked line.
Cut on the marked line and press open.
You should have 16 small squares and 4 large squares. Use the 4” template to square off the small squares and the 5” for the larger ones.
Align the template on the square so that the corners touch the diagonal seam.
Press firmly on the template and use your rotary cutter to slice the four sides.
Continue to press the template down on the fabric while you use your rotary cutter to trim the corners.
Make the Pinwheels
Divide your small squares in groups of 4 and stack them with the solid triangle pointing top right. To arrange them in a pinwheel composition rotate each triangle in the stack ¼ turn.
Join the top squares first, then the bottom two.
Join the two rows.
Repeat with remaining three pinwheels.
Attach the Sashing
Your MC 9” strips will be the sashing above and below your pinwheels. Roughly center each strip (there will be excess on both sides) and sew a ¼” seam.
Repeat with remaining three pinwheel blocks. Press seams to one side.
Mark the center of each side of both short strips (make a large mark on the short sides to avoid trimming it off later). Arrange each one between two large squares, paying attention to its position (I placed my sashing against the printed triangles). Mark the center of the block on the side that will be joined to the sashing. Sew a ¼” seam to attach.
Press seams to one side and trim the excess sashing. Your pinwheel pieces will measure 12.5x8.25”, and your center piece will be 12.5x5.5”.
Now grab the CC strips, fold each one in half and mark the center on both sides. Match center marks on one strip of sashing and one side of center block and sew together.
Repeat on the other side and again on the second panel’s center block.
Place one pinwheel block on each side of the center block (now with sashing attached), paying attention to pinwheel direction. Place right sides together matching center mark on sashing with center seam on blocks and sew.
Press seams to one side and trim the bottom of each completed panel (I like to leave the top for the end).
Attach The Bottom Pieces
Attach denim/canvas pieces to the bottom of each top panel (bottom will be slightly wider than top, just roughly center it, you will trim the excess later) and press seams towards the patchwork panel.
Quilt and Trim The Panels
Make and baste your quilt sandwich placing both top panels on the backing and batting (so you have a single quilt sandwich). Quilt densely with desired pattern (no more than 1” apart) to ensure the bag has enough strength to withstand weight.
Using the seam between the top and bottom of each panel as your guide, mark a parallel line 6” below it and trim.
Trim the top and sides using the edge of the quilted blocks as your guide.
Attach The Handles
Draw a line in the center of each CC sashing, extending it into the bottom panel and trace with glue.
At the top of the sashing, draw a line 1” from the edge, this will be the top edge of your stitching.
Lay strap on top, pressing against the glue line, curve around the top being careful not to twist, and lay over the parallel line. Use dry iron to set.
Sew each side of the strap separately. Starting at the bottom, close to the edge, and pivoting 1” from the top to sew across and come down the other side back to the bottom.
Repeat with the second handle.
Pin both handles down, away from the top edge.
Build the Bag
1. Place panels right sides together, matching the side seams at the sides. Clip or pin together and use a ¼” seam allowance to sew around sides and bottom.
2. Mark a 4” square on the bottom corners and cut them out.
3. Press seams open.
4. Flatten the square openings and sew with a ¼” seam to create boxed corners.
Repeat steps 1-4 with lining panels BUT leave 6” opening at bottom during step 1 for turning.
Turn the lining right side out and insert into the bag so that the right sides are touching. Match top edges and sew ¼” seam.
Push the bag out through the opening in the lining and place the lining inside.
Press the top seam turning slightly towards the lining. Clip in place and top stitch edge.
Sew lining opening by hand or machine.
There you have it! A roomy tote for the beach or the farmer’s market. Let us know if you decide to make it in the comments!