The Presser Foot with Ruler/Stitch Guide Presser foot : Manual
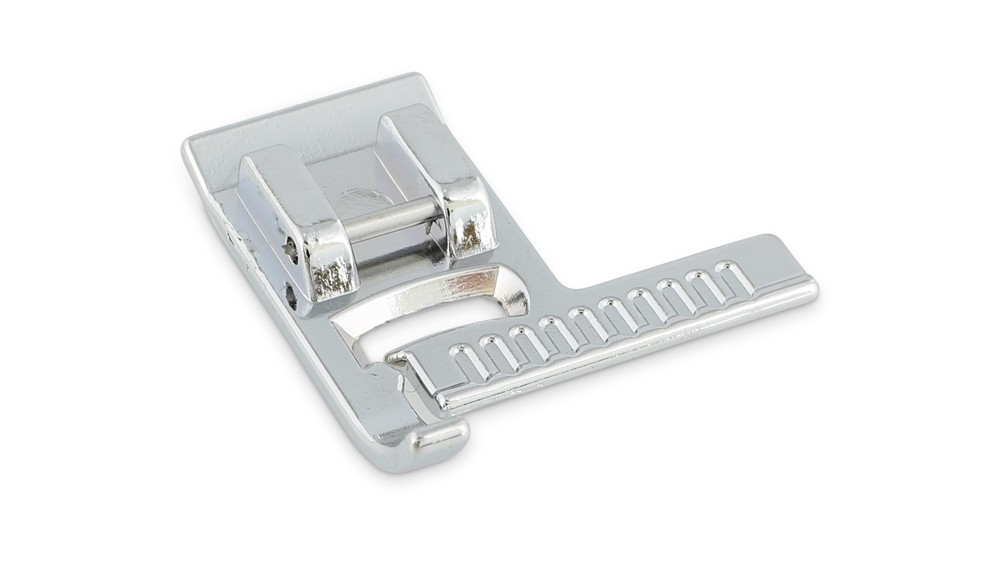
This Presser Foot With Ruler is also known as the Stitch Guide Foot and is similar to the Gauge Presser Foot. It was designed to sew precise parallel lines easily. It’s a great foot for projects that require the utmost accuracy.
Use it for garment sewing, echo quilting, piecing, to position top stitches or to nail those parallel stitches. It’s a great help to stitch straight lines and precise seam allowances from 1/8" up to 3/4" wide. The precision scale goes up per 1/16” - it doesn't get any better than that!
Dimensions
This foot has marks from ⅛” to ¾” inch
Precision scale: 1/16”
This foot fits
All snap-on sewing machines except Bernina and PFAFF machines and some Husqvarna Viking models.
You can use this foot on:
- a Bernina if you have the Bernina adapter + a low shank snap on adapter
- a Pfaff or a Husqvarna Viking or on all screw-on machines if you have the low shank adapter
- a high shank machine if you have the high shank adapter
Instructions
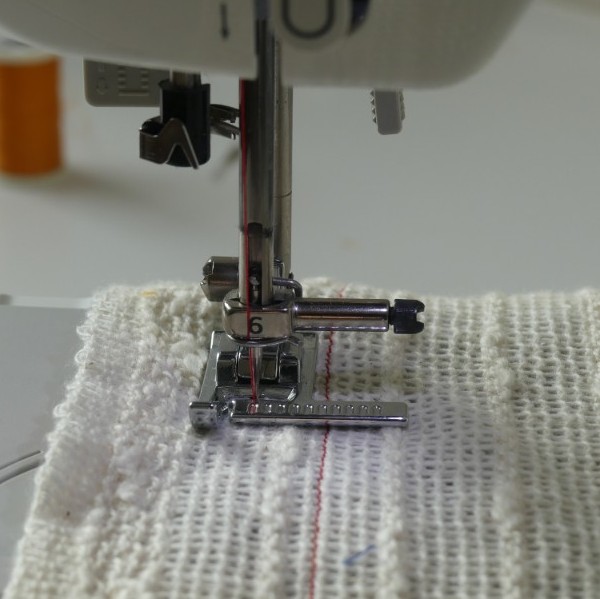
The presser foot with ruler guides from the top.
Simply line up one of the markings of the ruler to the edge of your fabric, a line on your fabric, a row of stitching or a crease and then sew away, keeping the marking of the ruler on the line, crease or edge. No marking or basting necessary.
The result is a perfect seam or an even line, which is ideal for quilting or any project that requires consistent sewn seams.
The adjustable guide foot makes sewing straight lines a breeze, on hems, seams or quilts!
Use 1: Topstitching with the ruler foot
With the help of this Madam Sew Ruler foot topstitching is a breeze as you can choose unusual distances and sew in perfect alignment and get a very professional looking result.
Once your hem has been sewn and pressed to perfection you are ready to top stitch.
Simply decide how far from the edge or from a line you want to stitch, the foot has measurements marked every 1/16” for absolute accuracy. Line up your edge and begin to sew. Once you have a single row of top stitching sewn in place you can get fancy and add a second or third as the whim takes you. You can also use this foot with a twin needle and with single pass create a parallel double stitch.
Use 2 : Echo quilting
Echo quilting is one of those skills that every machine quilter should master.
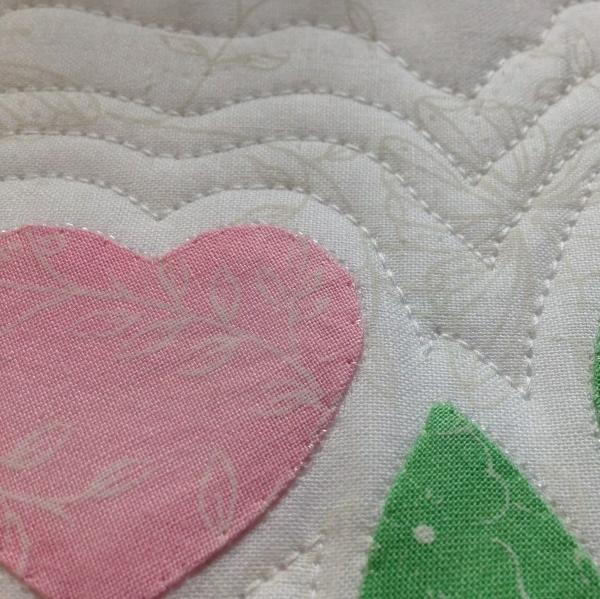
Echo quilting is a line of quilting that is stitched a uniform distance away from a fabric patch, an applique piece or a quilting motif. If you stop with the first line of stitching, it is called outline quilting. If you continue stitching another line at the same distance from the first, you are echo quilting. Continue adding lines of quilting until you are satisfied with the look. Increase the distance between the lines for a slightly different effect, almost as if the echo is becoming quieter, the further away the lines move from the original shape.
It is fast, because it requires no marking, it adds emphasis to applique and quilting designs with ease and is a much quicker alternative to micro-stippling or other fill stitches. This stitching also compacts the batting around your design so that your applique comes forward visually.
With the Madam Sew Ruler foot echo quilting is easy to master.
How to echo quilt?
First you apply an applique to your fabric and create a quilt sandwich, a layer of back fabric, some wadding and the top layer with your applique on it. Then baste them together with either basting pins or long stitches in a grid. Decide how far apart your echo lines will be placed from the edge of the applique. Position the applique under the ruler. Drop the needle, pull the lower thread to the top as for standard machine quilting, and now sew along the edge of your applique shape keeping to the same ruler mark.
You have now outlined your applique. If you wish to continue with the echoing create a second line of stitching the same distance away from the first, you can measure from either the original applique or from the new line of stitching.
Continue to echo the original shape of the applique until you have your desired effect. If you want to try the fading echo increase the distance from the line of stitching as you work.
Watch the Video Tutorial


