How To Make A Nifty Wrist Holder For Your Sewing Clips
I was looking for a pin cushion but for my fabric clips and preferably a wrist holder to keep my clips at hand while I’m sewing.
You can buy one but I’m so happy I found this great DIY idea on Easysewingforbeginners.com
So, I tested Domenica’s Idea, adapted it a little and will share my making process with you!
I really like the result and it does the trick, clipping on and off is easy.
What you need for this project
2 1/2” x 23” strip, in felt
5” x 10 1/2” strip of fabric for the strap
2” hook and loop tape
All purpose machine thread

A sewing needle for hand-sewing
An erasable fabric marker
A ruler
Scissors or rotary cutter, sewing machine, iron,
Optional: a walking presser foot for the straps

step 1: make the felt holder "The flower"
Fold the long edges together and clip

Sew 1/8" along the long edge

If you want you can put markings as a help to where you have to cut. I used my heat erasable gel pen and drew a line 1/2 inch from the long edge I just sewn together and then marked every half an inch on the other side

Take your scissors and cut the little petals on the marks
Wrap the felt strip around your finger and continue until you have a flower
Whipstitch the flower with a hand needle

Your flower-clips-holder is ready!

step 2: make the wristband
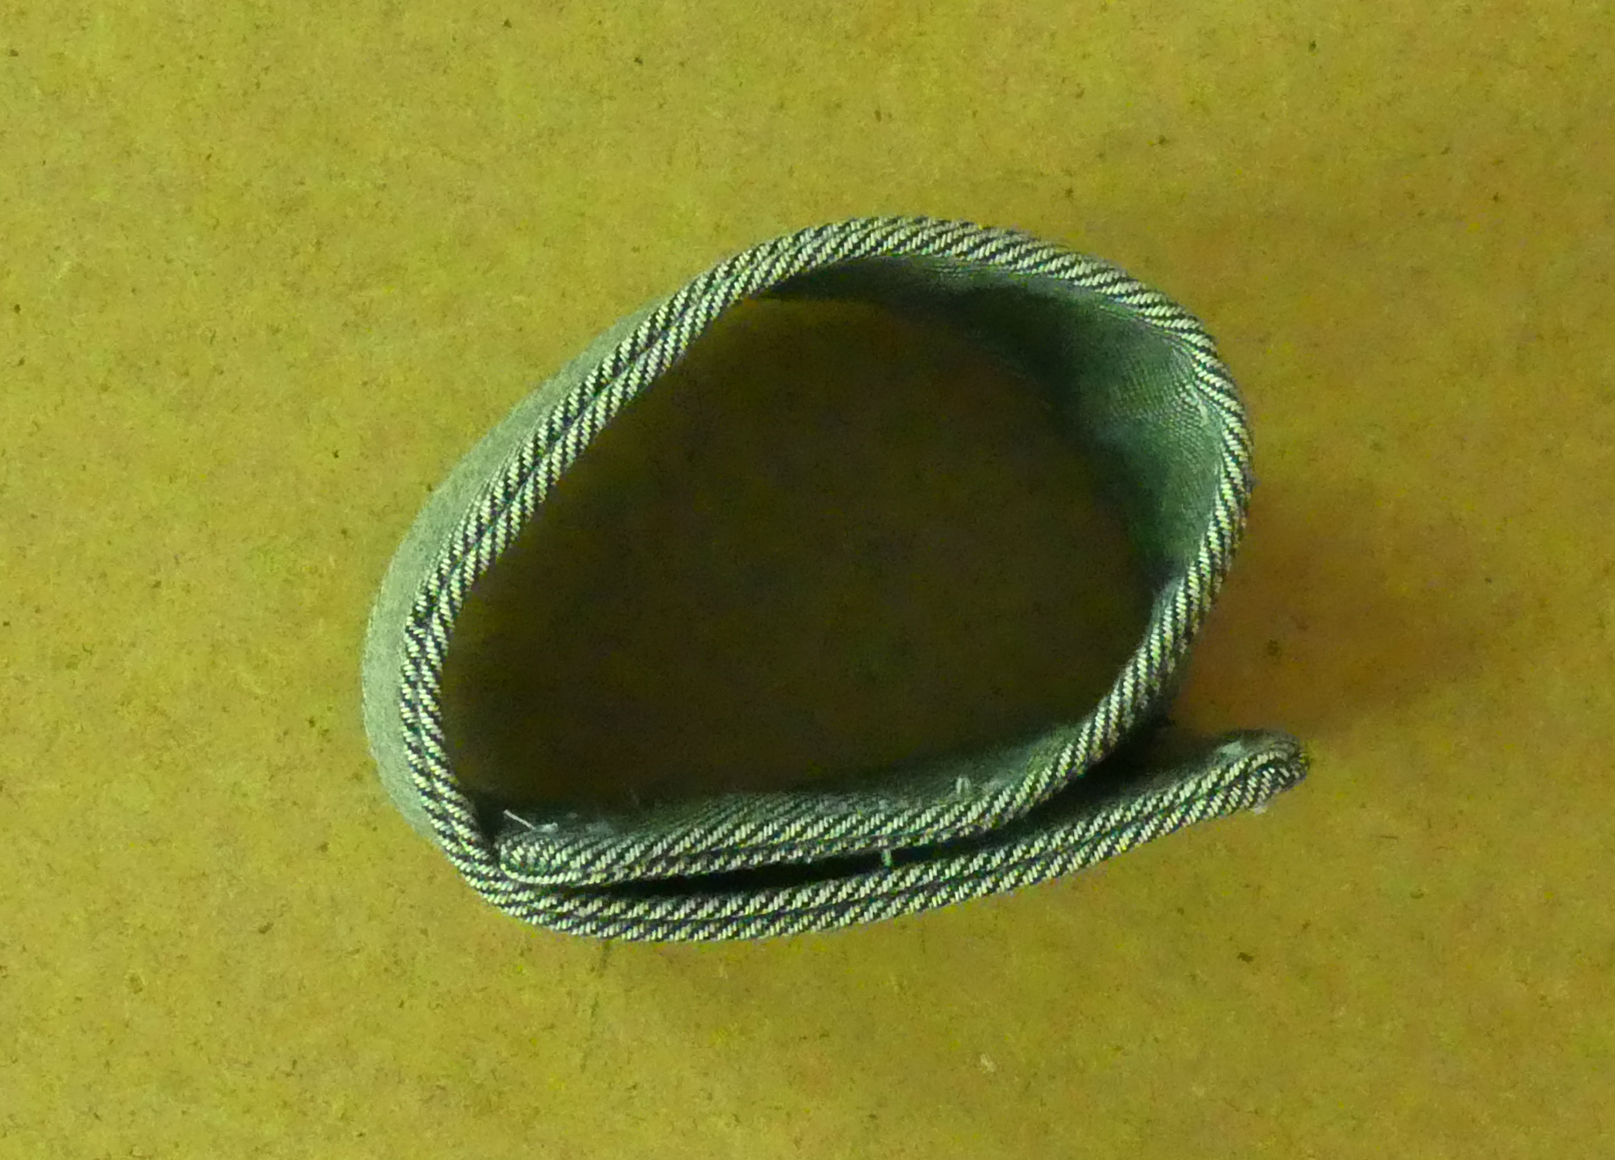
Take the fabric, as you might have noticed, I’m a big fan of old jeans. I made 2 versions, one with the right side of the fabric facing inside on with the right side facing out
So put your right sides together. The pictures are from my version where I use the wrong side as the right side, so my right side is the grey-blue side… I’m not trying to confuse you, really :-)
Stitch the 3 sides and leave a 2 inch opening in the seam to turn the fabric the right way out. Trim the corners

Turn the wristband right side out
Fold the seams in, iron, clip and topstitch. I used a walking foot for the next 2 steps and that worked a lot better than with my regular presser foot.
Pin the hook and loop tape to your wristband, one on each side & stitch
The wristband is ready!
step 3: the wrist clips holder
Let’s put the flower onto the wristband!
Take your hand needle again and with a ladder stitch, sew the flower onto the wrist band.

And this is the result! What a lovely bracelet :-)
If you have any questions, don’t hesitate to leave a comment or mail me at an@madamsew.com. I also love to receive pictures of your projects to see what all of you are making! Have a nice day!
Don’t forget to subscribe to our Newsletter for weekly free sewing tutorials!
Limited time bundle deal (until Sunday, May 6th at midnight):
Make your own using your sewing machine and this bundle of heat erasable fabric marking pens, 4 bonus refills for the pens and 50 sewing clips.


