Piecing blocks together doesn’t always have to be a headache. This Crossroads to Jericho block is another simpler block pattern you can utilize in a quilt, table runner, wall hanging, or whatever creation you come up with :) The most important thing is to have fun with it.
How To Make A Crossroads To Jericho Block
|
|
Materials Needed: |
|
|
Tools Needed:
|
Start by taking your medium (B) fabric and cut 5 squares measuring 2 ⅝” x 2 ⅝”. Then take your light (A) fabric and cut 4 squares 2 ⅝” x 2 ⅝”.
Now take your dark (C) fabric and cut 2 squares measuring 5 ⅜” x 5 ⅜”. Take both squares and cut them diagonally down the middle into triangles. To get an accurate diagonal cut, use the lines going diagonally on your rotary mat.
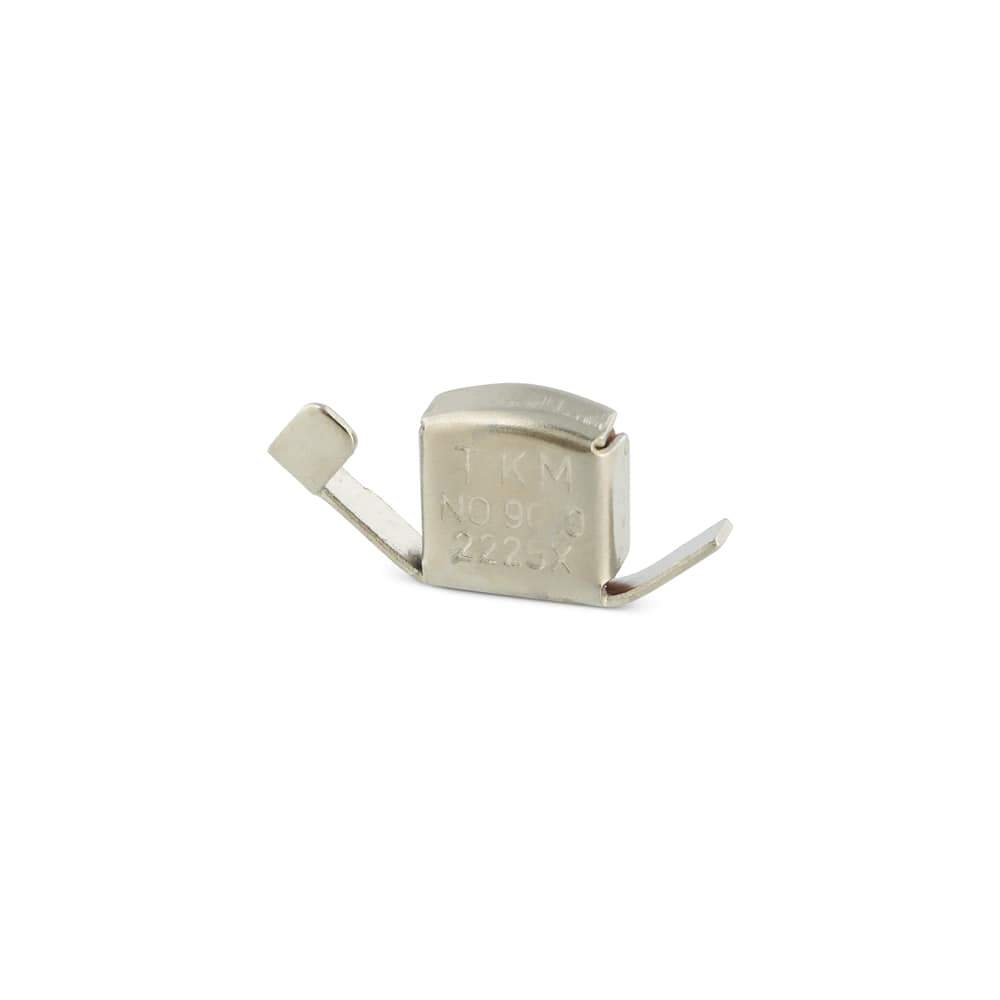
Take two medium (B) squares and one light (A) square. Put the light (A) square on top of the medium (B) square, right sides together, and sew a ¼” seam using the ¼” piecing foot with guide. Then take the second medium (B) square and put on top of the light (A) square, right sides together, and sew a ¼” seam. Sew another row so you have 2 rows.
Take the remaining light (A) squares and the medium (B) square. Put the medium square on top of the light square, right sides together. Sew a ¼” seam. Then take the last light (A) square and put it on top of the medium (B) square, right sides together. Sew a ¼” seam.
To arrange the square, take one of the first rows you made and put it on the row you just made, right sides together, making sure to match up your seams. Sew a ¼” seam. Then attach the last row to the half block you just made, matching up seams, sewing a ¼” seam. Iron your block so it lays flat.
Starting with two triangles, sew them on opposite ends of the square using a ¼” seam. Make sure your raw edges are even.
Do the same thing with the remaining triangles.
Once the triangles are sewn around the square, iron the seams flat and trim any seam allowances that are sticking up.
There you have it! This block is so fun to make and the color and print combinations are endless :) Have fun piecing!


