Use Your Home Sewing Machine As A Serger Using the Overlock Foot
There are different ways to finish the cut edges of a sewing project.
If you want your handmade dress to be good looking on the inside and you want to avoid bulky seams or your fabric to unravel, you need to finish the raw edges of a seam inside your diy garment. It not only gives a more professional look to any sewn craft but also strengthens the seam line and keeps the edges from fraying. Depending on your fabric, the project and the purpose of the garment you are making, you can choose a different finish.
With a serger or overlock machine you can trim the raw edge and enclose it inside a thread casing. A serger is a great machine but it is an expensive tool and not the easiest machine to handle. Threading an overlocker machine and getting the stitch tension right, can be a true nightmare. I own a serger machine. It’s a Juki MO-654DE and for the moment I only have 2 colors of threads, black and a very light grey. You need 4 big bobbins of each to thread an overlocker, Check out our thread accessories if you need to stock up.
Just the other day I was trying to get the stitches right for a picture for this post. It literally took me 3 to 4 hours and some extra grey hair. Really!! With the help of manuals, forum discussions and youtube, I managed to get the result you can see in the pictures below. These edges are serged with 3 threads. I won’t touch the threads on my serger for a year and only use dark fabric from now on.. haha :-))
Not everyone has the budget to buy or the space to store a serger. Personally, I change the threads as little as possible. When I'm working on a small sewing project and I don’t want to use black or grey thread for finishing the edges, I snap on an overcast foot on my regular sewing machine, which is my Brother Innovis 10, to tackle this job.
Along with an overcast stitch, also called a lockstitch or an overlock stitch, the overlocking foot creates a serger-like finish, without cutting the extra fabric off that the serger does. nd you don't need four thread cones. One top thread and one bobbin thread will do. If you don’t have an overcast setting on your sewing machine, you can also use a zigzag stitch. However, the overlock stitch has a more neat appearance than the zigzag stitch and resembles more to a serger finish.
Of course there are other ways of finishing the edges of your seams:
- Cut the edges with pinking shears, the zigzag cuts slow down the unraveling
- Edge-stitch the seam, with a topstitching
- Stitch a simple zigzag stitch on the edge of your seam
- Hemming: turn & stitch: double fold the seam and sew down, the edges are completely hidden, like you do when you hem pants.
- Use an enclosed seam like a French Seam or a Flat Felled Seam
- Add bias tap to the edges, these are called 'bound seams'
If you want to start serging seams and don’t want to spend money on a serger, I advise you to look into the overcast foot. I use this presser foot a lot, and I have a serger :-)!
 ADD TO CART
Bundle & Save
ADD TO CART
Bundle & Save
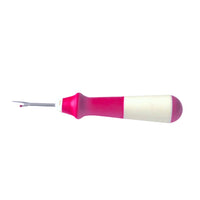
Deluxe Seam Ripper with A Large Ergonomic Handle
With a serger foot you can stitch right at the edge of your fabric and finish the edges with stitches similar as if you were serging. This is practically impossible with a standard presser foot.
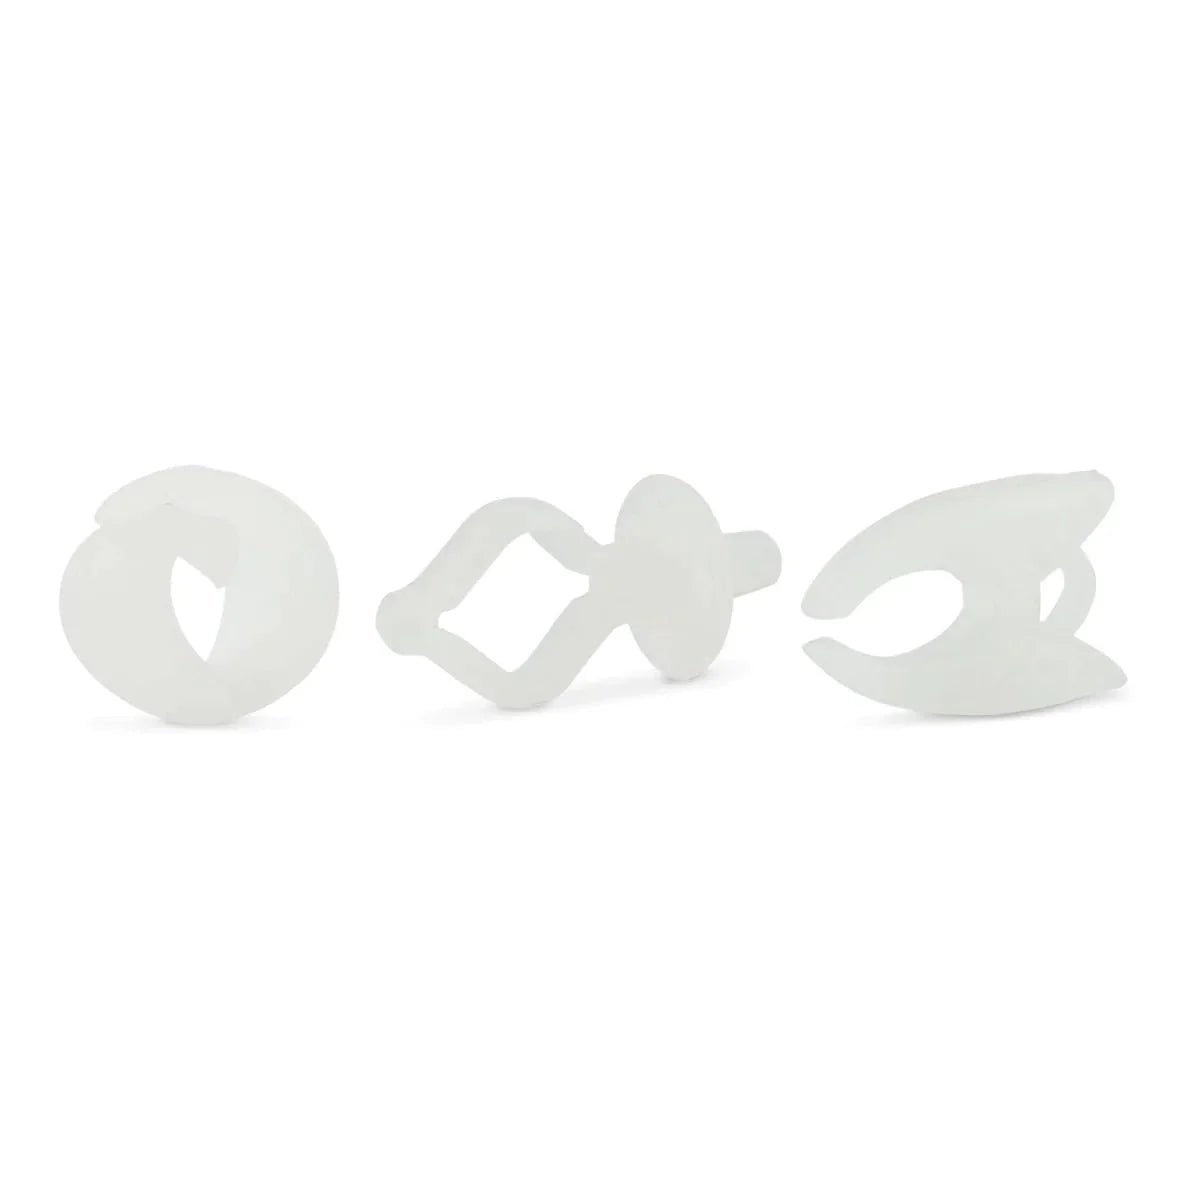
The overlocker foot has a small bridge (a pin, a bar or a prong) in the stitching area of the foot. The needle goes over this bridge and the right swing of the needle goes just off the fabric. The stitches go around the edge but they will stay nice and flat, they do not curl up. This bridge controls the stitch and holds the stitches just right so the edge of your fabric doesn’t curl in, bunches up or puckers. The extension at the front guides the edge of the fabric.
The overcast foot is also called an overedge foot or an overlock foot and together with the overcast stitches, the overlock stitches or overedge stitches, there is the act of overlocking, overcasting or serging (= finishing the edges). Sometimes you get this presser foot with your sewing machine. If not, we have a universal overcast presser foot in our store.
You can purchase it separately and it’s also one of the presser feet in the 32 pcs Ultimate Presser Foot Set, number 28.
The overlocker foot is a snap-on foot, this means you can snap it on and off your presser foot holder with a little button at the back. The snap on feet fit most low shank sewing machines. If not, you can check out the 3 different adapters we have available. The changes are really high that this foot fits your machine. To check if our snap on feet fit your sewing machine, check out this post about high and low shank machines.
The Overlocking Stitches
An overcast stitch or an overlock stitch is basically a zigzag stitch with more structure. My sewing machine has 2 options (stitches 5 and 6) for thin to medium weight fabrics and stretch fabrics. That covers a lot for serging seams or overlocking fabric edges.
Below you can see what an overlocking stitch looks like.
Here is a little list of 9 different lockstitches.
Look in your manual to check which ones your machine has and try them out on a scrap fabric.
1. An overcast stitch for heavyweight knit or stretch fabrics
2. An overcast stitch for sportswear and stretch knit fabrics. This one sews the seam and finishes the edges in one step.
3. A slant overcast stitch to sew a seam and seam finish simultaneously
4. & 7. An overcast stitch for attaching ribbons or other flat trims. This one is called a slant overcast reversed stitch.
5. & 6. Two slant overcast stitches, they can be used to sew a seam and raw edge simultaneously. These stitches can also be used to attach ribbing and neck and sleeve edges.
8. An Overcast stitch that is mainly used as a decorative stitch
9. A multi-stitch overcast stitch for serging seams or sewing seam finishes.
What all these serging stitches have in common is that the tips of the “pyramids” or the “legs” go all the way out to the edge of the fabric to enclose everything beautifully and the inner straight stitch gives your seams more strength. As a general rule, those stitches that move only forward are better for light-medium weight fabrics, whereas those that move back and forwards are better suited to medium - heavy weight fabrics. You might want to experiment to see what works best with your machine.
If your sewing machine doesn’t have one of these specialty stitches, you can also use a regular zigzag stitch. And of course you can choose an overcast stitch with a regular presser foot, but staying on the edge is difficult and the fabric tends to curl or bunch up. Another option is to sew the stitches away from the edge and cut the excess fabric afterwards.
Serging With A Regular Presser Foot: the Result
Serging with an Overcast Foot: the Result
Sewing With The Overcast Foot
Finishing the edges is easier before sewing the seam itself, but you can also complete both seam allowances at the same time, after you’ve stitched the seam. When you do this, you can't iron your seam open but for some sewing projects like sweaters or t-shirts this is no problem.
As the overcast foot doesn’t cut off the fabrics edge, you need to trim your seam to a ¼” or ⅝” allowance or the seam width you need before you start sewing.
Pick a thread color that closely matches your fabric as an overlocking stitch is more visible than a straight stitch and it has to blend in.
If you need some visual support for the steps, look at the tutorial YouTube video about the overcast foot at the start of this blog post.
How to Use an Overcast Foot: 6 Steps
1. Remove Your Regular Presser Foot.
- For most low shank sewing machines: snap off your foot of the presser foot holder
- For screw-on machines, Pfaff, Husqvarna Viking and Bernina: screw off or clip off your presser foot (holder)
2. Attach The Overcast Foot
- For most low shank sewing machines: snap on the overcast foot
- For screw-on machines, Pfaff, Husqvarna Viking: screw on the low shank adapter and snap on the overcast foot.
- For Bernina: attach the Bernina adapter, screw on the low shank adapter and snap on the overcast foot.
3. Choose an overcast stitch
See above for more information about the stitches
4. Position your fabric underneath your sewing machine
Place the fabric underneath the foot, put the threads on the right hand side of the bridge and align the edge up against the guide - If you are sewing a curved seam, stop every few stitches to pivot slightly and realign the edge of the fabric. It’ll take longer to complete your seam, but the results are worth it.
5. Sewing with the overcast foot.
Hand crank first to make sure the needle passes the bridge, left and right. Your zigzag has to be wide enough. If all is good, you can start sewing slowly.
6. When at the end of your fabric's edge
When finished, do not pull your fabric to the left or the right to cut the threads or your stitches will be damaged. The last few stitches are wrapped around the little bridge of the foot, so first pull the fabric towards the back to free those stitches and then cut.
Overcasting Different Types Of Fabrics
With knit fabrics you can use an overcast stitch without stitching a seam and finish your edges at the same time. Your edge will have some stretch without loosing strength.
Overlocking lightweight fabrics, such as chiffon, batiste, voile or organza can be difficult. If the fabric is really thin, it’ll get pulled into the feed dogs, which will chew it up. One solution is to overlock your seam allowances together and press them to one side. Another is to strengthen your seam with spray starch or seam tape. And as a third option you could try to stabilize your fabric with paper or tissue paper under your fabric and tear it away after you’ve finished the seam.
If you never tried the overcast foot in your sewing box or you just discovered overlocking, I hope you give it a try and let me know how it went. If you’re stuck or have any questions or suggestions, don’t hesitate to send me an email: an@madamsew.com. And do share your projects in our Facebook group or on Instagram with the #madamsew hashtag and inspire others!
And above all... Enjoy your sewing time!
An
Sewing enthusiast and sewing blogger for Madam Sew
I share all my projects on Instagram @an_madamsew
Interesting links to learn more and discover products
MadamSew is an online sewing and quilting store. It carries Tools, Notions, Presser Feet, Essentials, Handy Helpers, Organization & Storage Items, and more for sewers and quilters. Plus, it has many manuals and free tutorial blogs to help increase your skills.
Visit us at www.madamsew.com and discover all we have to offer you.
Join our Facebook communities too!