Everything you need to know about Madam Sew's XL Bias Tape Maker
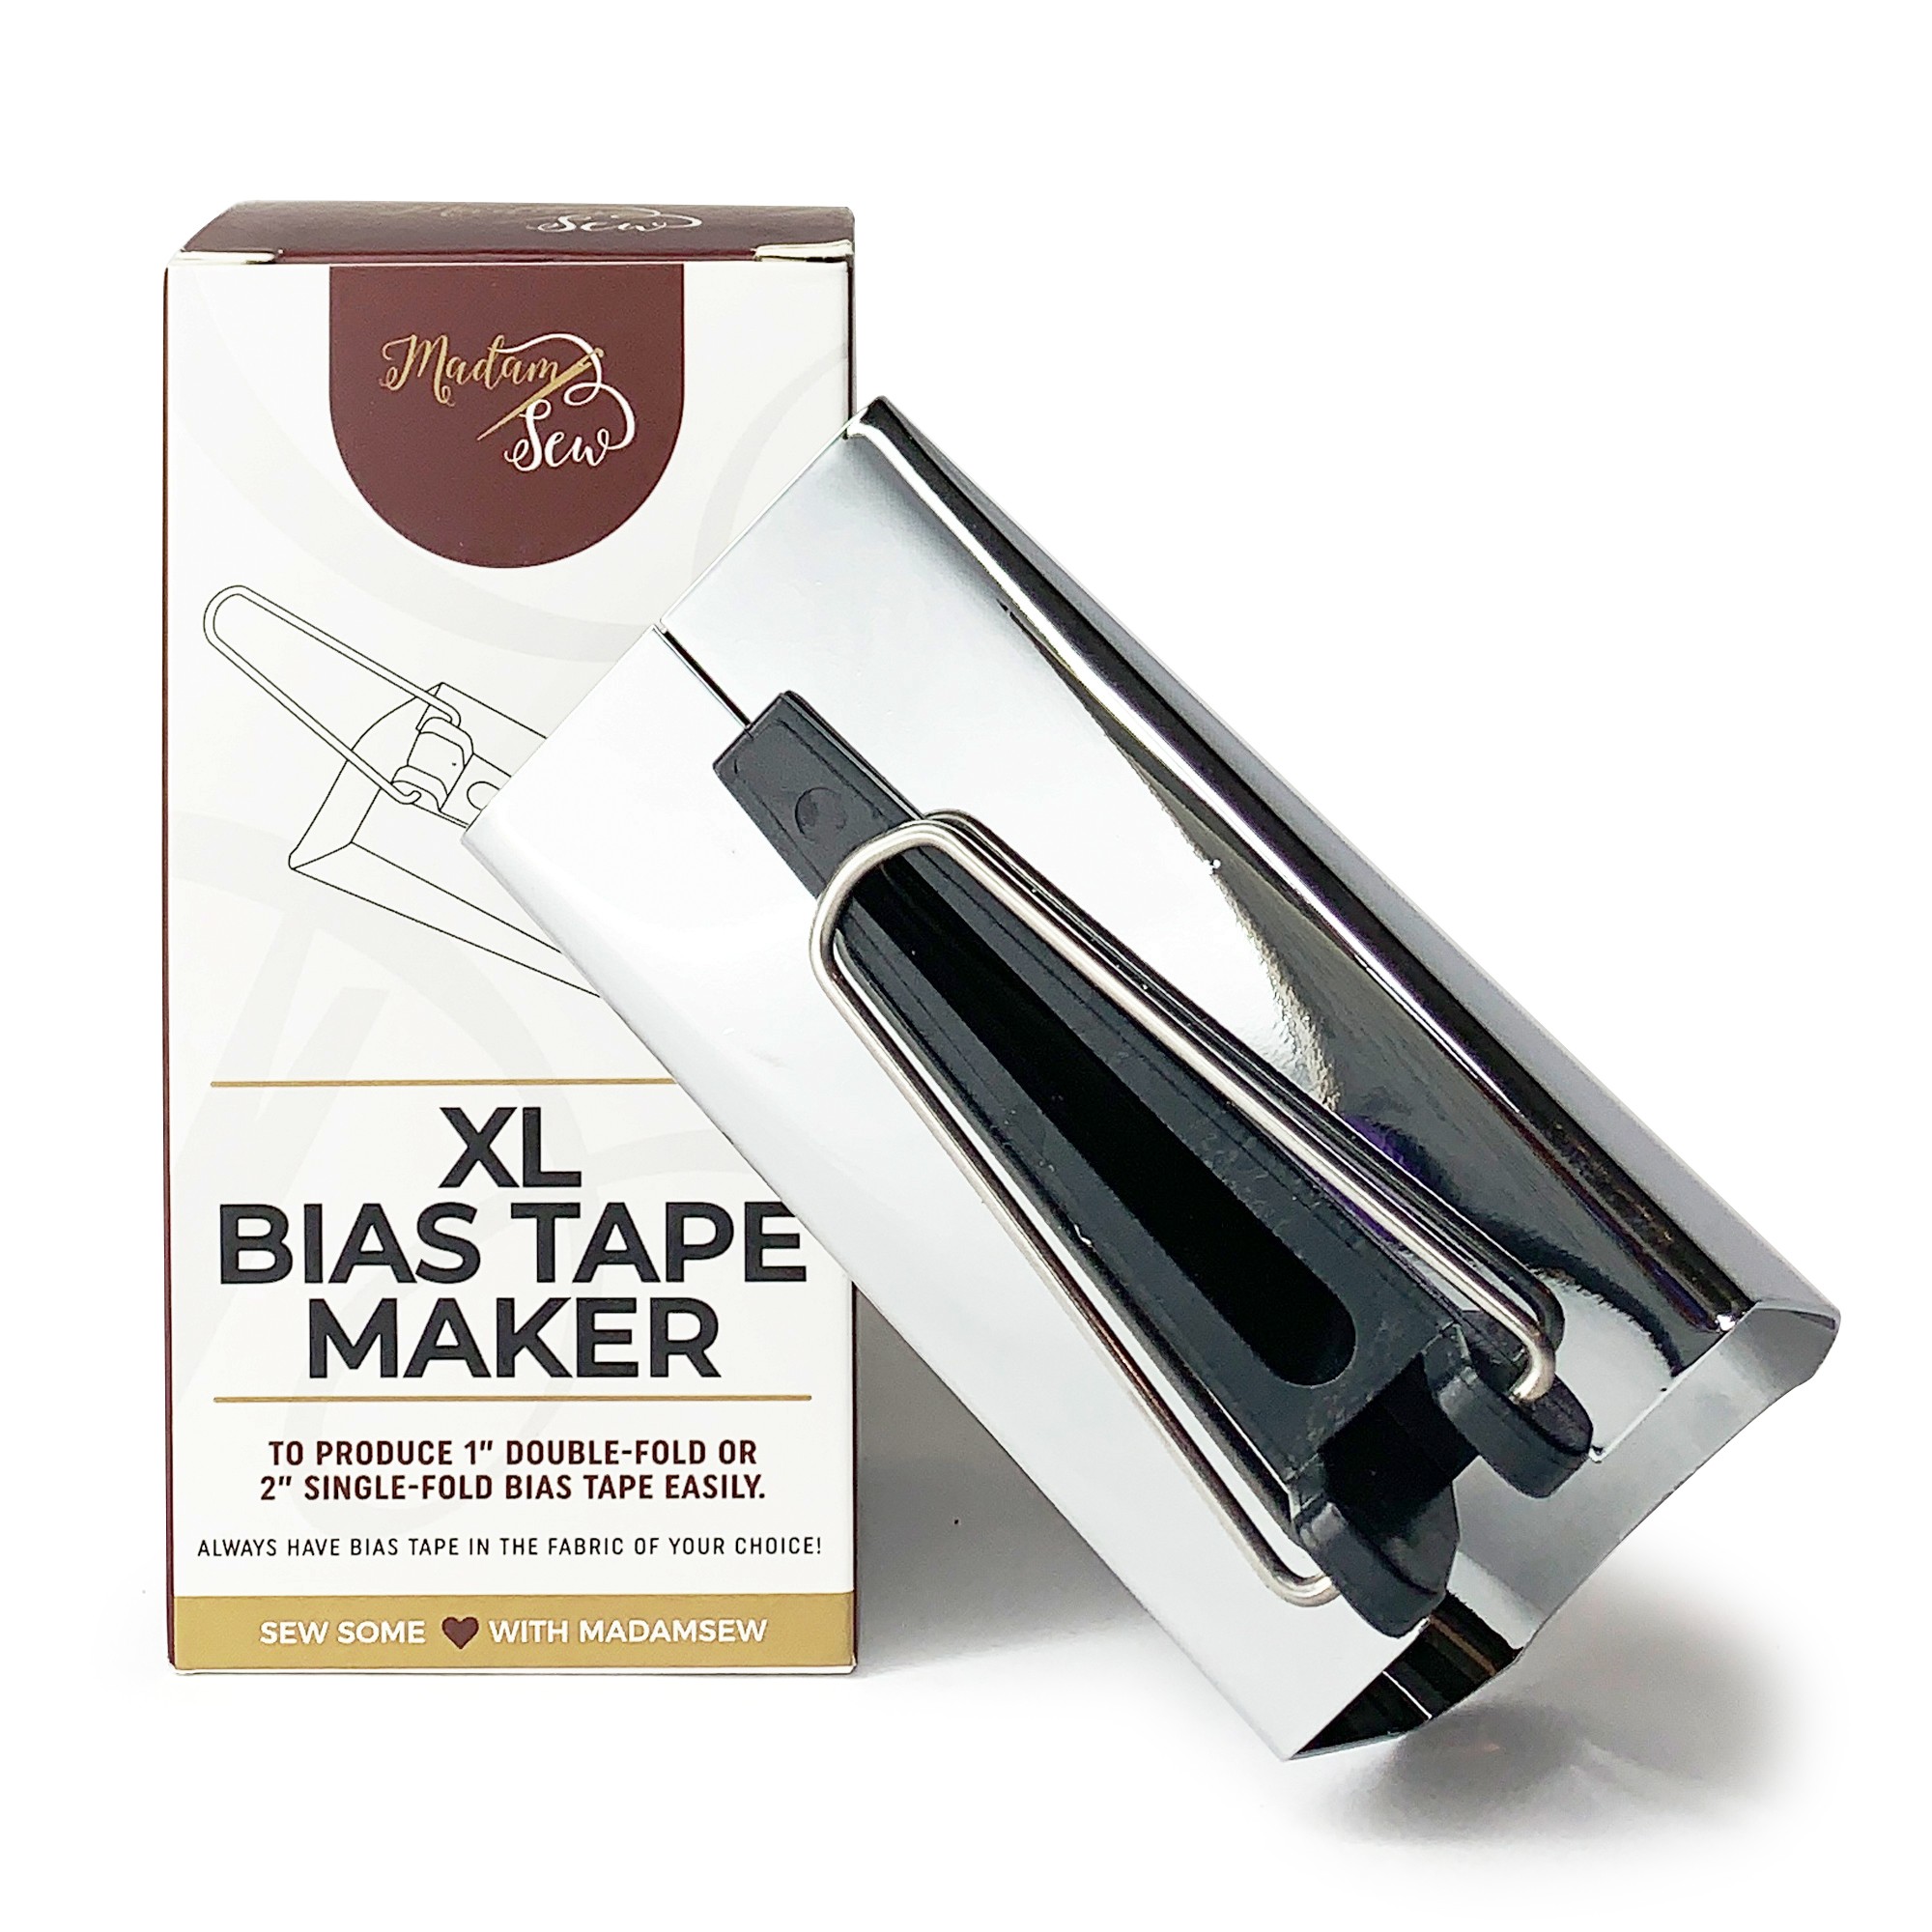
Madam Sew’s XL Bias Tape Maker helps you produce 1” double-fold bias tape or 2” single-fold bias tape easily. No more tedious folding and pressing with singed fingers! Make bias tape in the fabric of your choice!
VIDEO TUTORIAL
USER INSTRUCTIONS
STEP 1: Cut/sew strips of fabric
Cut strips of fabric (on the bias) that are 3”-3.5” wide. Sew strips together until the length is long enough for your project.
NOTE: For more detailed information about prepping your bias strips for the bias tape maker - please visit the following blog posts:
STEP 2: Iron the strips with the bias tape maker
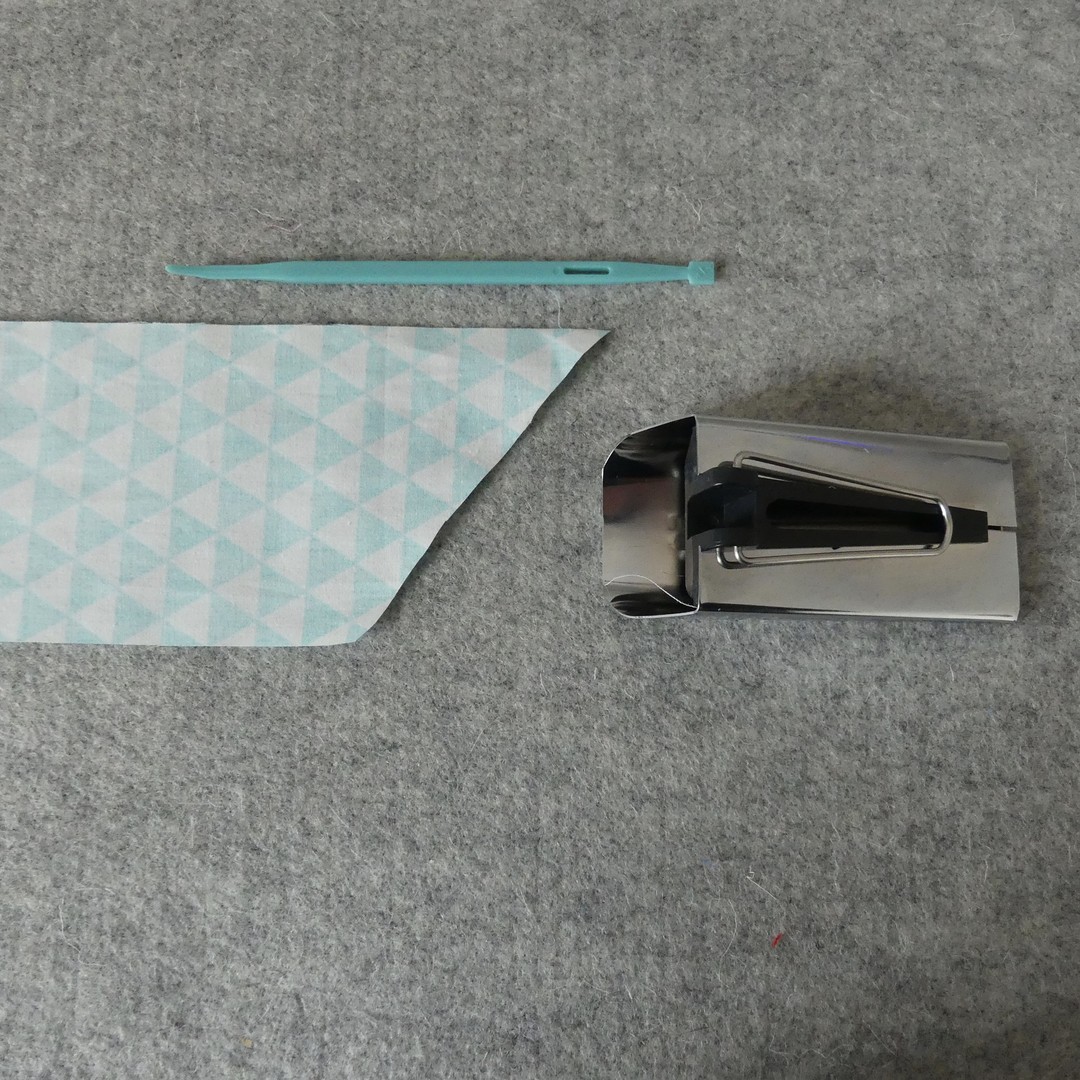
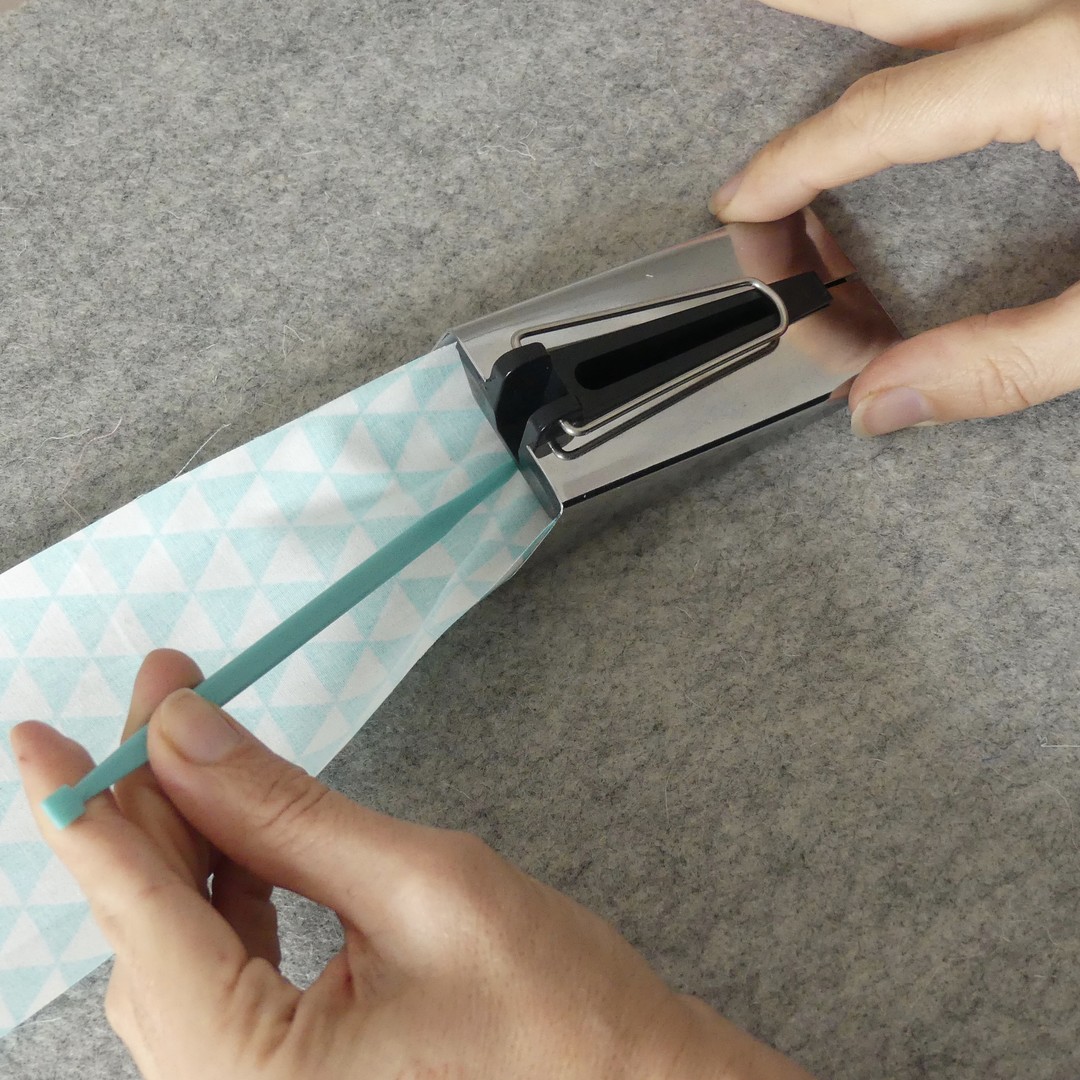
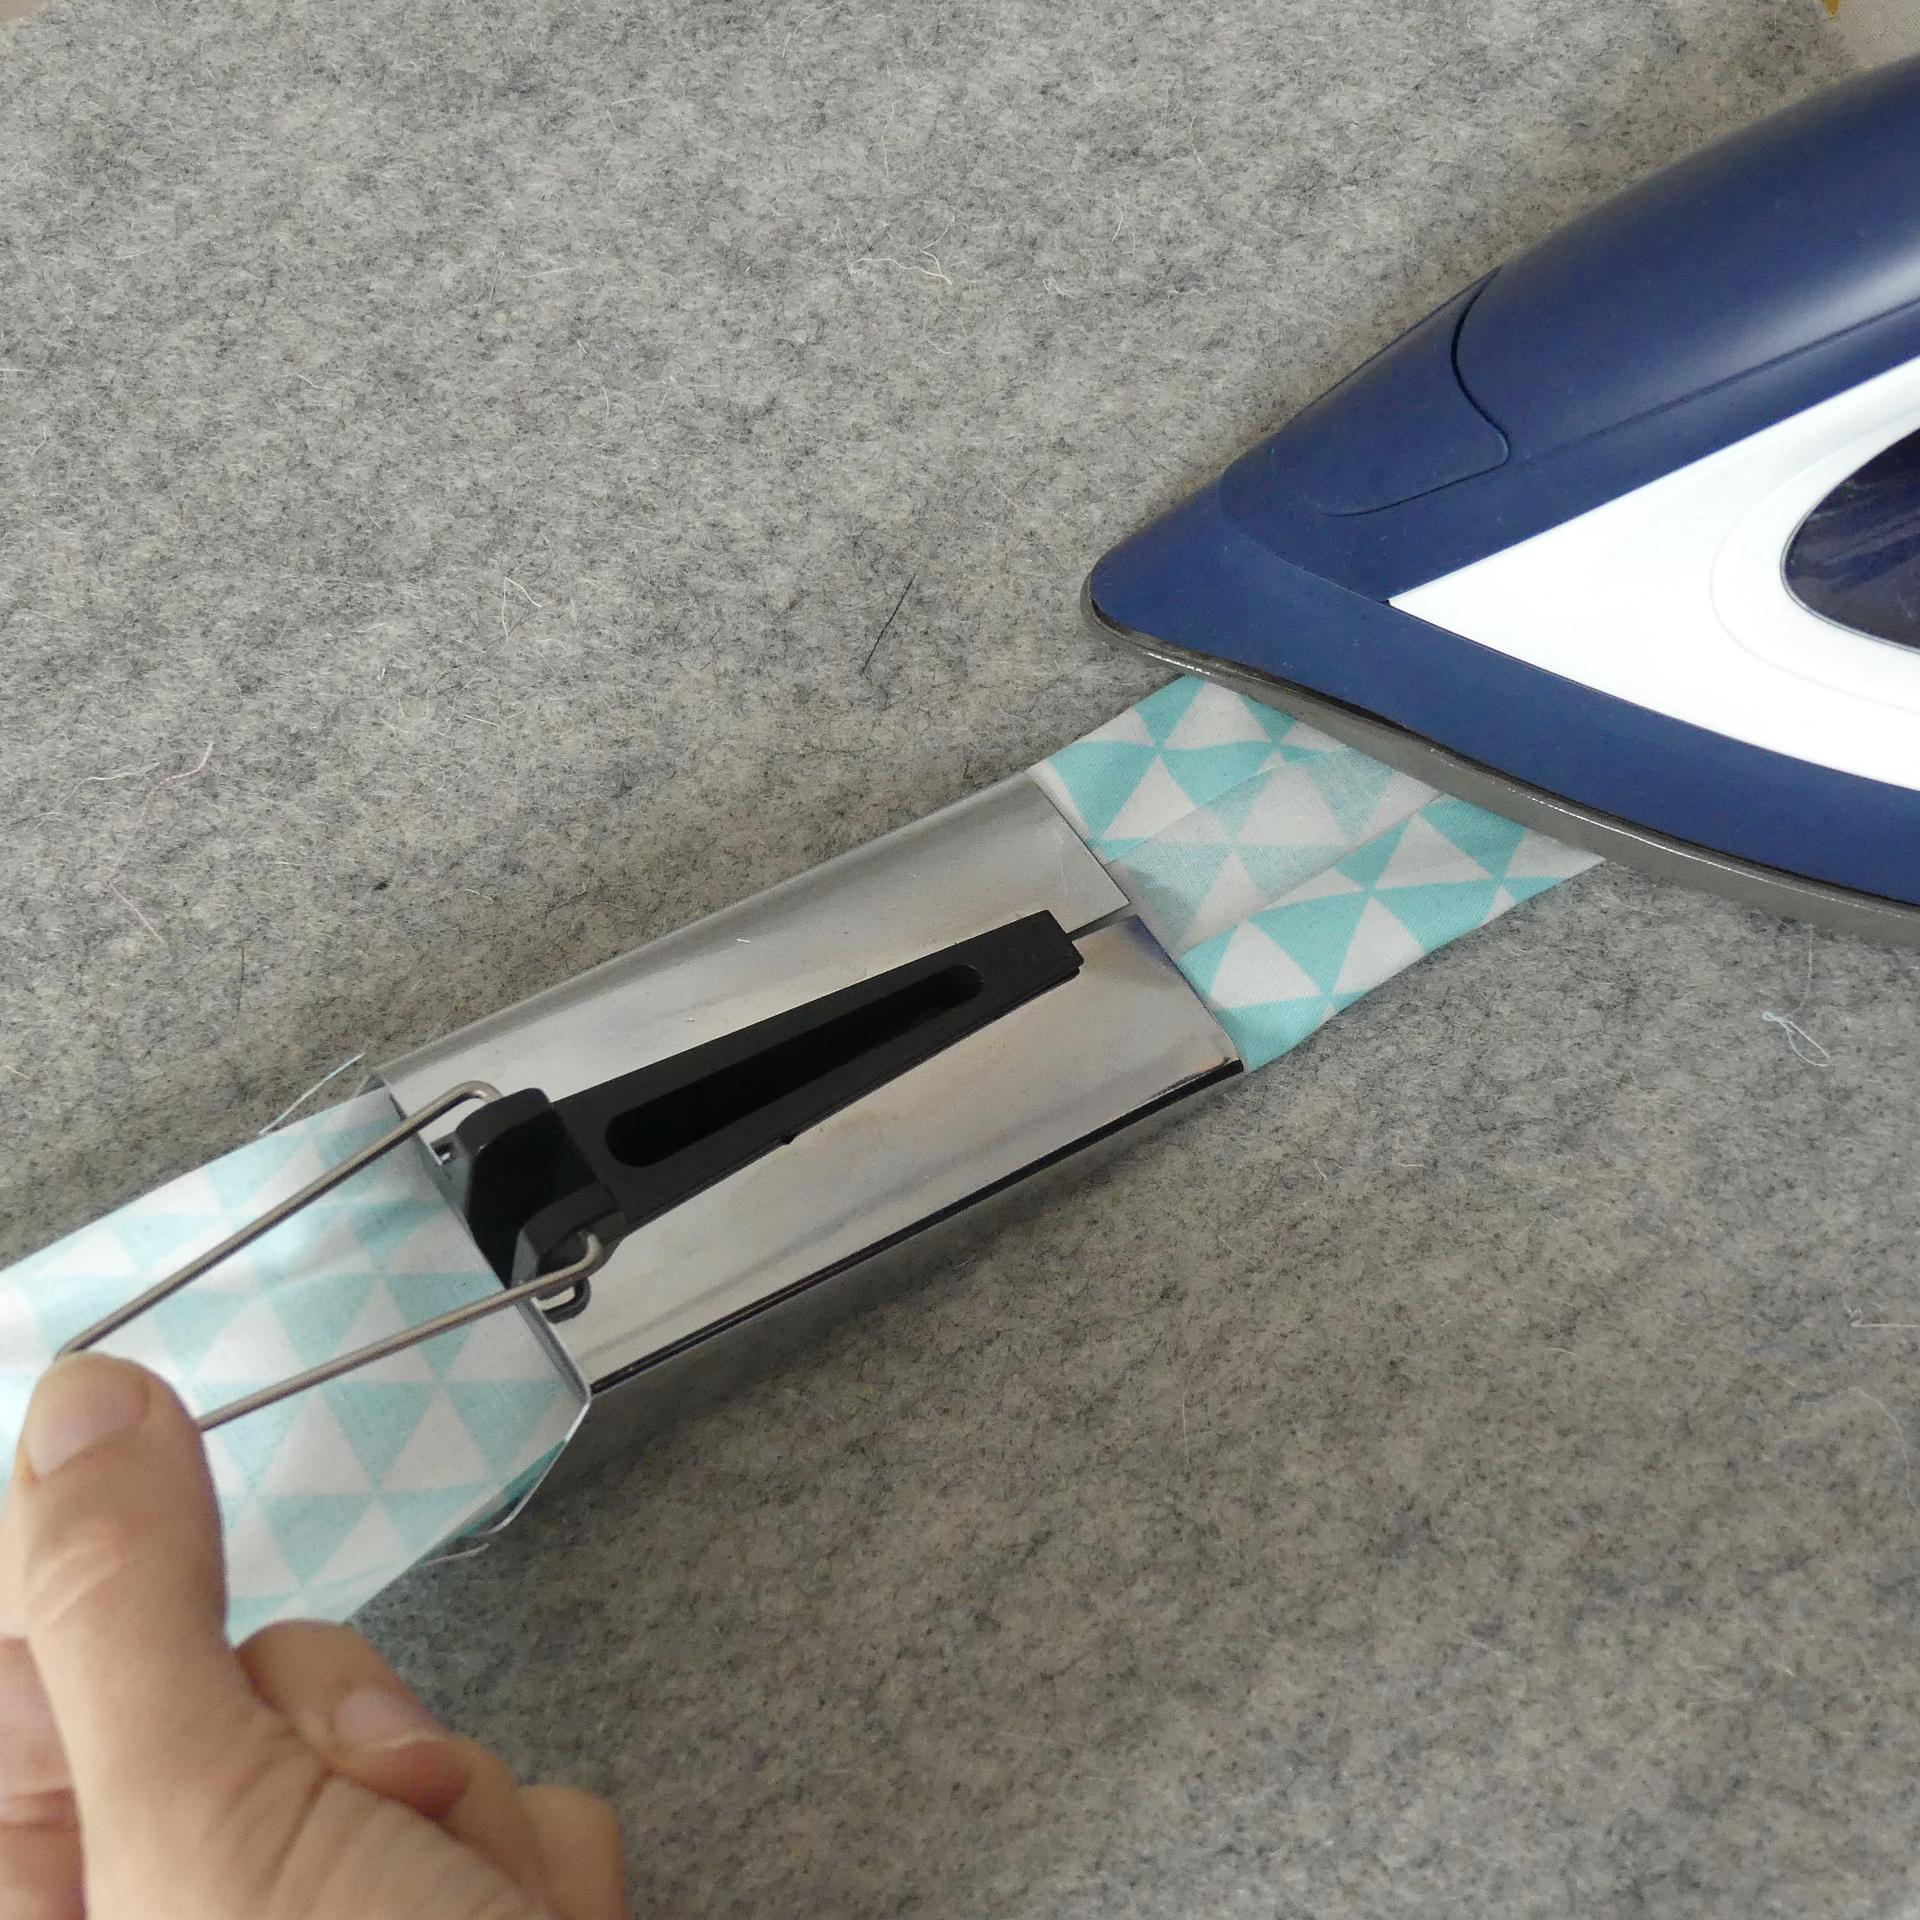
Put the point of the strip into the wide end of the tape maker. You can use an awl or a magic wand to pull the fabric trough if necessary. Make sure the fabric strip sits evenly in the middle with the edges facing up on each side.
For extra security, you can pin the end of the strip to your iron board, but it is not necessary.
Pull the tape maker down along the length of your bias tape and press the folds with your hot iron as you move. Keep your iron close to the tape maker.
When you come to a seam, keep moving.
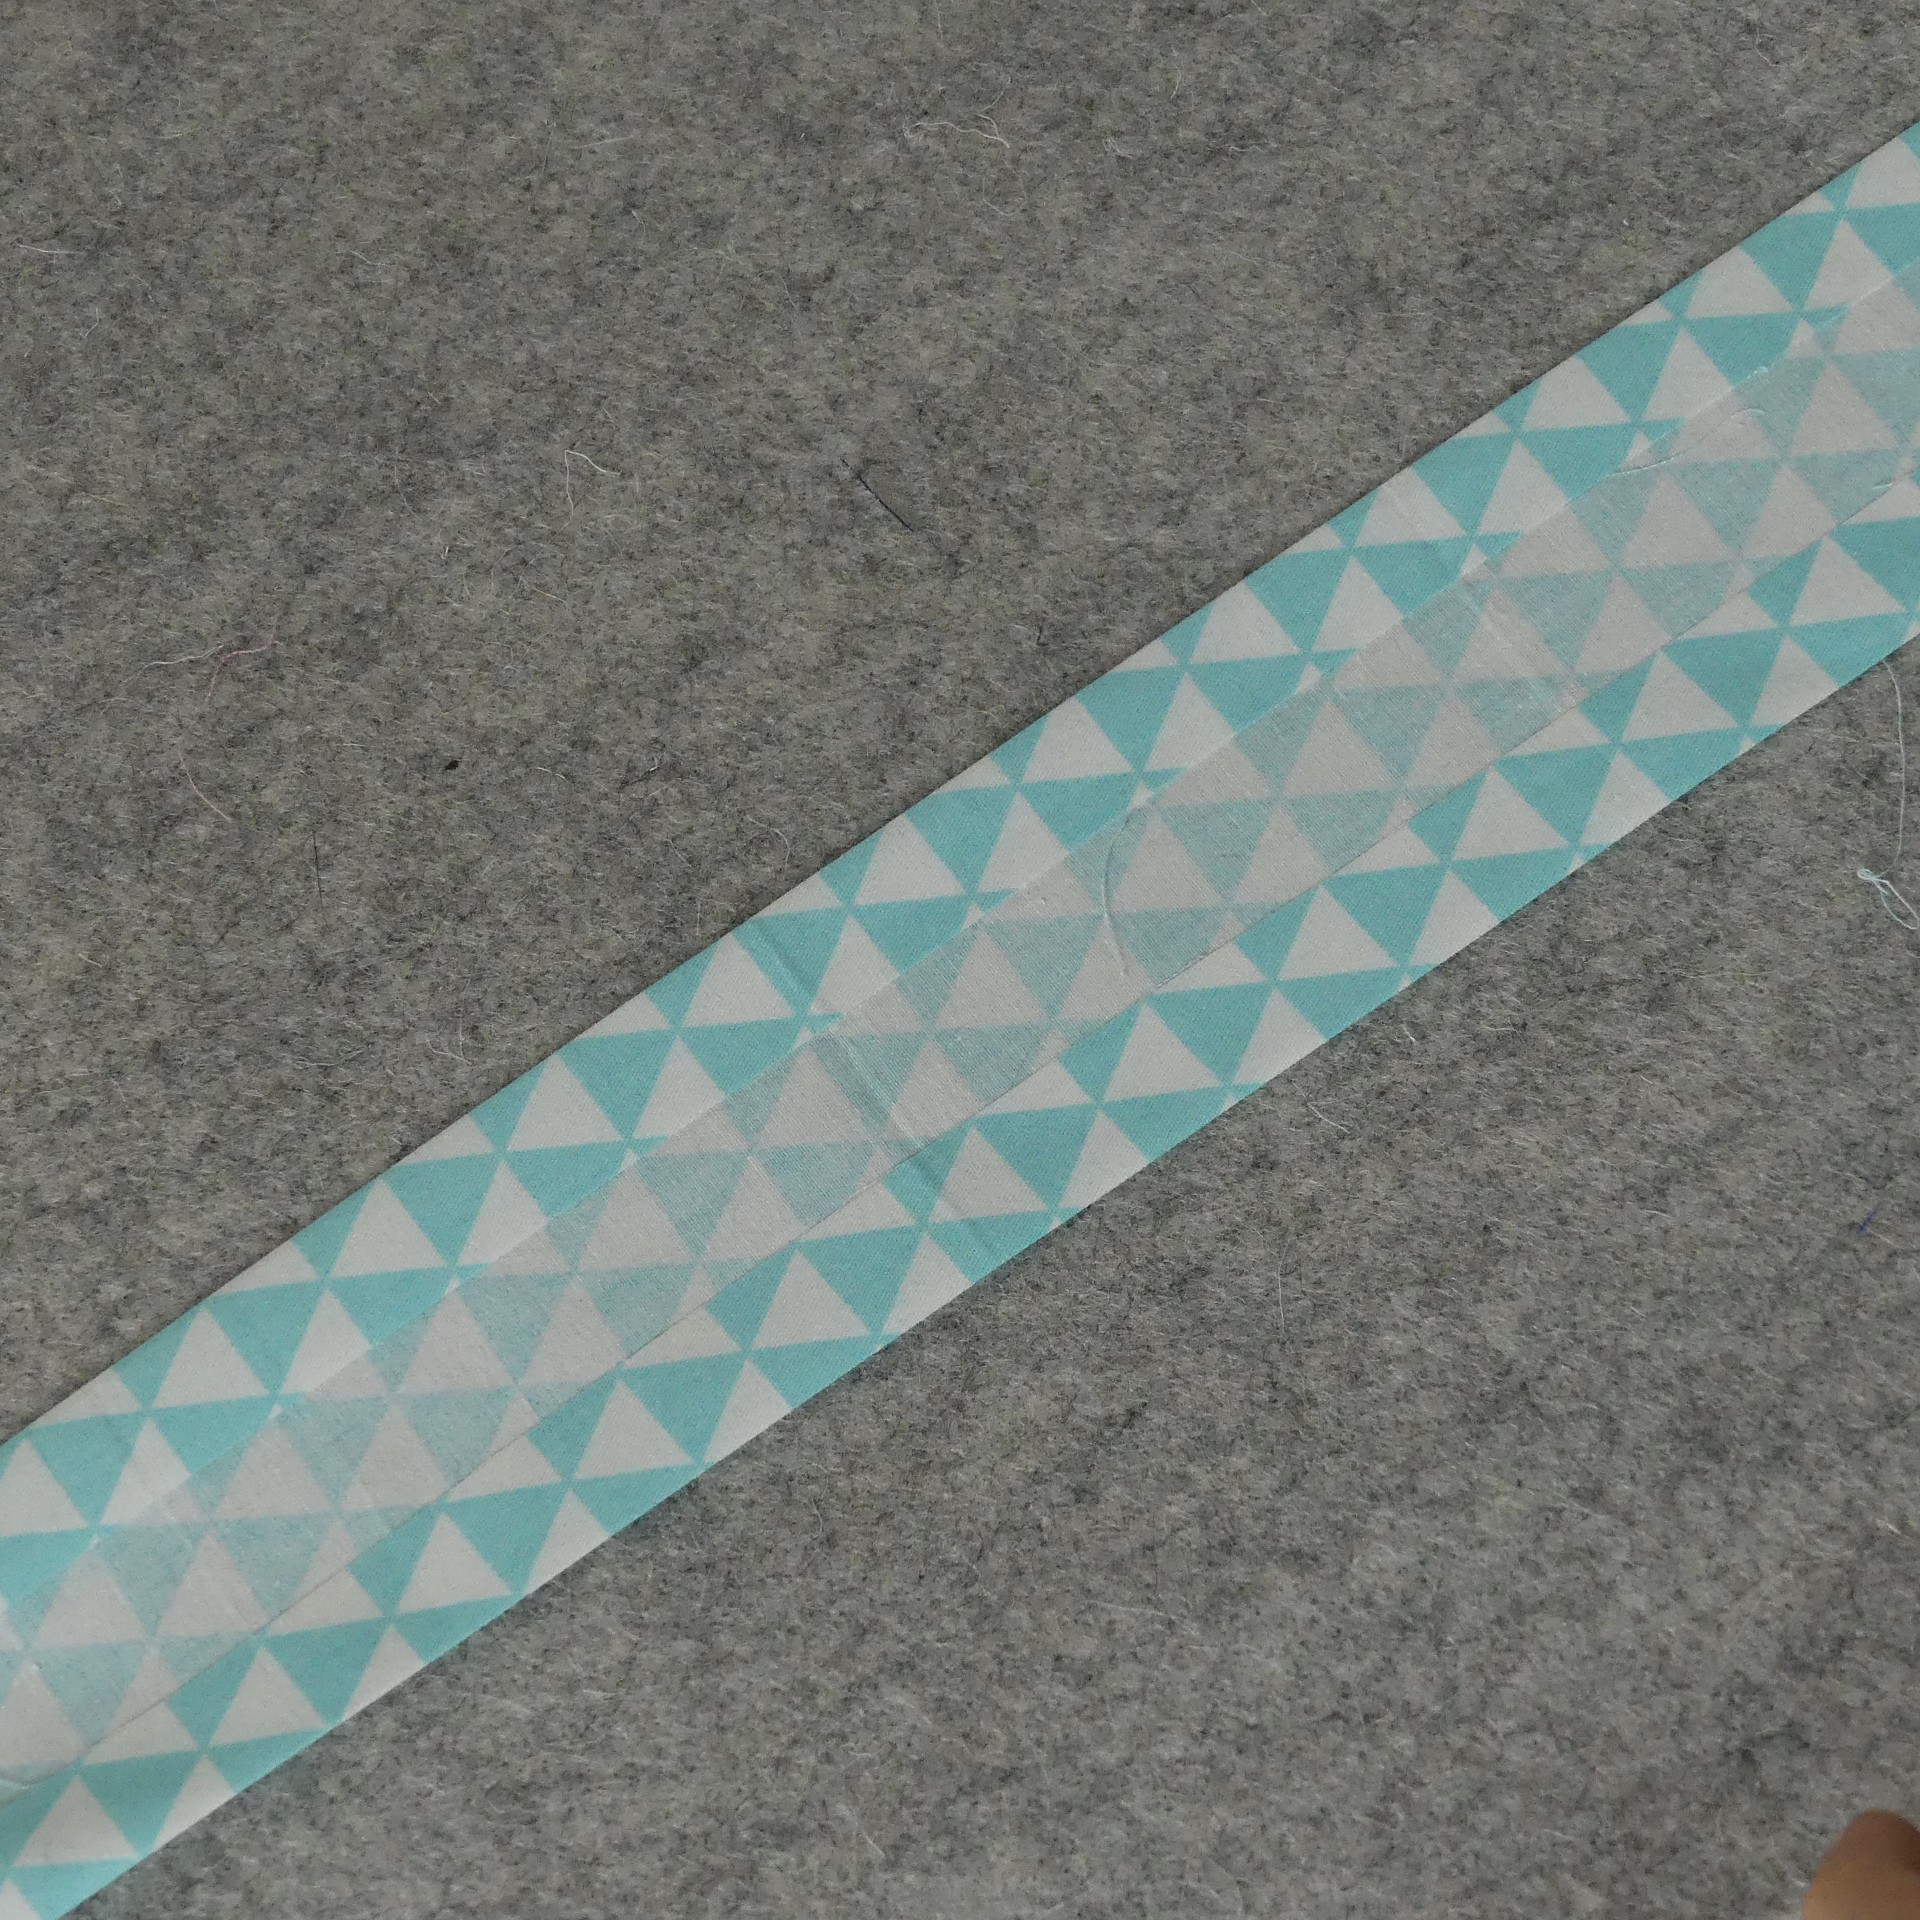
Now you have a single fold bias tape!
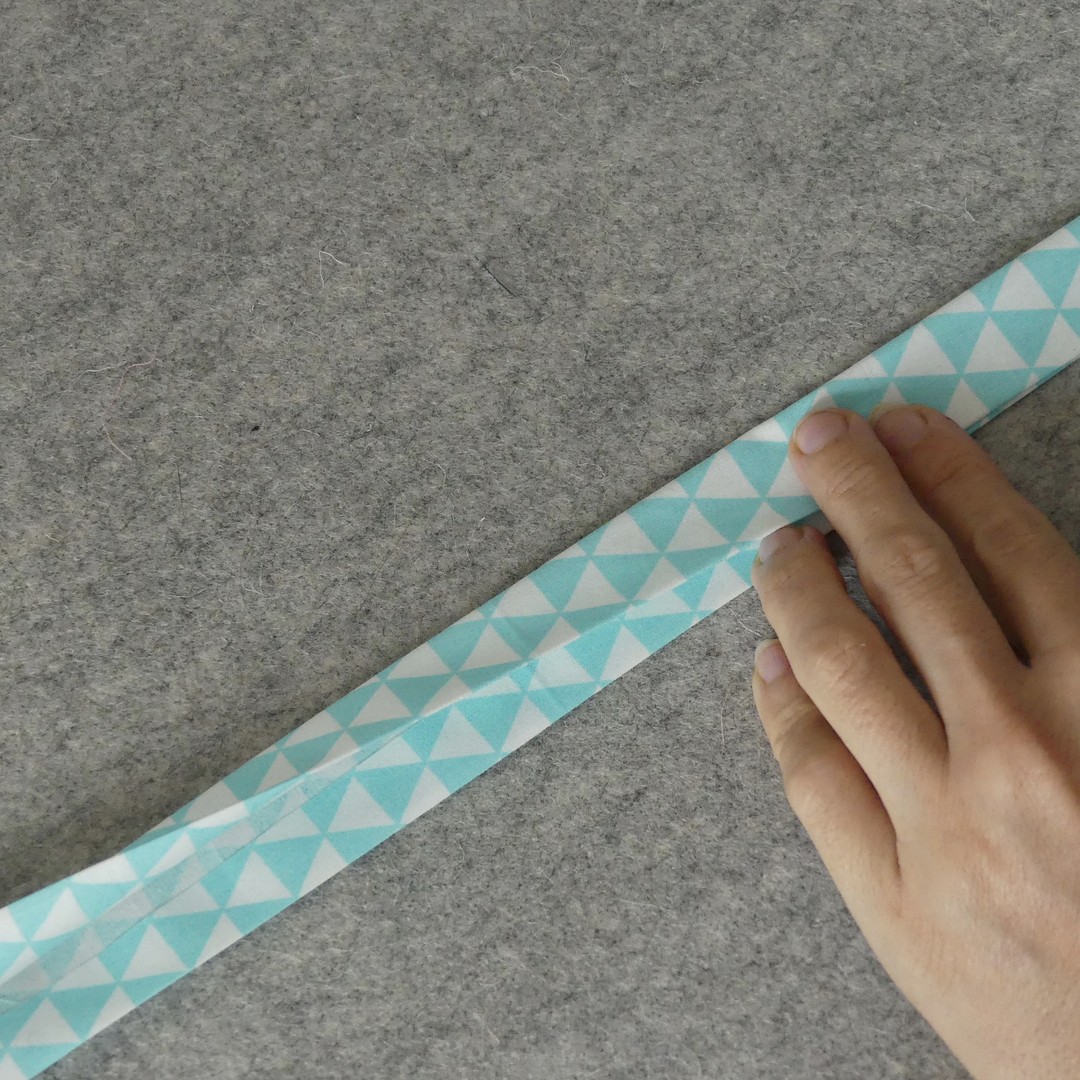
For double fold bias tape: Fold the bias tape in half and press with your hot iron.To keep your bias tape organized, wrap it around a little piece of cardboard.

