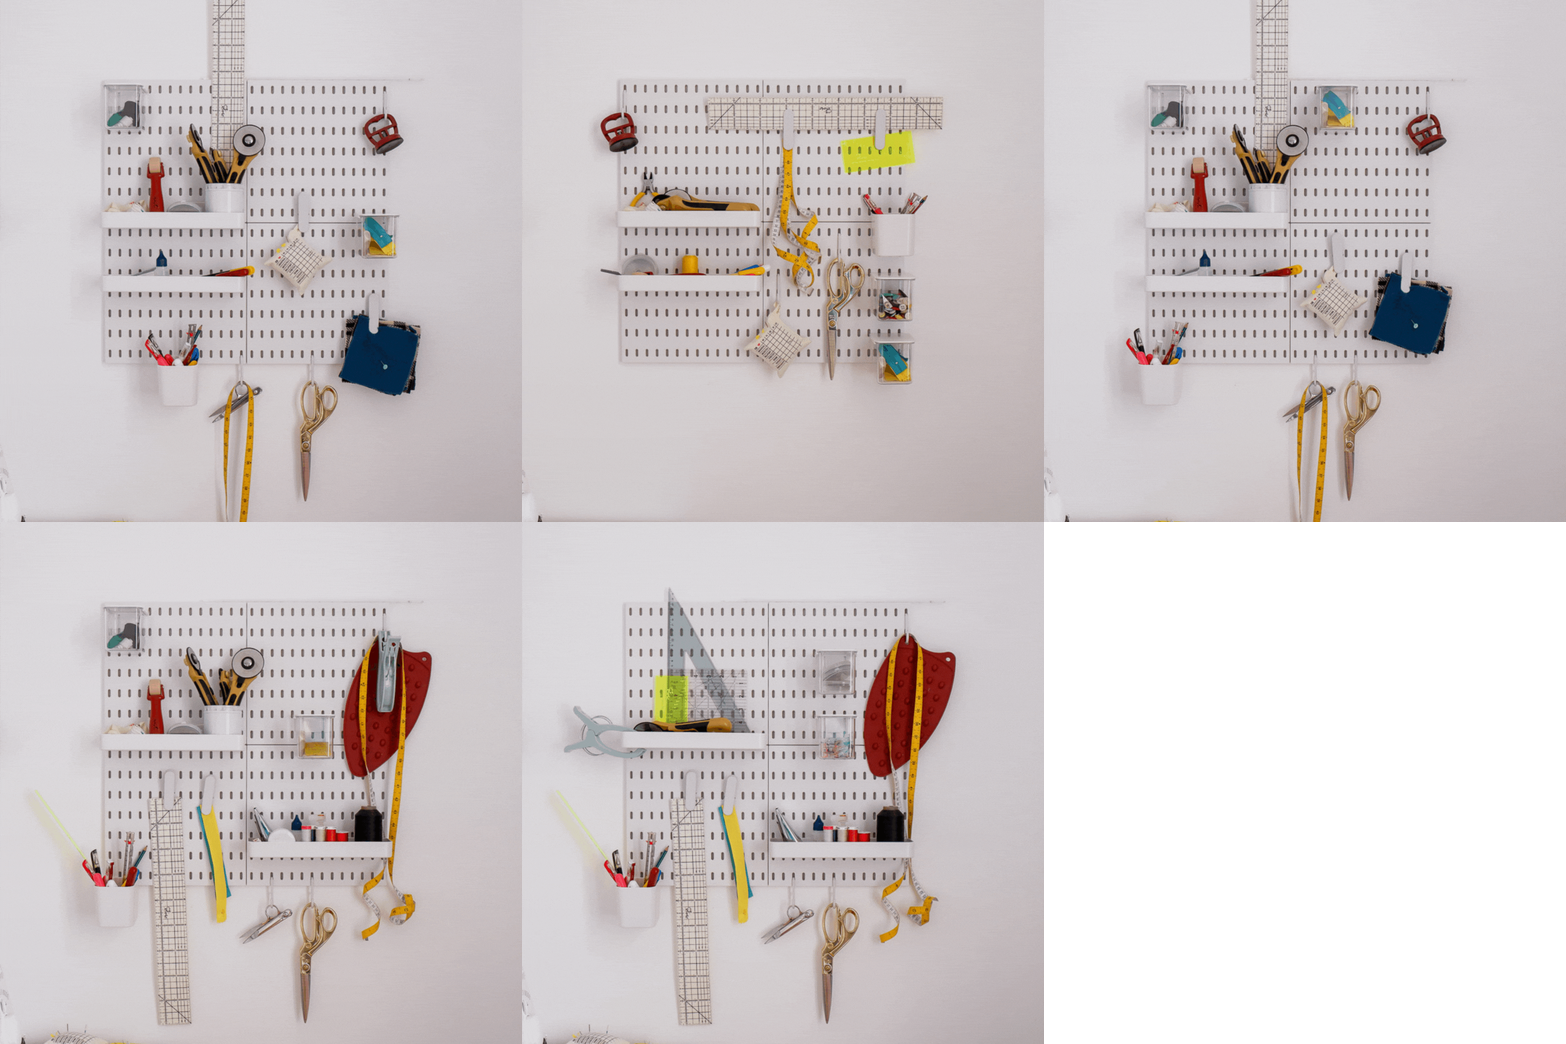
Everything you need to know about Madam Sew's Pegboard Starter Set
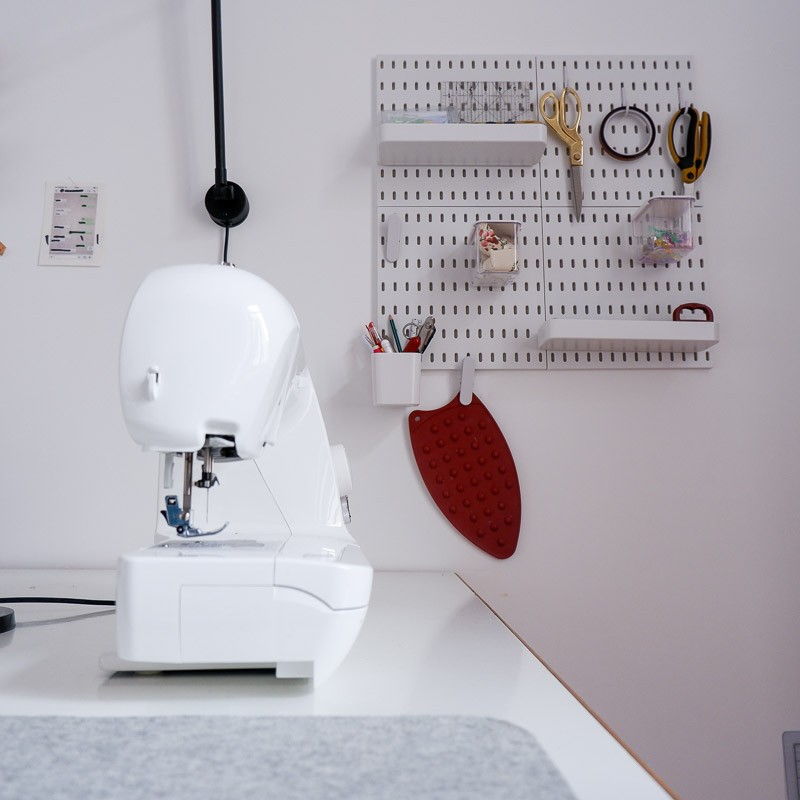
Organize your sewing room in a snap with the Madam Sew Modular Pegboard and Accessories! Store all of your tools and notions in one aesthetically pleasing place. In this manual, you will find step by step instructions on how to install your pegboard to the wall of your choice.
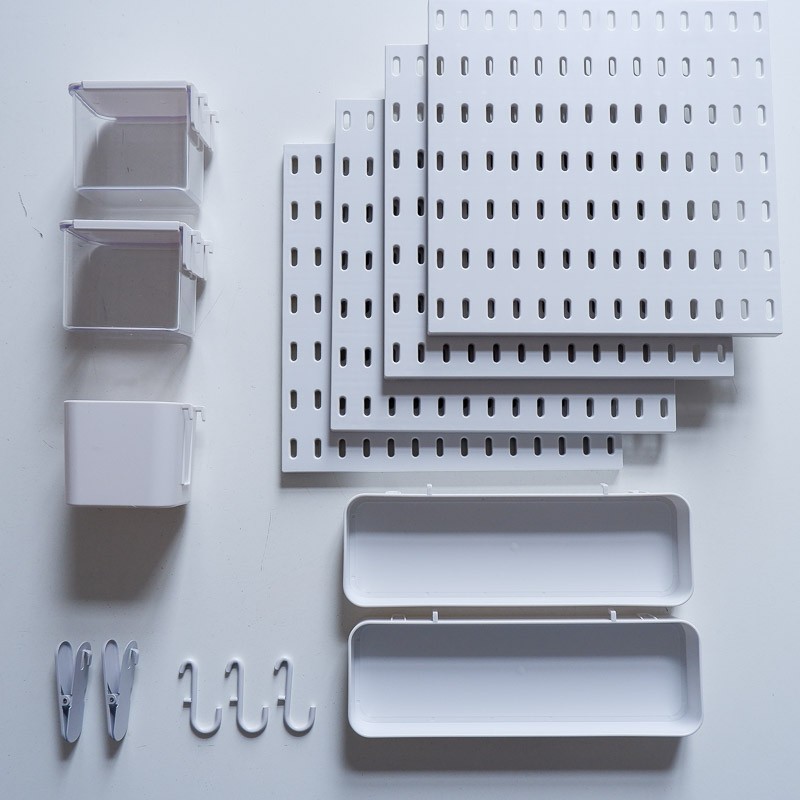
INCLUDED IN EACH KIT
4 pegboards with attachment hardware included (see below)
2 long boxes
1 square storage box
2 transparent storage boxes with lids
3 C-Hooks
2 Clips
SUPPLIES NEEDED FOR INSTALLATION
Pegboard with attachment hardware included: 2 adhesive sticker mounts, 6 nails
Level
Pencil
Hairdryer (optional, but recommended)
Hammer
INSTALLATION INSTRUCTIONS
NOTE: Please read ALL instructions before beginning installation. Be mindful of where you place your pegboard, due to their strong holding capacity, the adhesive strips may damage your wall if removed.
STEP 1: Pre-clean the wall where you would like to place your pegboard.
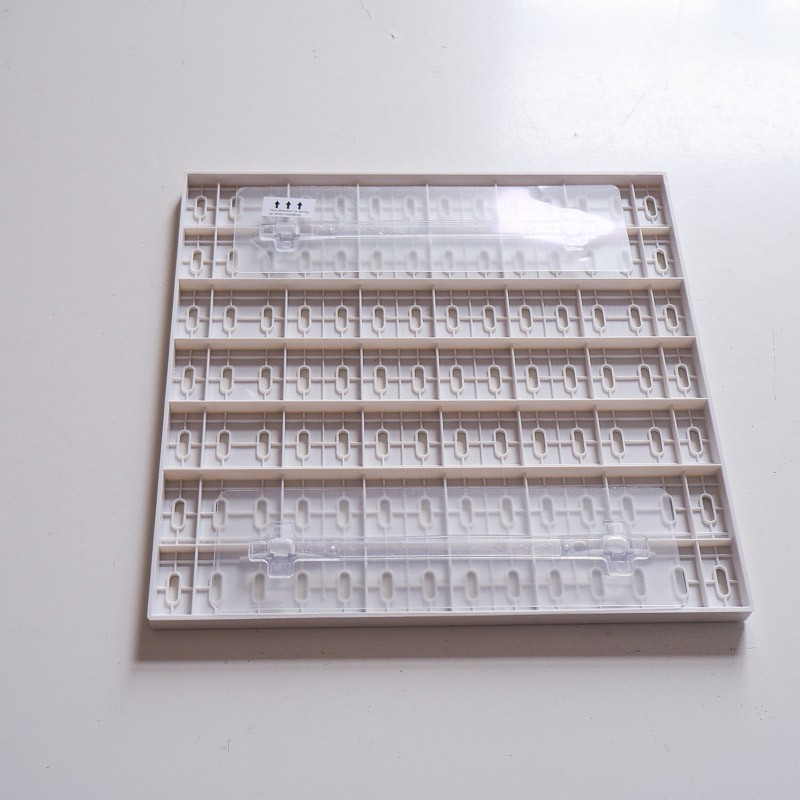
STEP 2: Find the groove on the back of the pegboard and insert the installation frame into the groove. Press firmly from top to bottom to make sure they fit together.
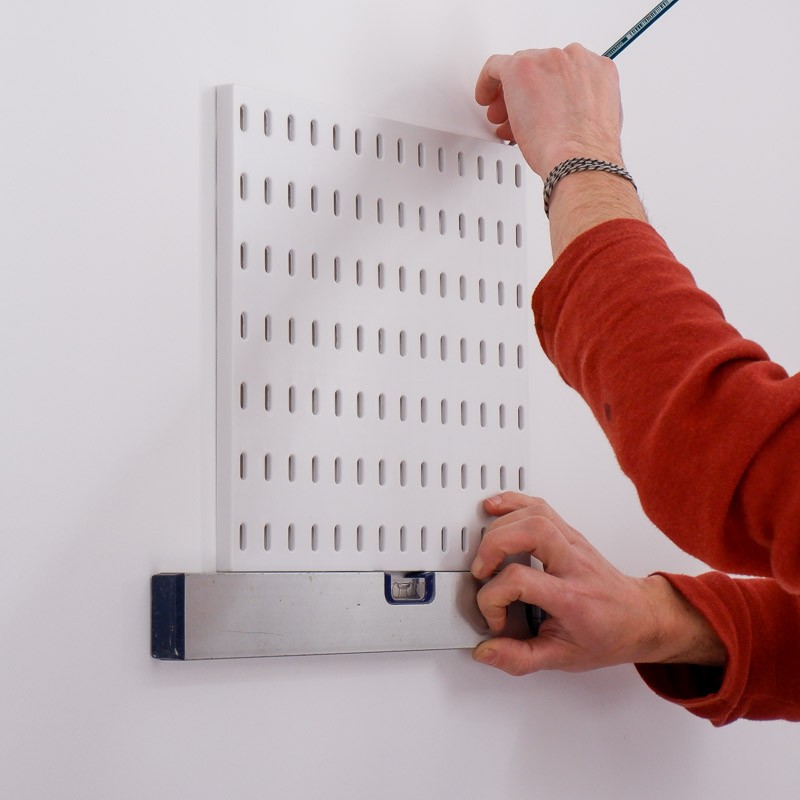
STEP 3: Using a level, you can lightly mark with a pencil where you would like to place your first pegboard.
NOTE: If you plan on stacking the pegboards, we recommend first placing the lowest pegboard on the wall first.
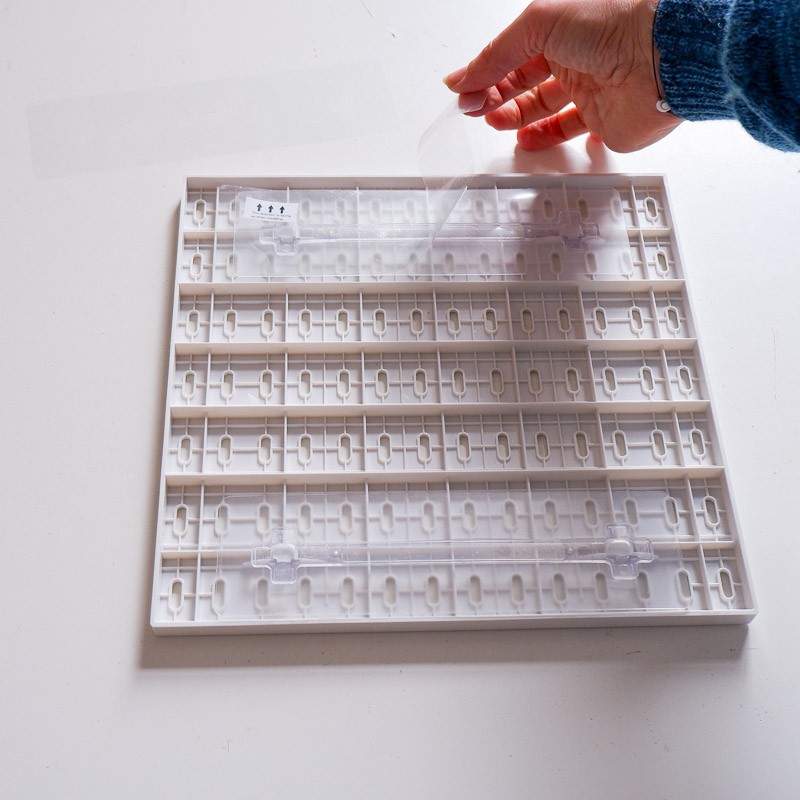
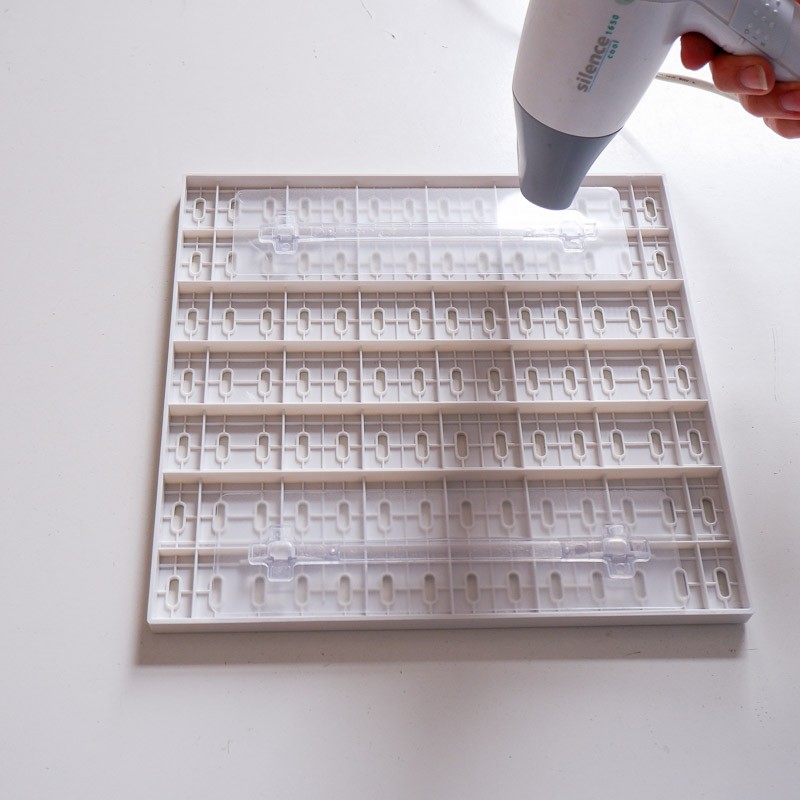
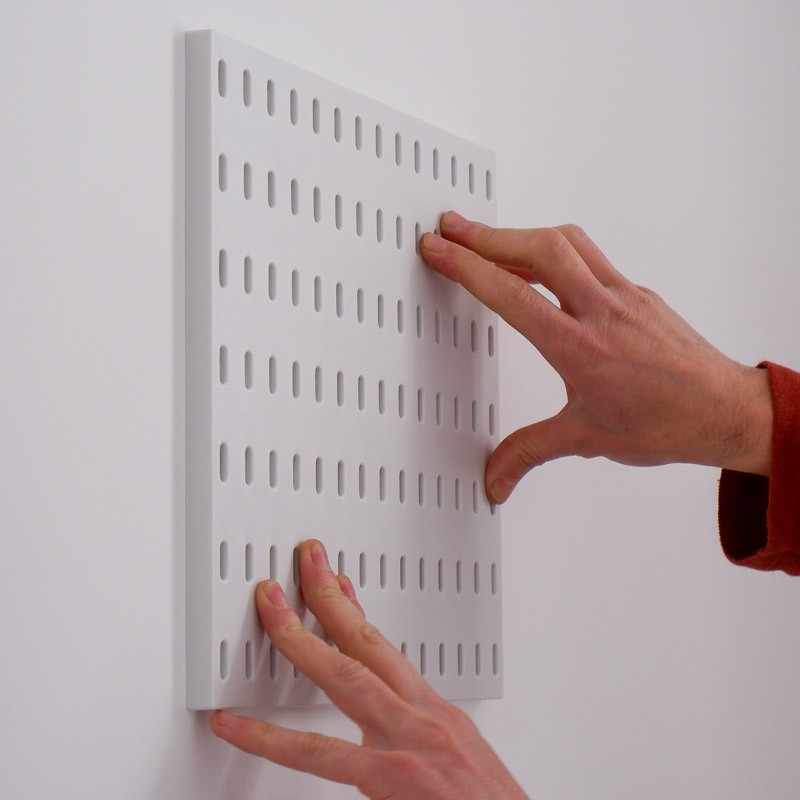
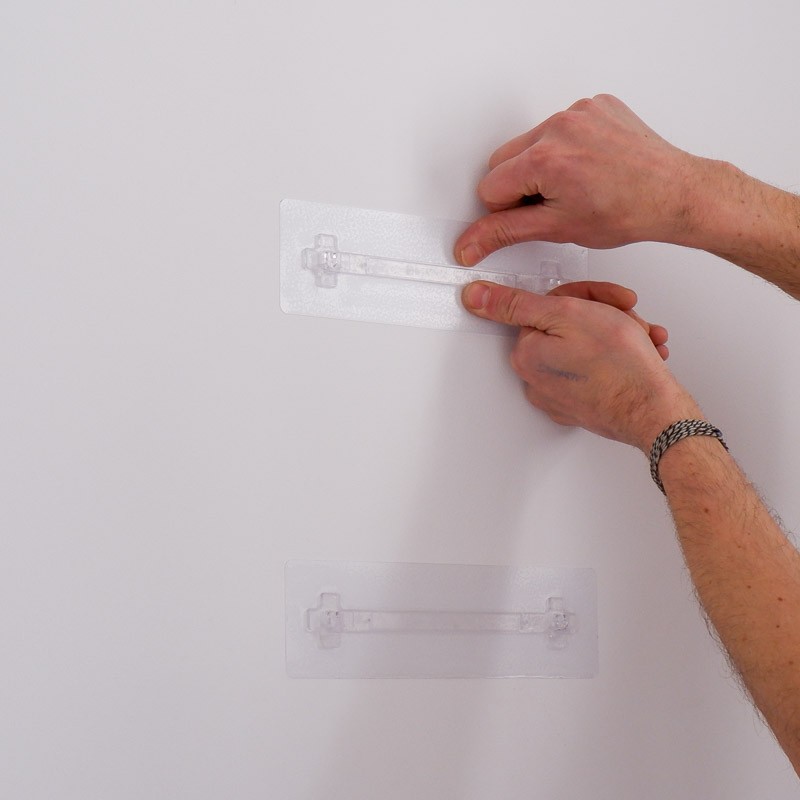
STEP 4: Take off the film of the adhesive sticker on the installation frame and preheat it with a hairdryer (this is optional, but helpful). Stick the pegboard to the wall and press firmly for one minute.
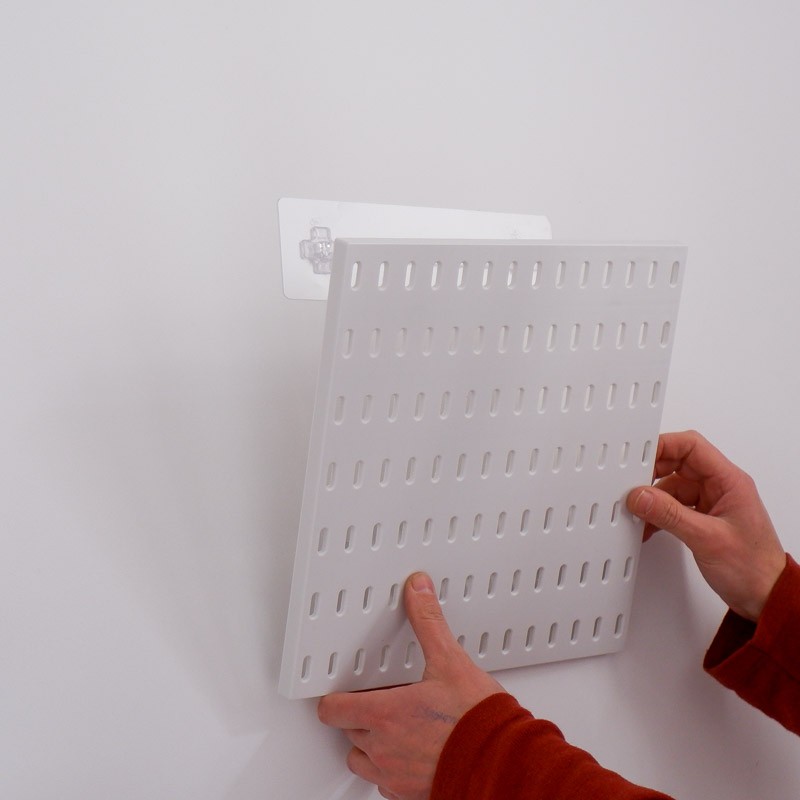
STEP 5: Remove the pegboard from the installation frame by sliding it up and away from the wall. Smooth out any bubbles in the adhesive sticker by pressing down on the frame.
STEP 6:
FOR MARBLE, CERAMIC, OR ANY OTHER WALLS WITH SMOOTH, NON-POROUS SURFACES: Leave the installation frame in place for 48 hours to cure, then reinsert pegboard into the installation frame.
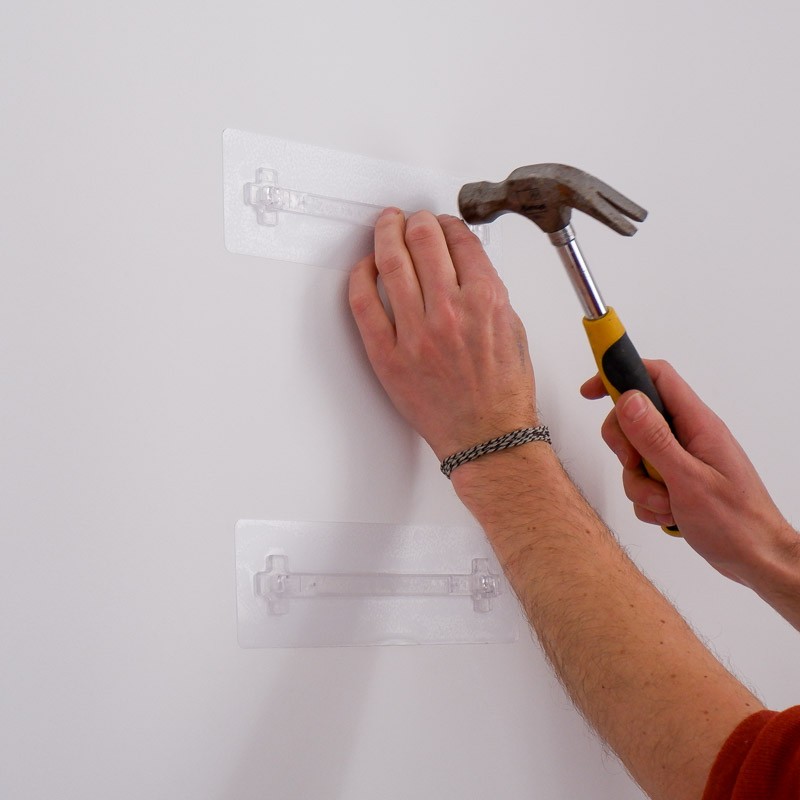
FOR WALLS WITH LATEX PAINT, WALLPAPER, OR ANY OTHER ROUGH, POROUS SURFACES: It is recommended to leave the installation frame in place for 48 hours and use the 6 included nails in the holes of the installation frame to strengthen the frame’s hold to the wall. Then reinsert the pegboard into the installation frame.
STEP 7: Repeat with the remaining pegboards until you have the size your desire! Arrange and rearrange your accessories, add your tools and voila! You have an optimal storage solution.

