Everything you need to know about Madam Sew's Darning Foot
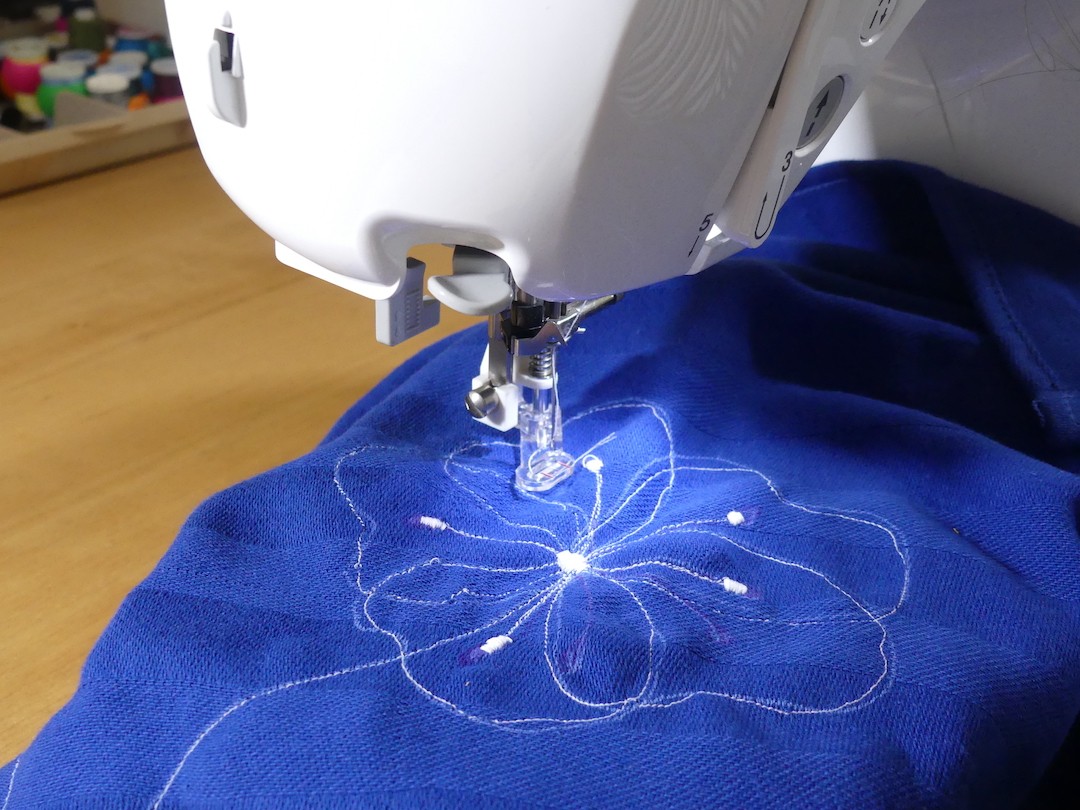
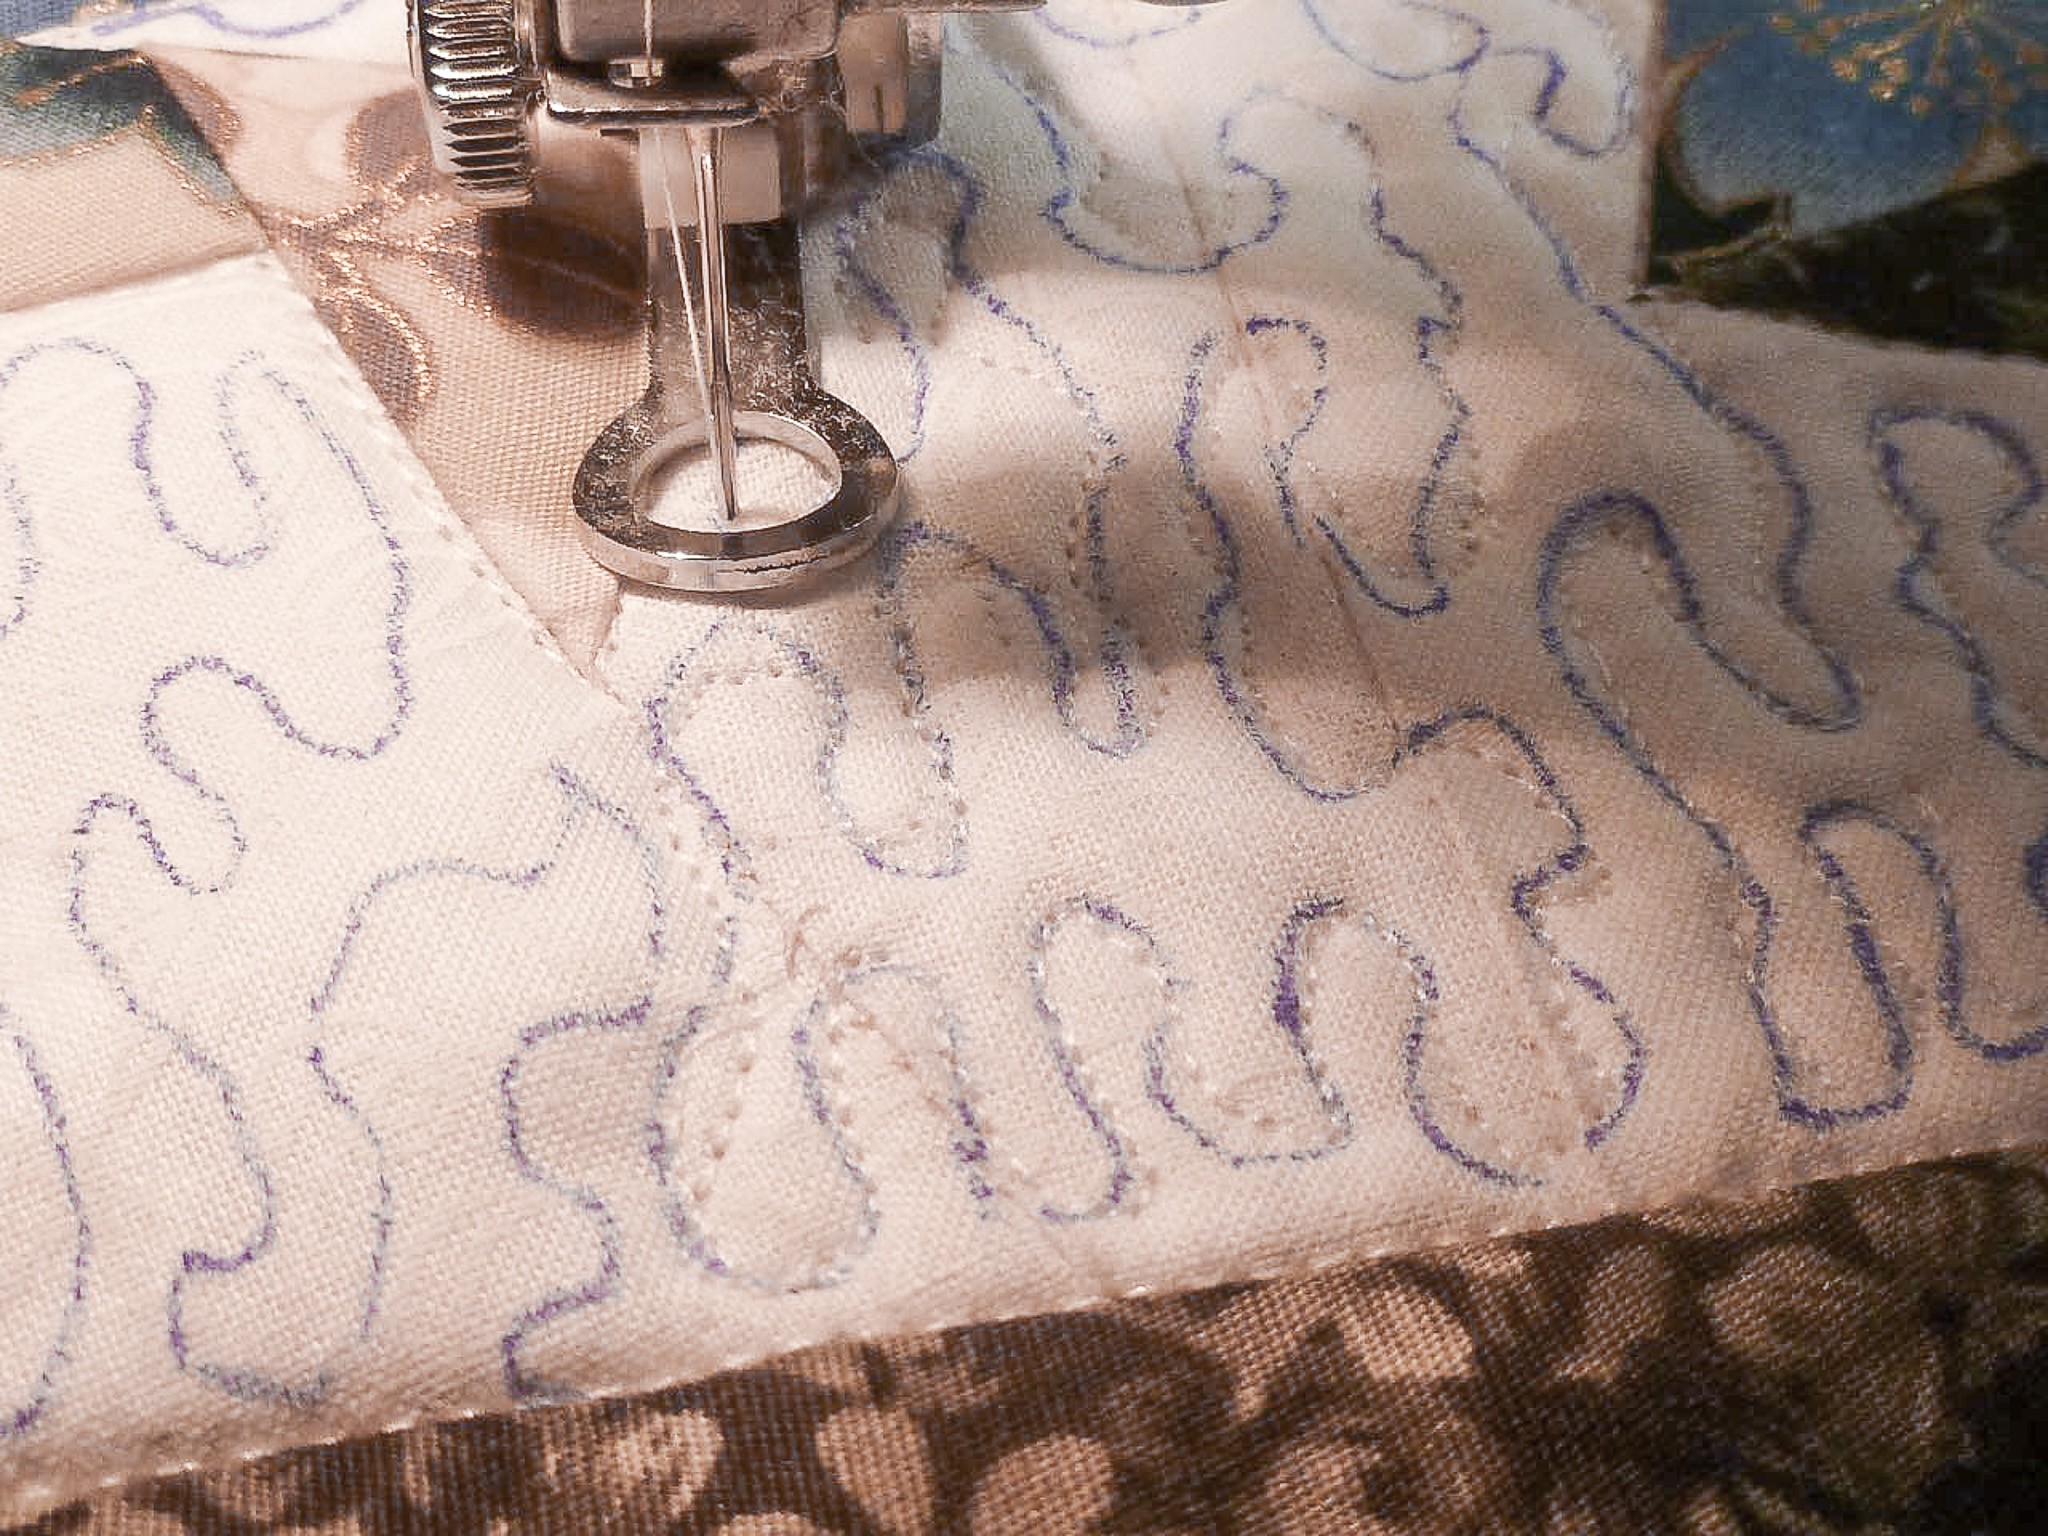
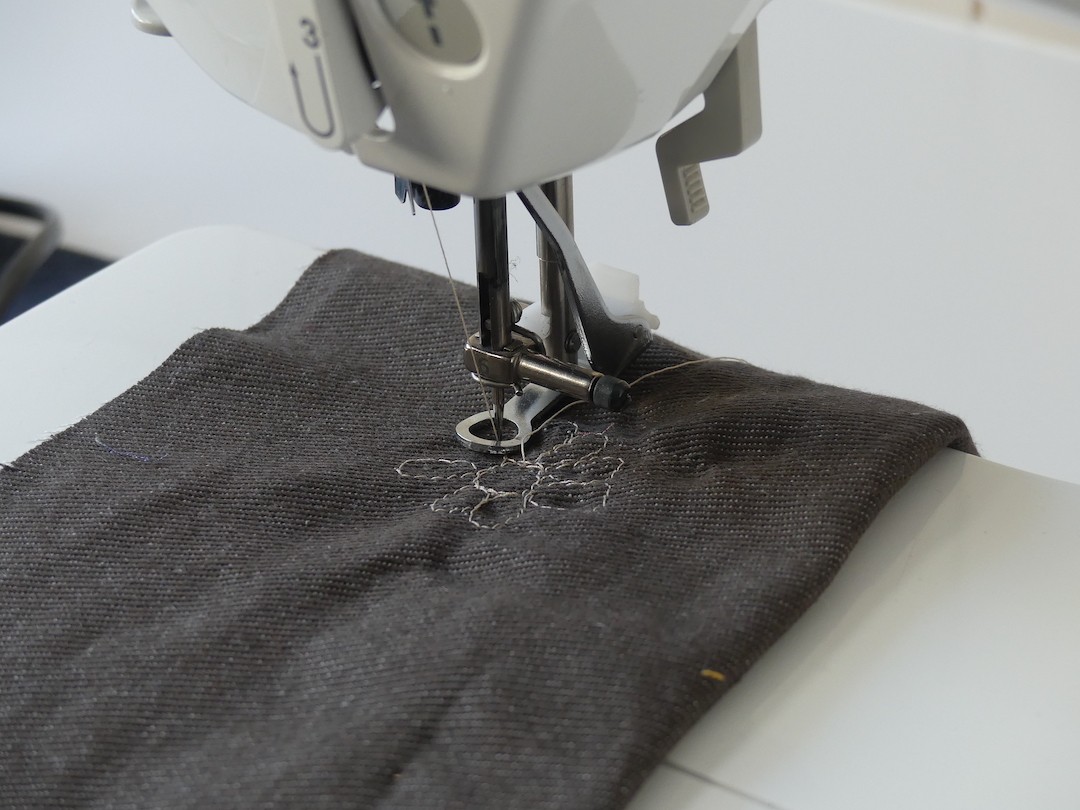
With the Darning Foot you can safely free motion stitch your quilts and embroidery projects!
COMPATIBLE SEWING MACHINES
All snap-on sewing machines except Bernina and PFAFF machines and some Husqvarna Viking models.
You can use this foot on:
a Bernina if you have the Bernina adapter + a low shank snap on adapter
a Pfaff or a Husqvarna Viking or on all screw-on machines if you have the low shank adapter
a high shank machine if you have the high shank adapter
HOW TO INSTALL THE DARNING FOOT ON YOUR MACHINE
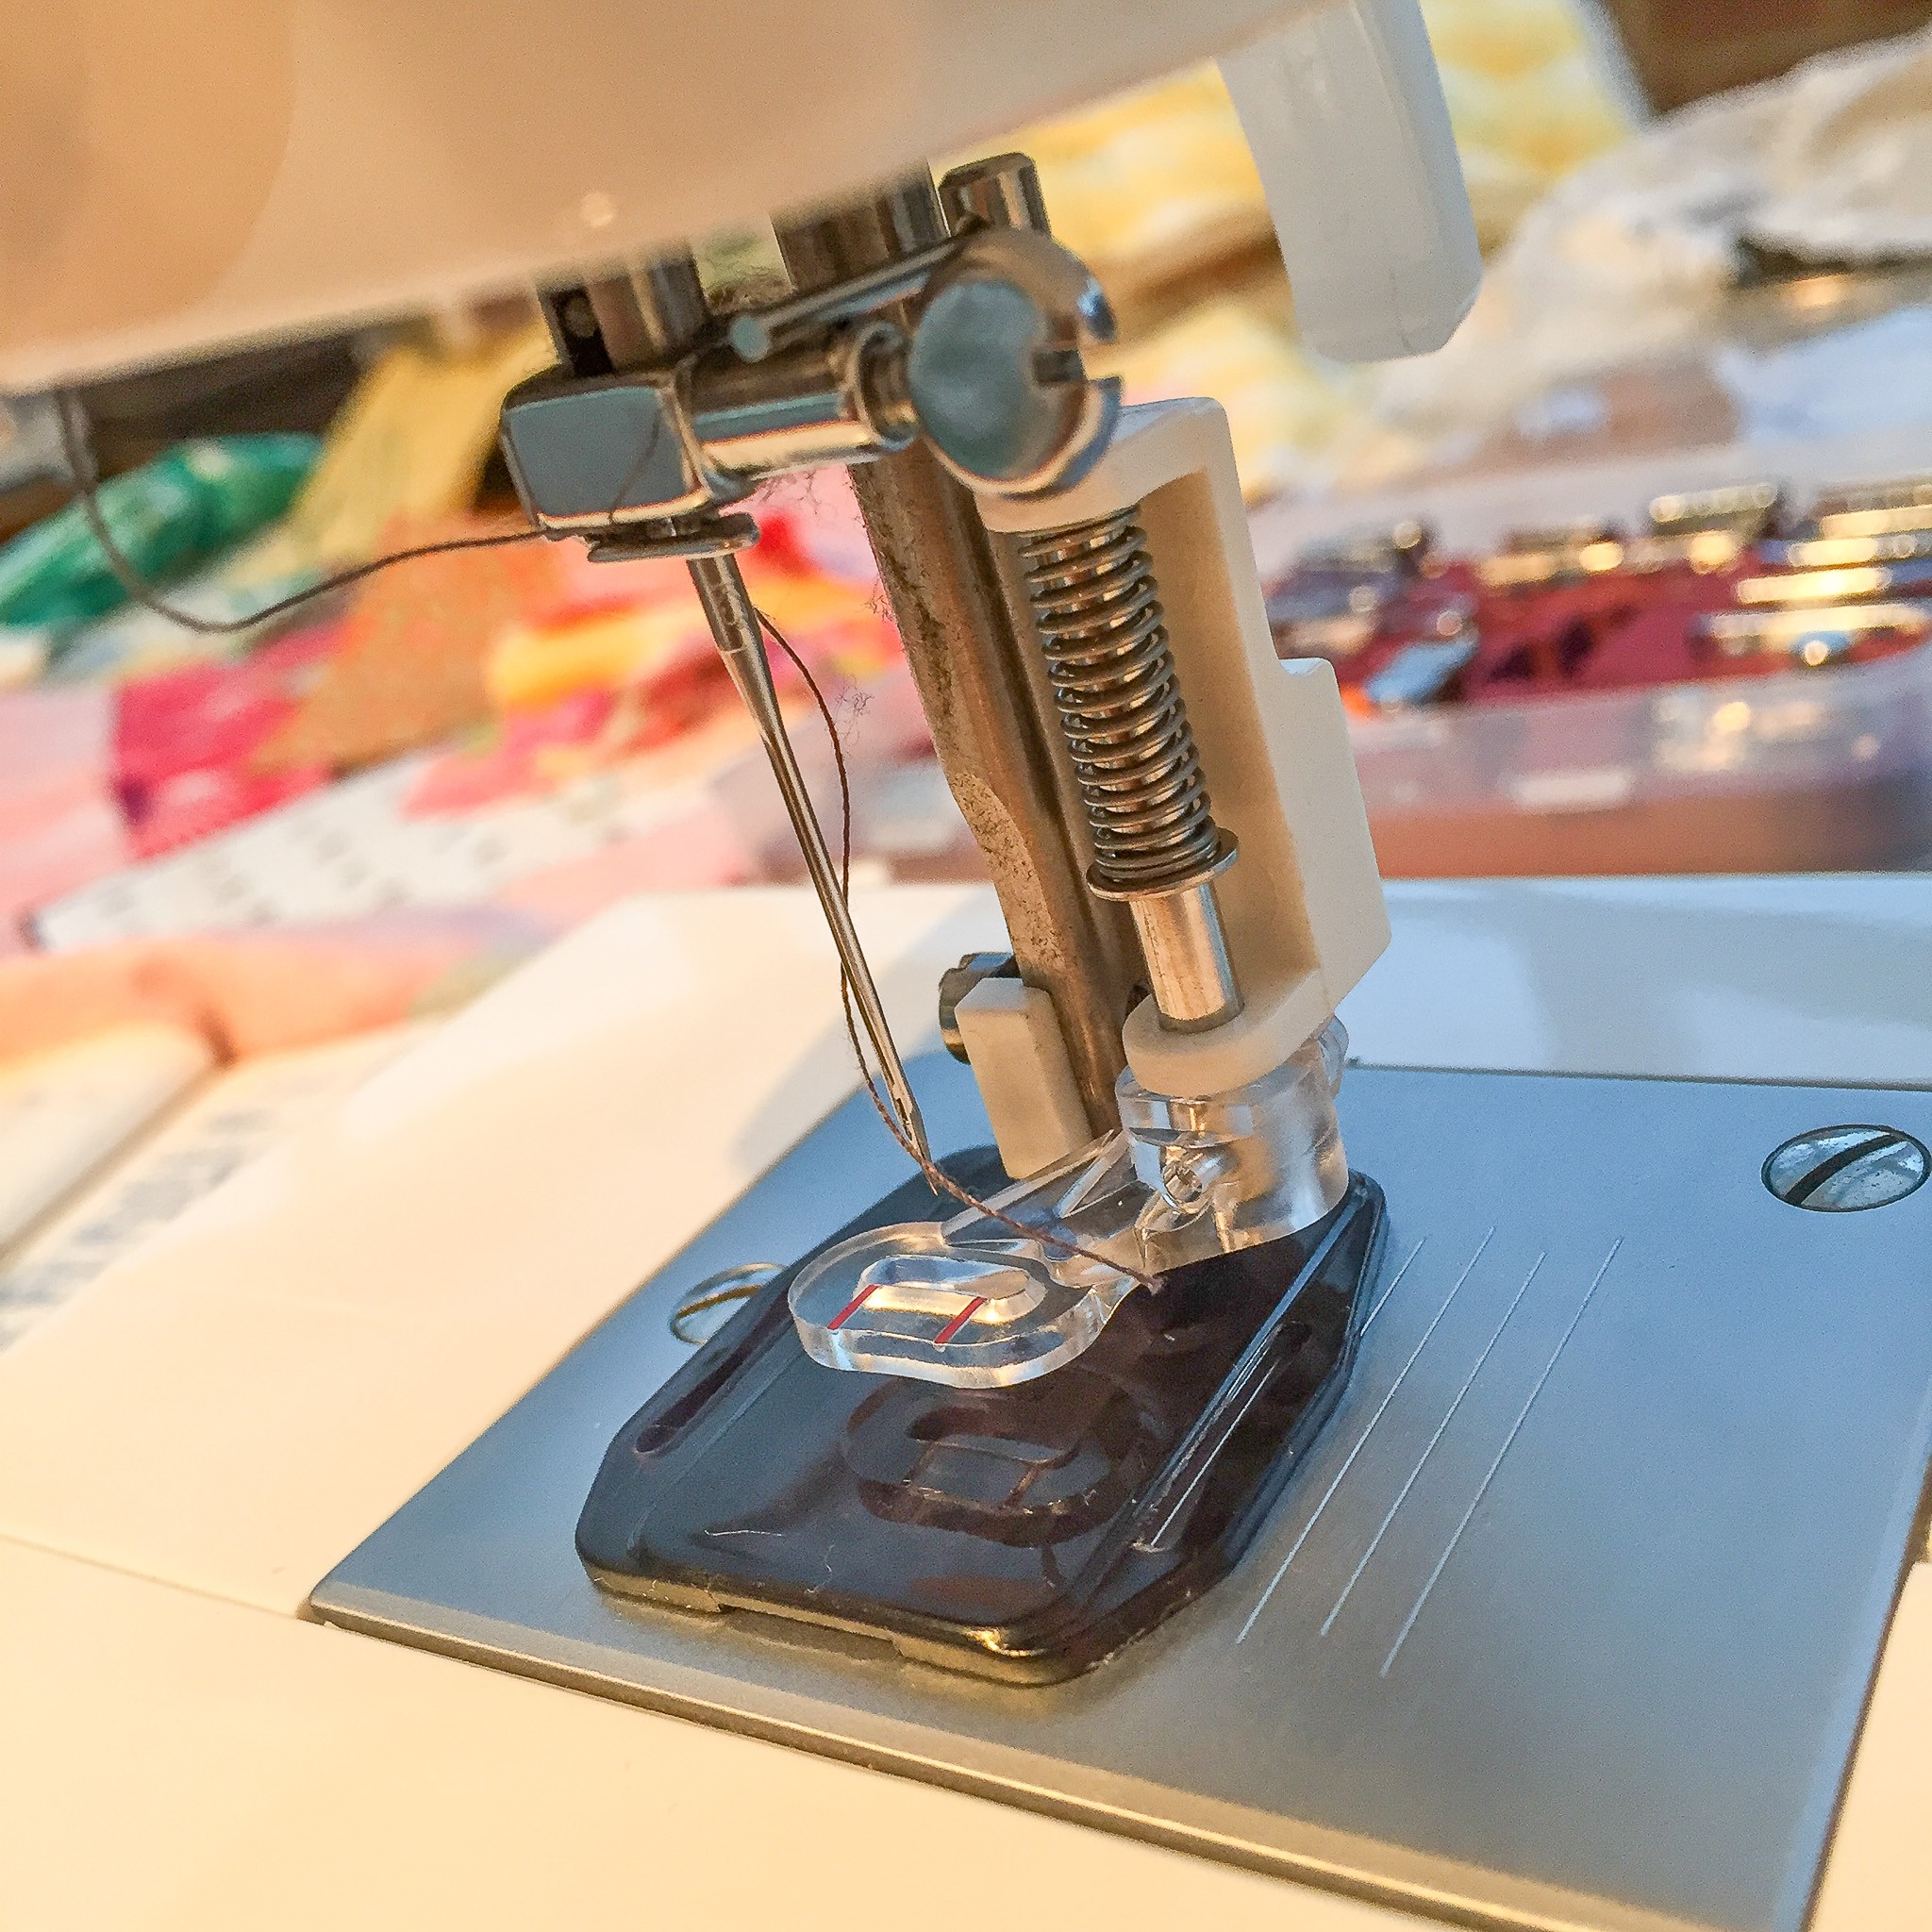
The Darning Foot is a universal snap-on presser foot for low shank sewing machines. You just snap it on and off your presser foot holder.
With the right adapter, you can use the Darning Foot on almost any sewing machine:
The Low-Shank Snap On Adapter for a Pfaff, Husqvarna Viking (certain models) or any low-shank screw-on machine.
The Bernina Adapter + the Low Shank Snap On Adapter for a Bernina Machine
The High-Shank Adapter for a high shank machine.
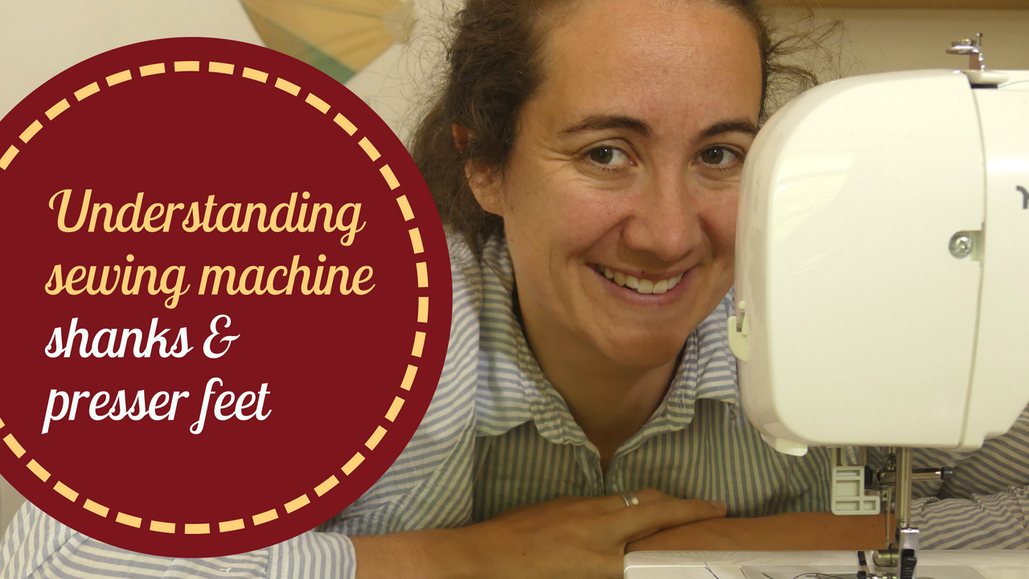
For more information, visit our detailed blog post about shanks and universal presser feet.
1. Switch off your sewing machine.
2. Unscrew and remove the standard presser foot.
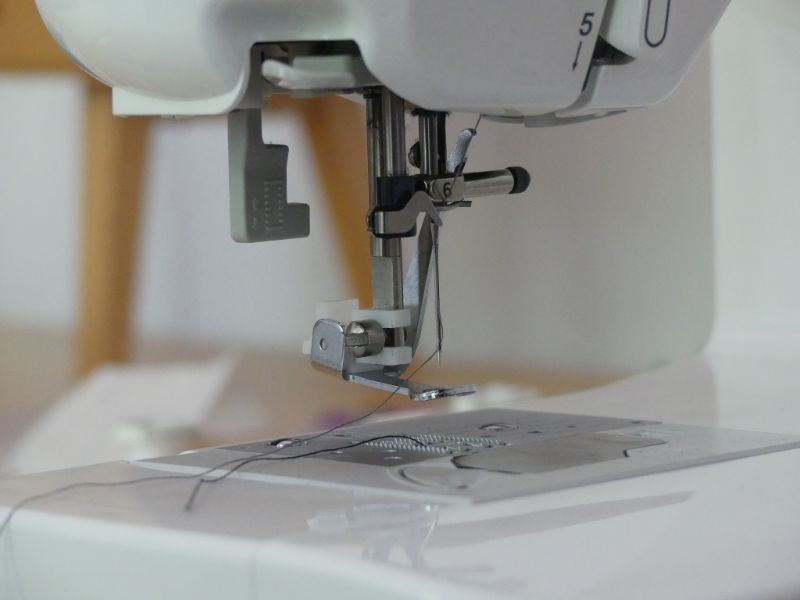
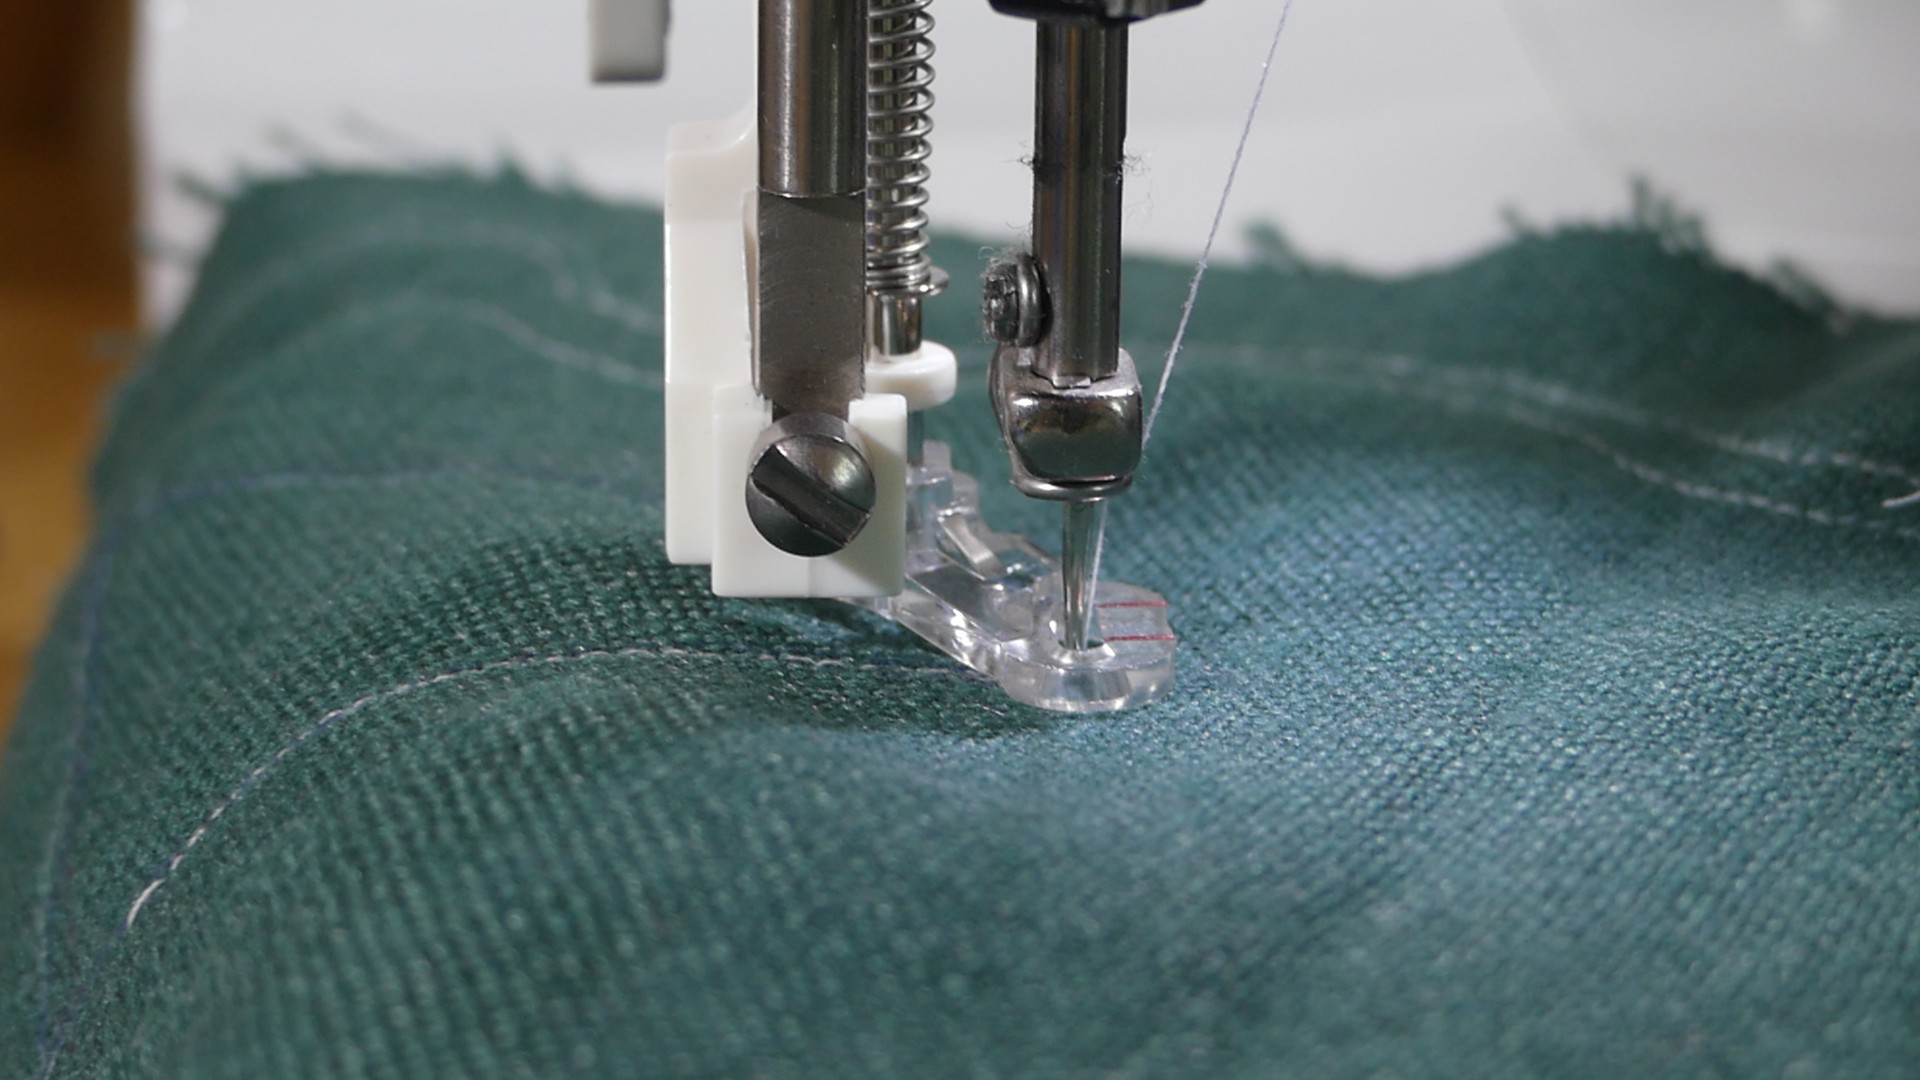
3. When attaching the #14 darning foot, ensure the long metal bar goes over the needle. This is what drives the movement of this darning foot as the feed dogs will be dropped while sewing.
NOTE: When attaching the #23 spring darning foot, it is easiest to attach while pressing the spring up before inserting it on the shank.
5. Attach the darning foot on the shank and tighten the screw using the tool that came with your machine, or a flat head screwdriver.
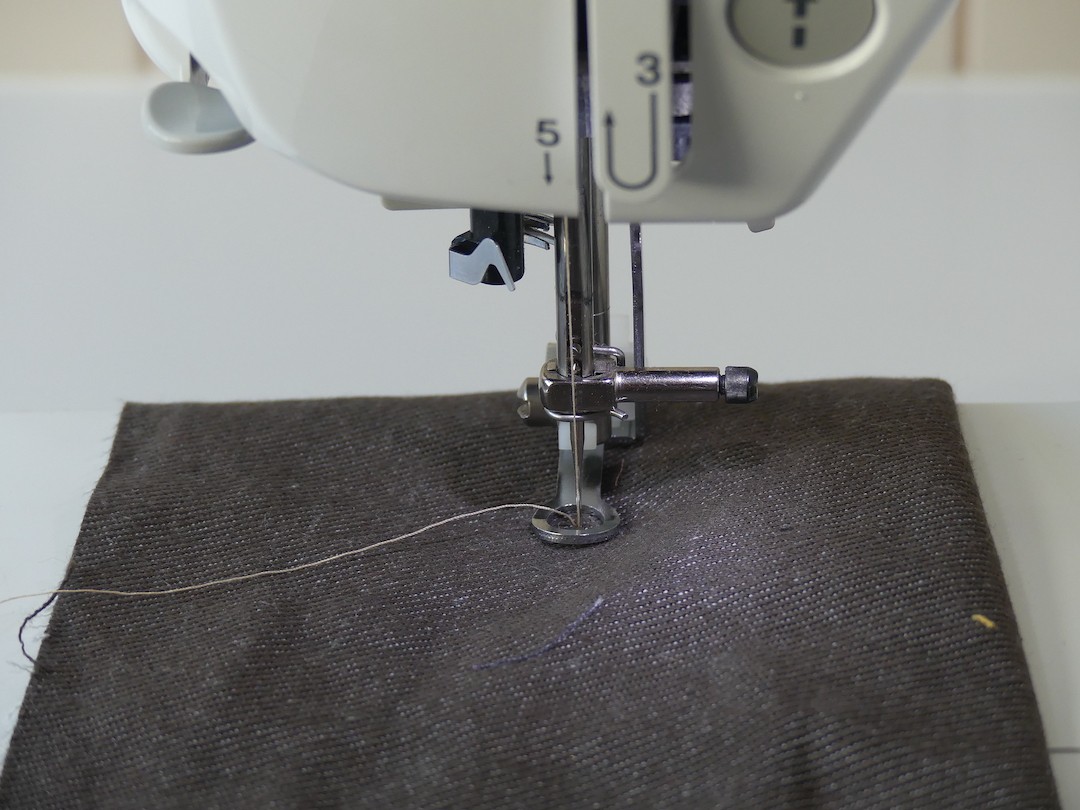
6. Test using your hand crank (never the foot pedal!) to make sure your needle passes through the eye of the foot with no contact.
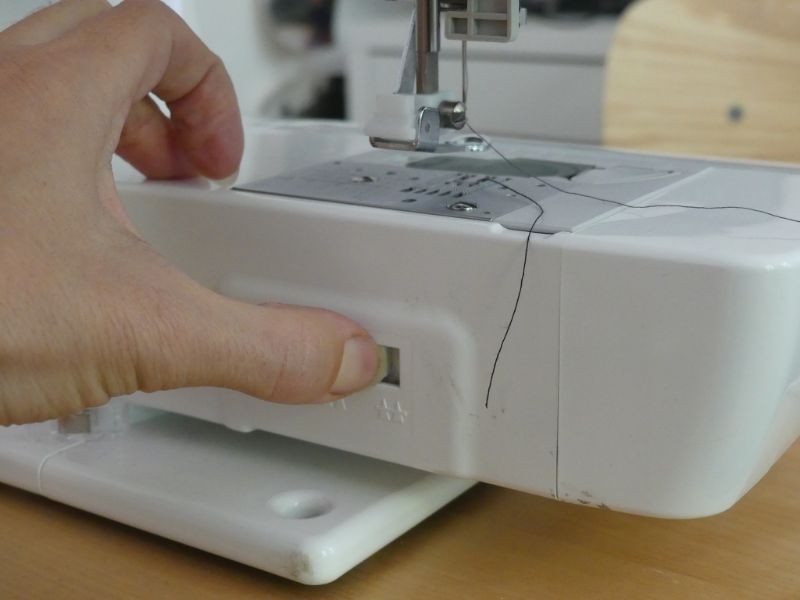
7. Ensure the feed dogs are either dropped or covered. Refer to your sewing machine's user manual if you are unsure how to do this. You will be moving the fabric beneath the needle, rather than letting the feed dogs guide the fabric through.
8. When quilting you will need to drop the needle and hand crank to sew a single stitch. Pull the lower thread through to the top of the work to avoid snagging. Tie it off and bury the loose ends in your work as soon as possible. This will avoid sewing over your loose ends which then become far more difficult to remove neatly.
9. When you have finished you free motion work, bring both ends of thread to the same side, tie off and bury in your work.
NOTE:
To bury your loose ends, simply thread them into a hand needle and insert the needle into the same hole where the knot is or just behind it. Run the needle inside the layers of your quilt. It is a good idea to double check the back side to make sure your threads aren't visible there. Push the needle to the front of your quilt about an inch away from your starting point. Pull your thread ends through and give them a gentle tug. Make sure the knot pops below the surface of the fabric. Use scissors to trim the tails, as you release the end it should slide back into your quilted fabric. See our video tutorials on these techniques.

