Everything you need to know about Madam Sew's Creative Shape Cut Ruler
Get creative with our Creative Shape Cut Ruler. This handy ruler is non-slip and can be used with a 28mm or 45mm rotary cutter. Using the slots, ruler markings and your rotary cutter you can quickly cut strips, squares, triangles and diamonds for your quilting. You can also cut a ½” fringe which is great for no-sew blankets. Plus, you can use the ruler to mark seam allowances and make single cuts that include a ¼” seam allowance.
USES
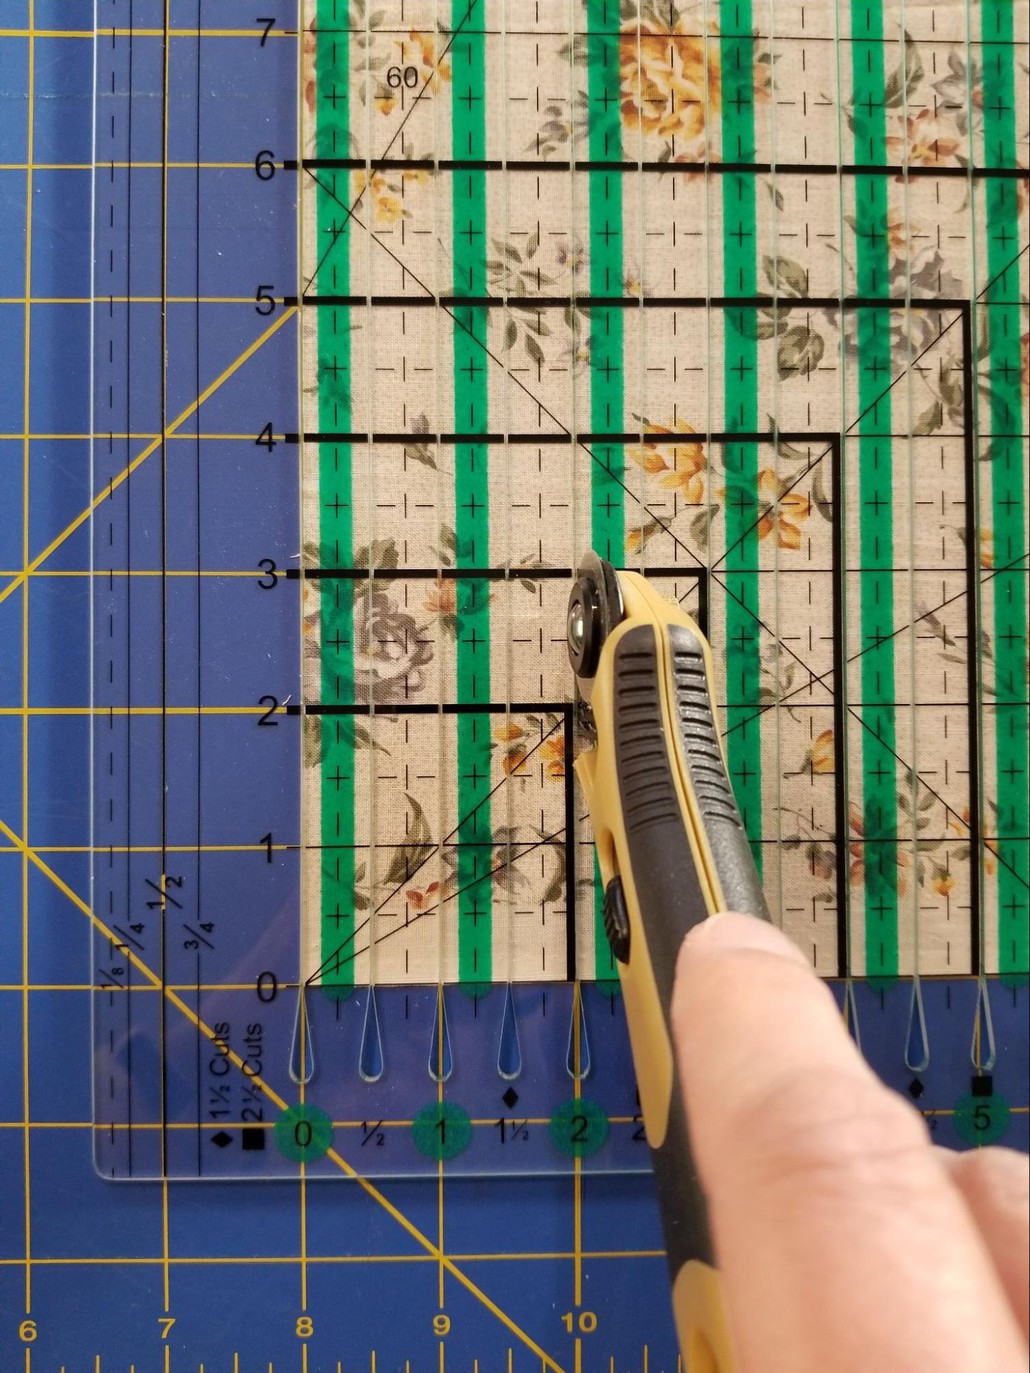
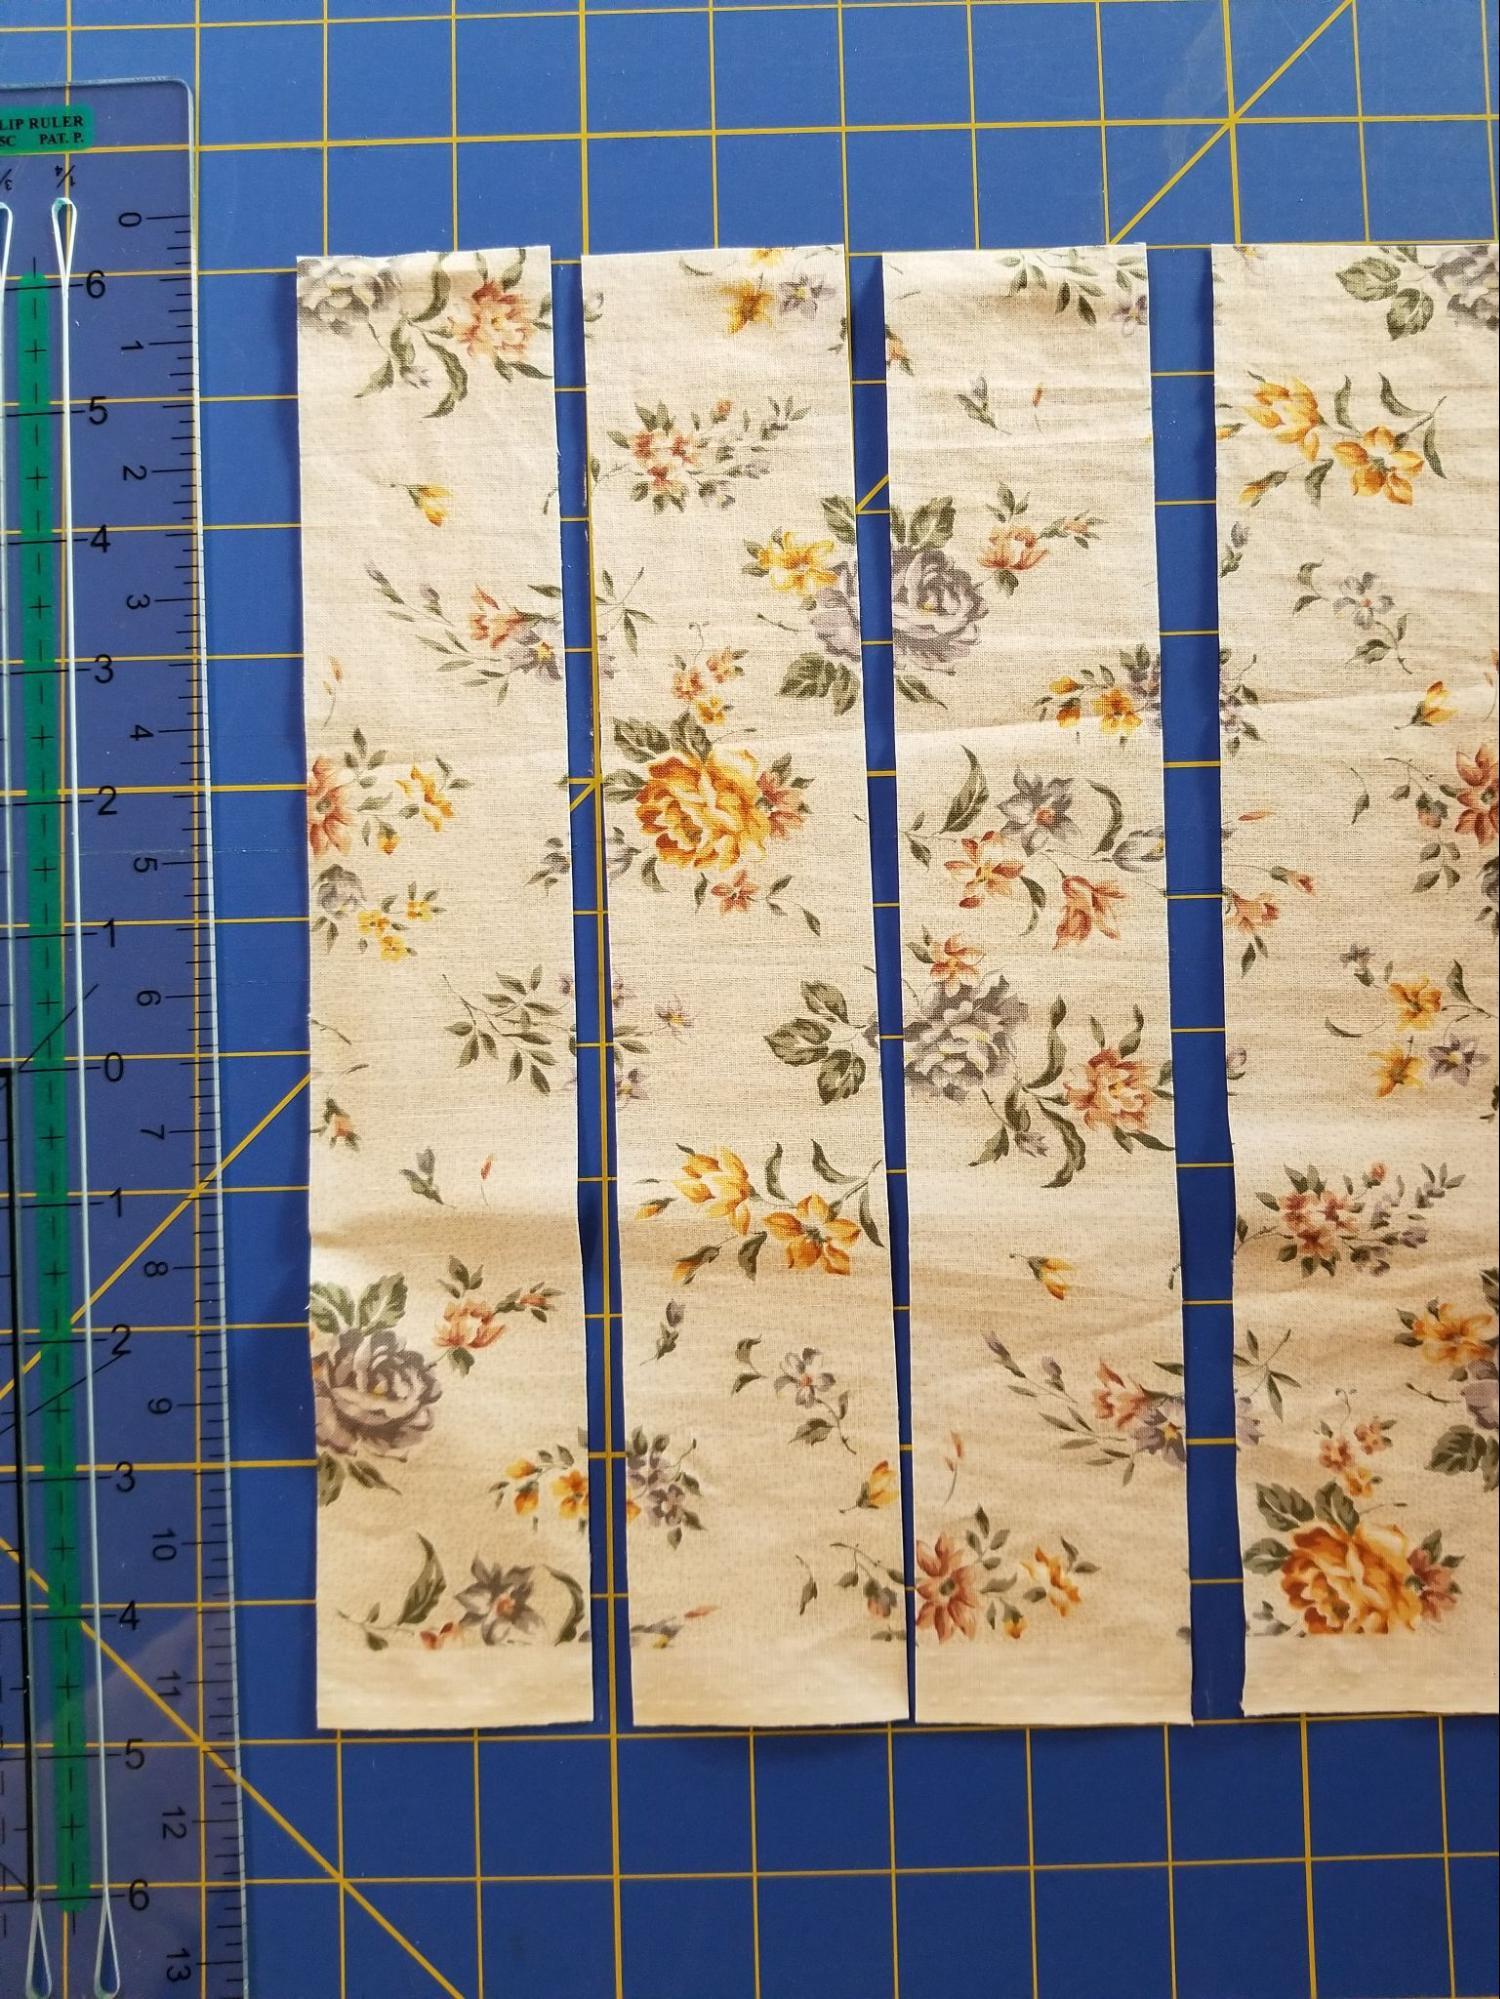
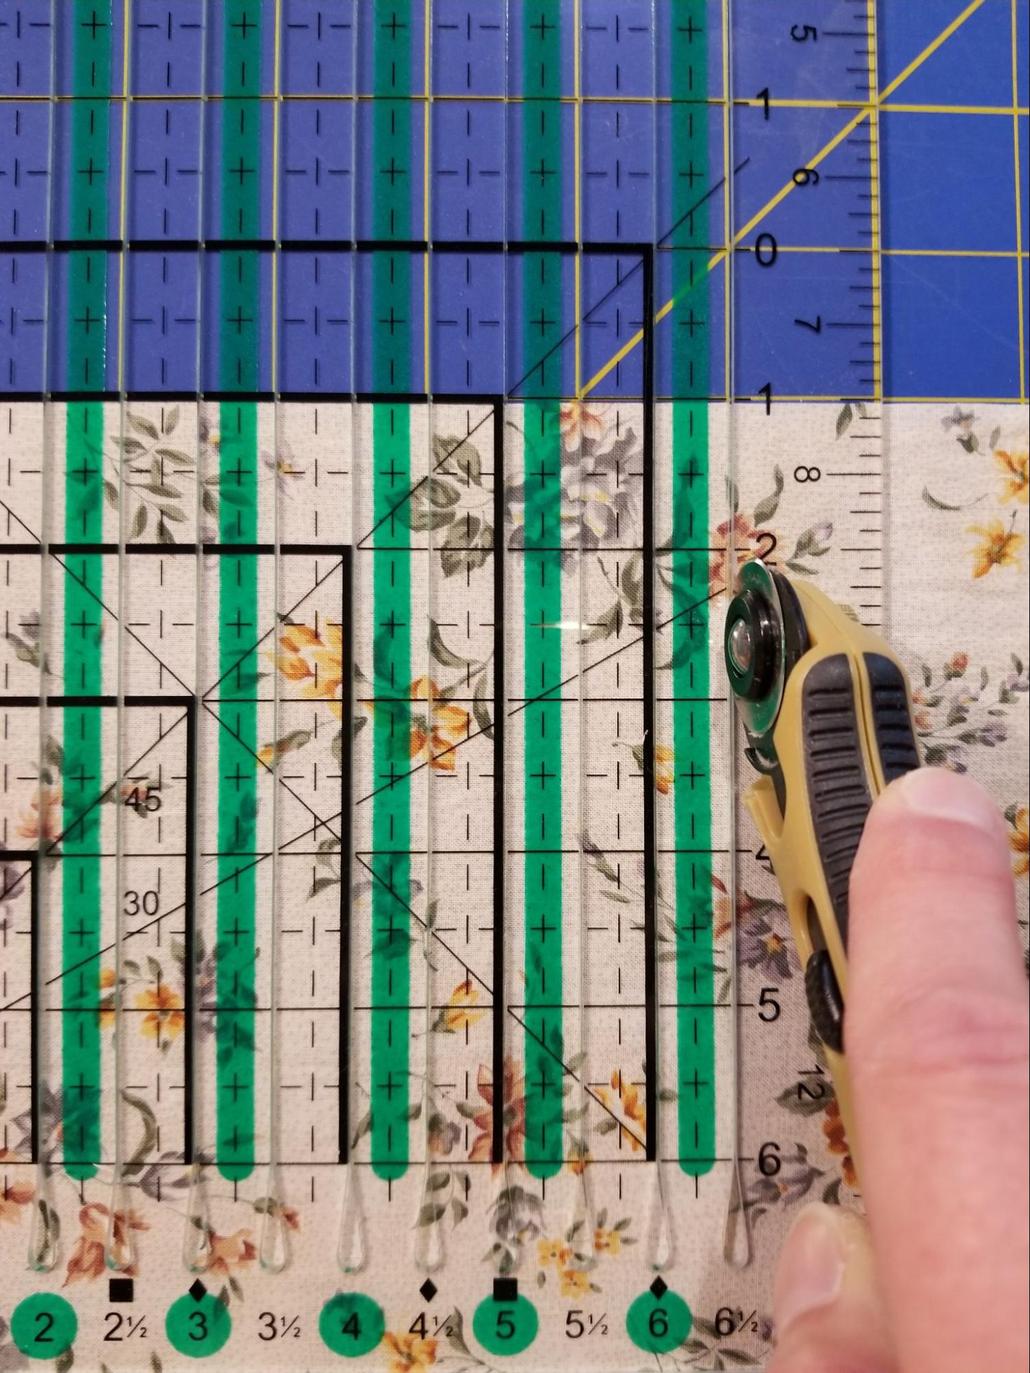
CUTTING 2" STRIPS
Note: You can cut multiple ½”, 1”, 1 ½”, 2” and 2 1/2 ” strips with this ruler. For our example we will be cutting 2” strips.
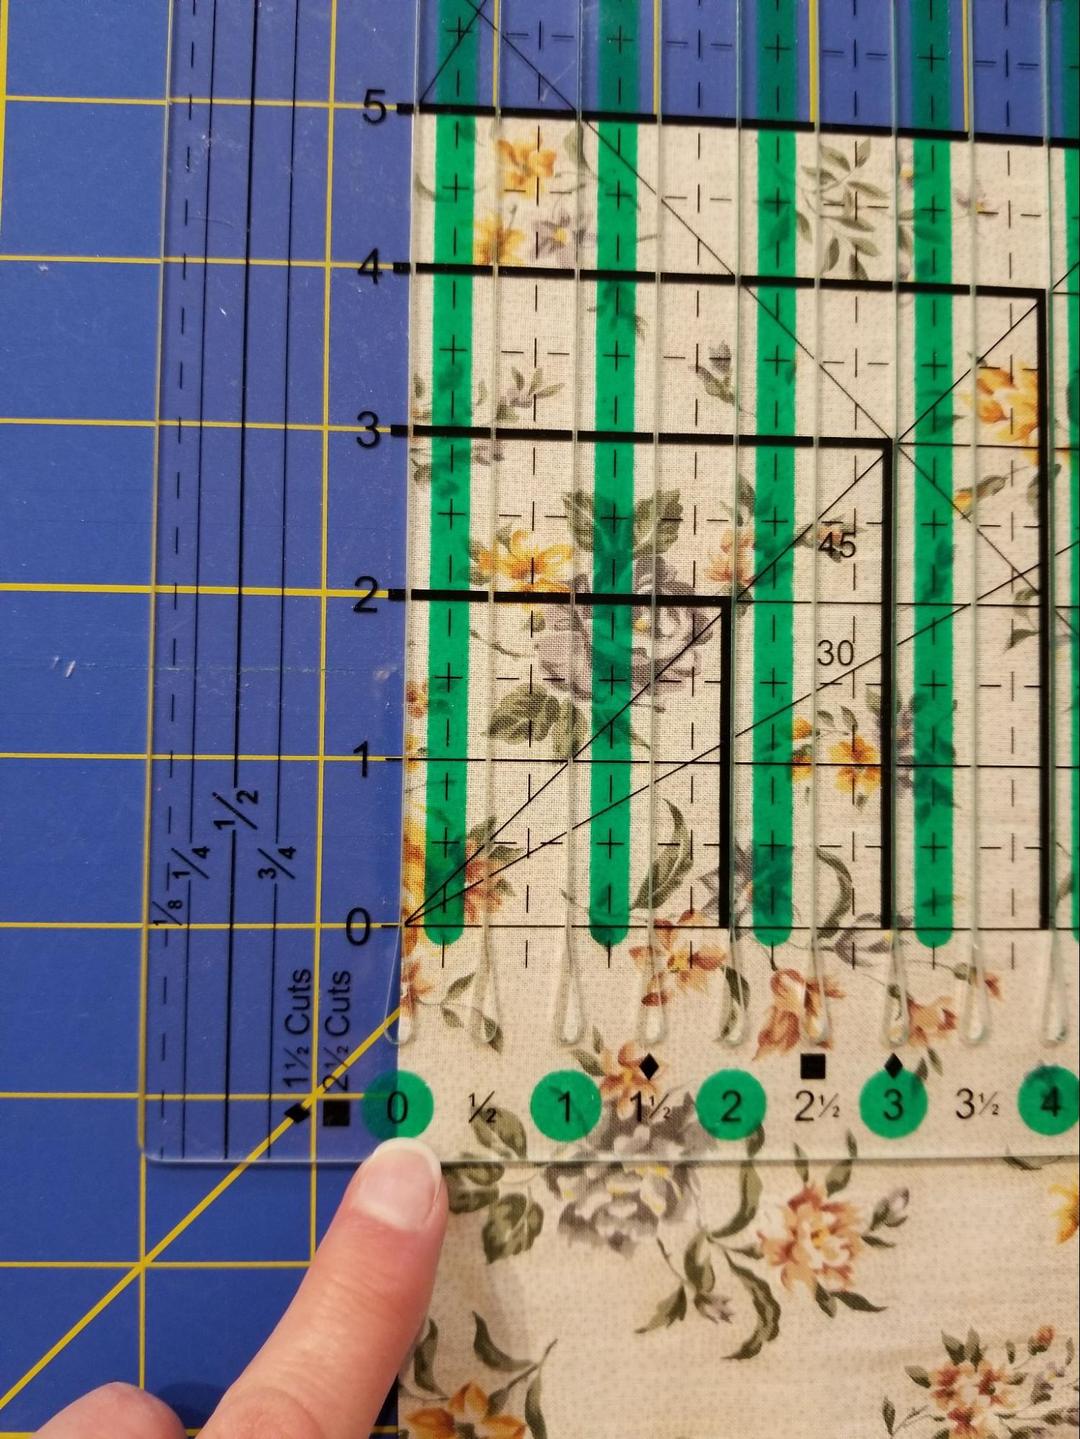
STEP 1: Align the bottom line guide with your fabric edge.
STEP 2: Align the other edge of your fabric with the “0” slot or use that slot to square up your fabric.
STEP 3: Now cut in the 2”, 4” and 6” slots.
STEP 4: Move ruler along if needed by realigning the cut at the 6” slot with your “0” marking. Keep cutting until you have all of the strips you need
NOTE: For other size strips, you’ll do a similar process with the measurements you need for the width of your strip.
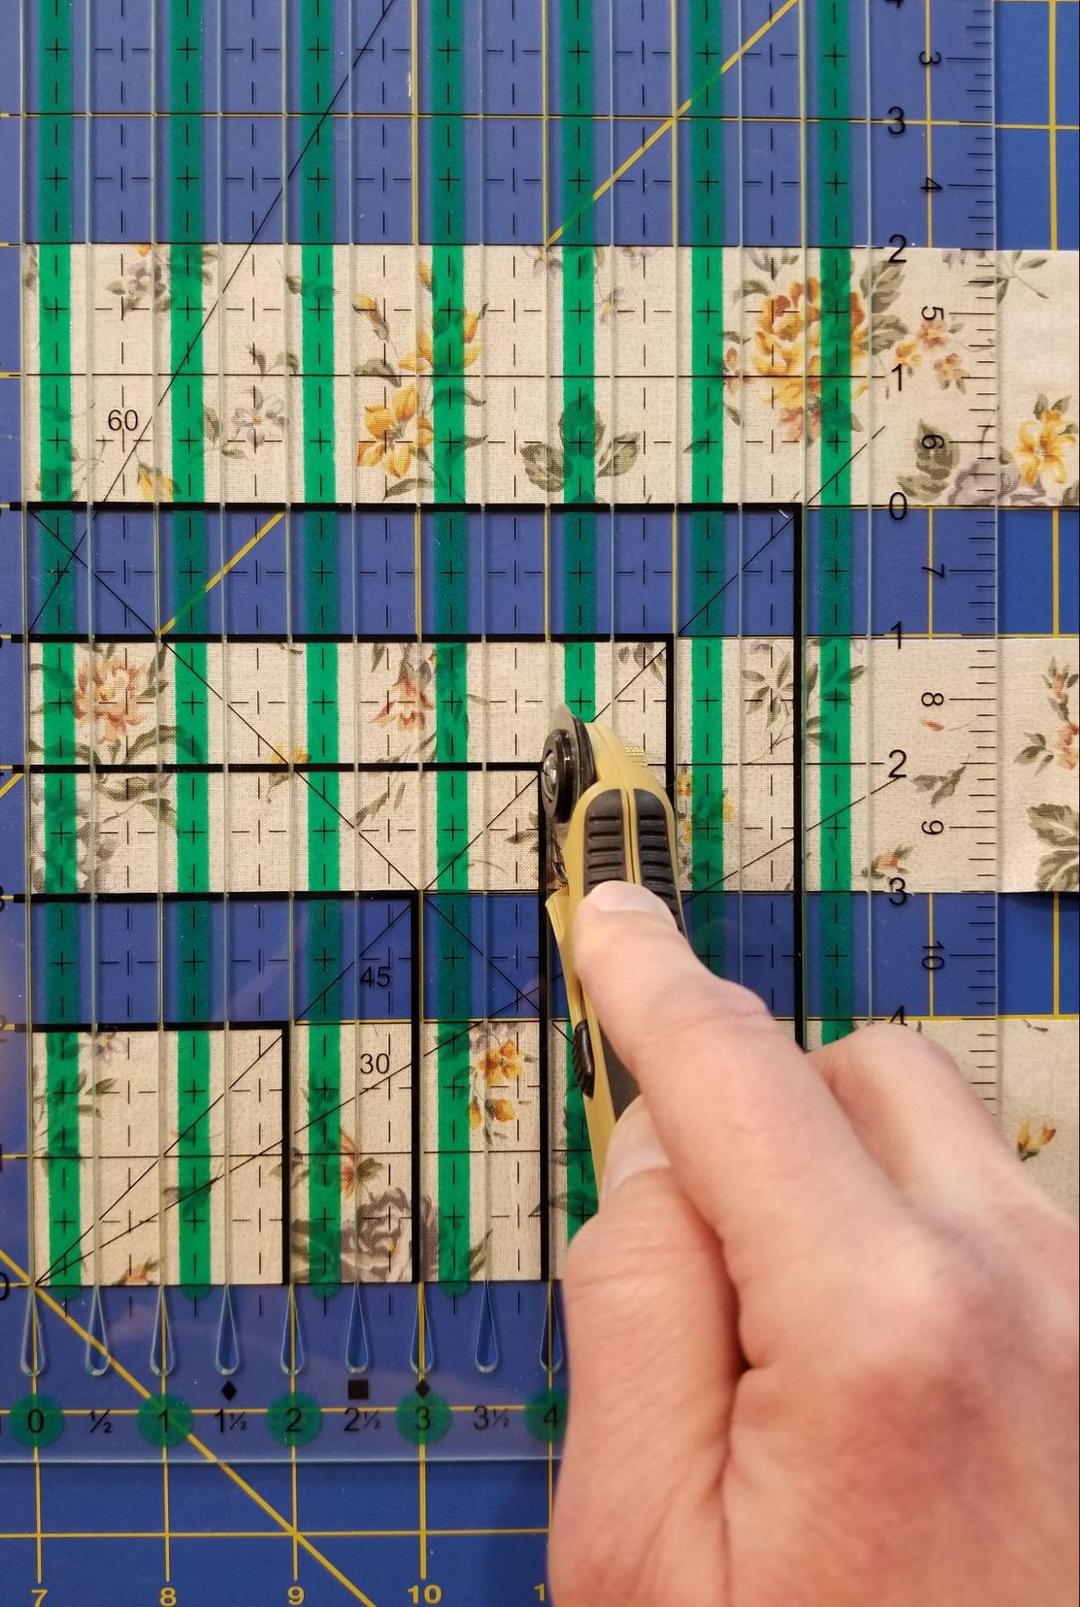
CUTTING 2" SQUARES
Follow the steps outlined above to make your 2” wide strips and once you have the number of strips you need, go to next step below.
STEP 1: Align your 2” strips with the 90 degree line (which is the bottom edge "0" line mark) and your “0” slot line
STEP 2: Cut in your 2”, 4”, 6” slots to make your 2” squares
CREATING HALF SQUARE TRIANGLES
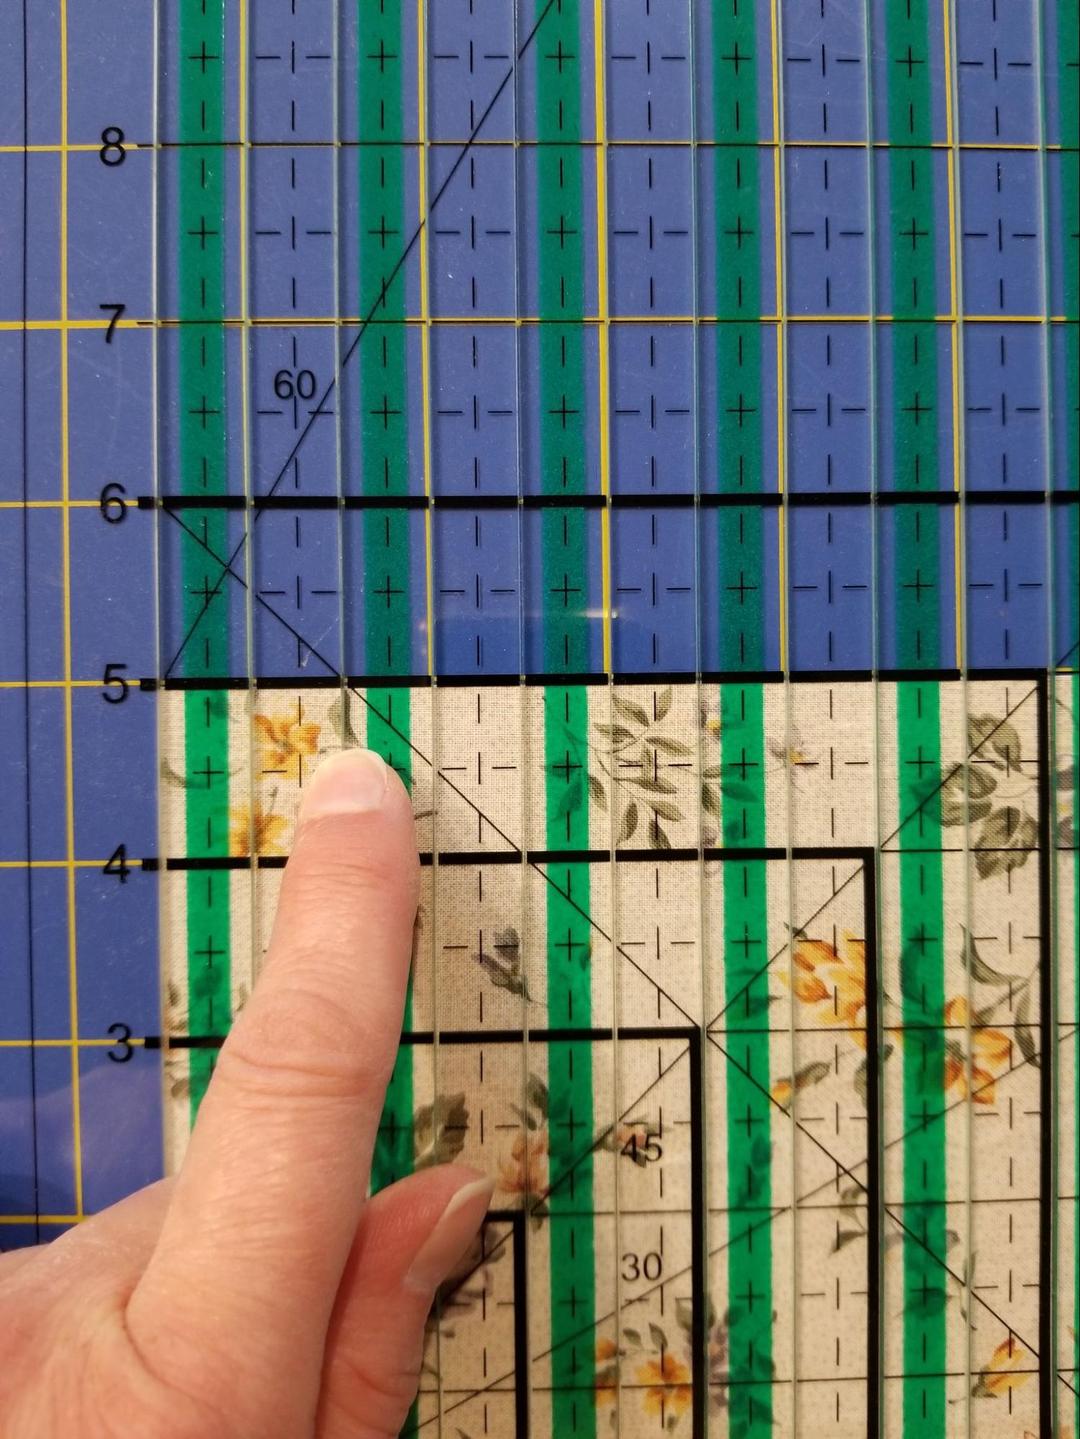
STEP 1: Align the diagonal line of your square with any slot line of the ruler
STEP 2: Cut in the slot to make your half square triangle
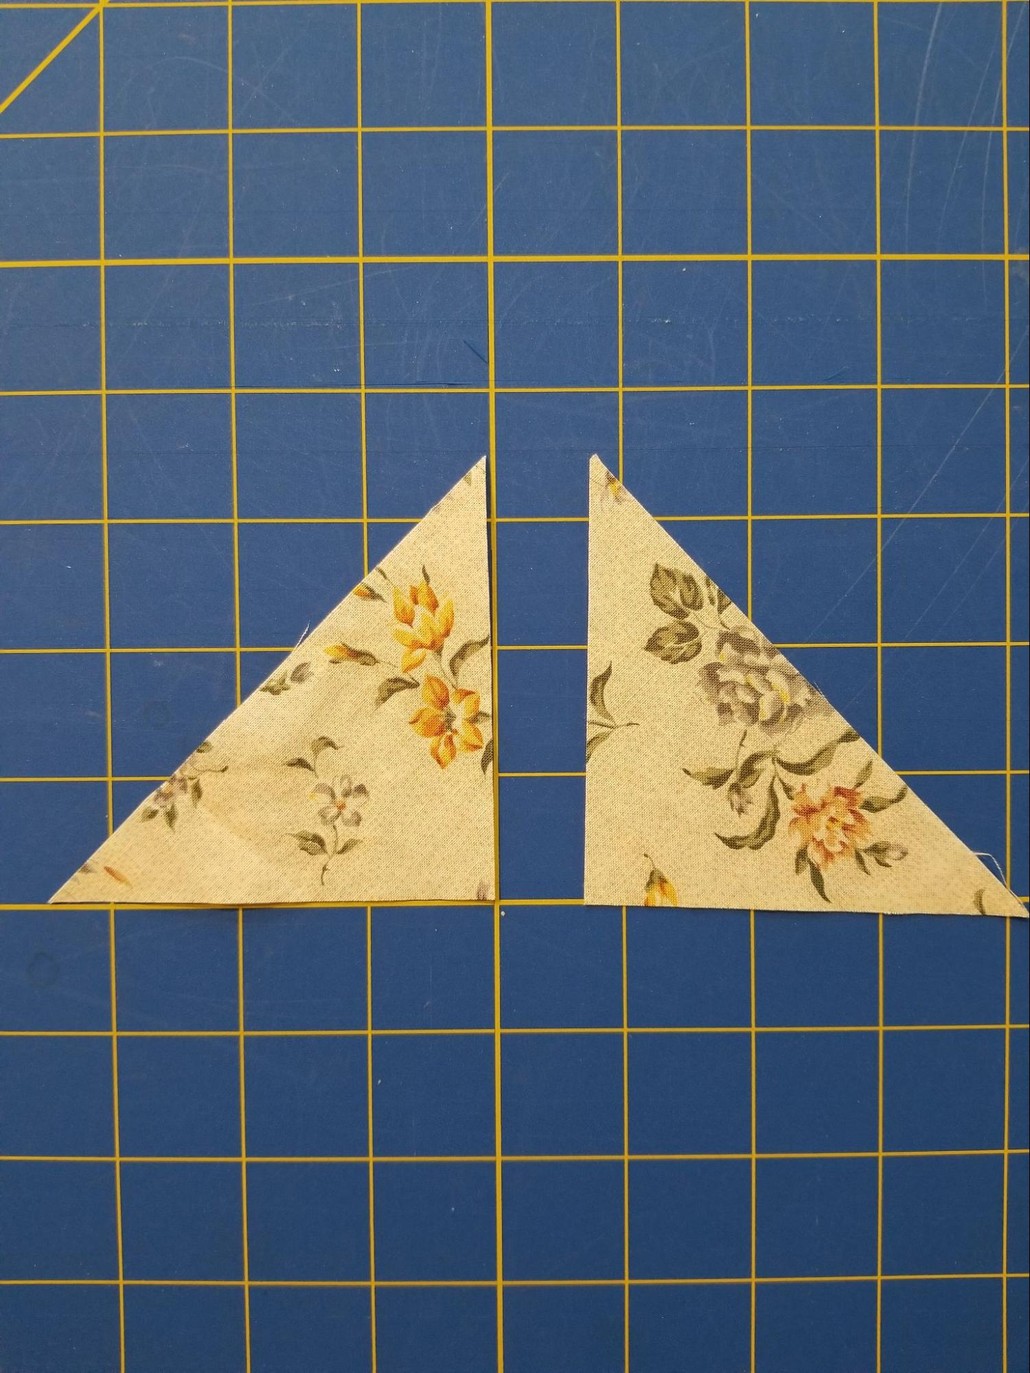
CREATING QUARTER SQUARE TRIANGLES
First follow the steps above to make half square triangles.
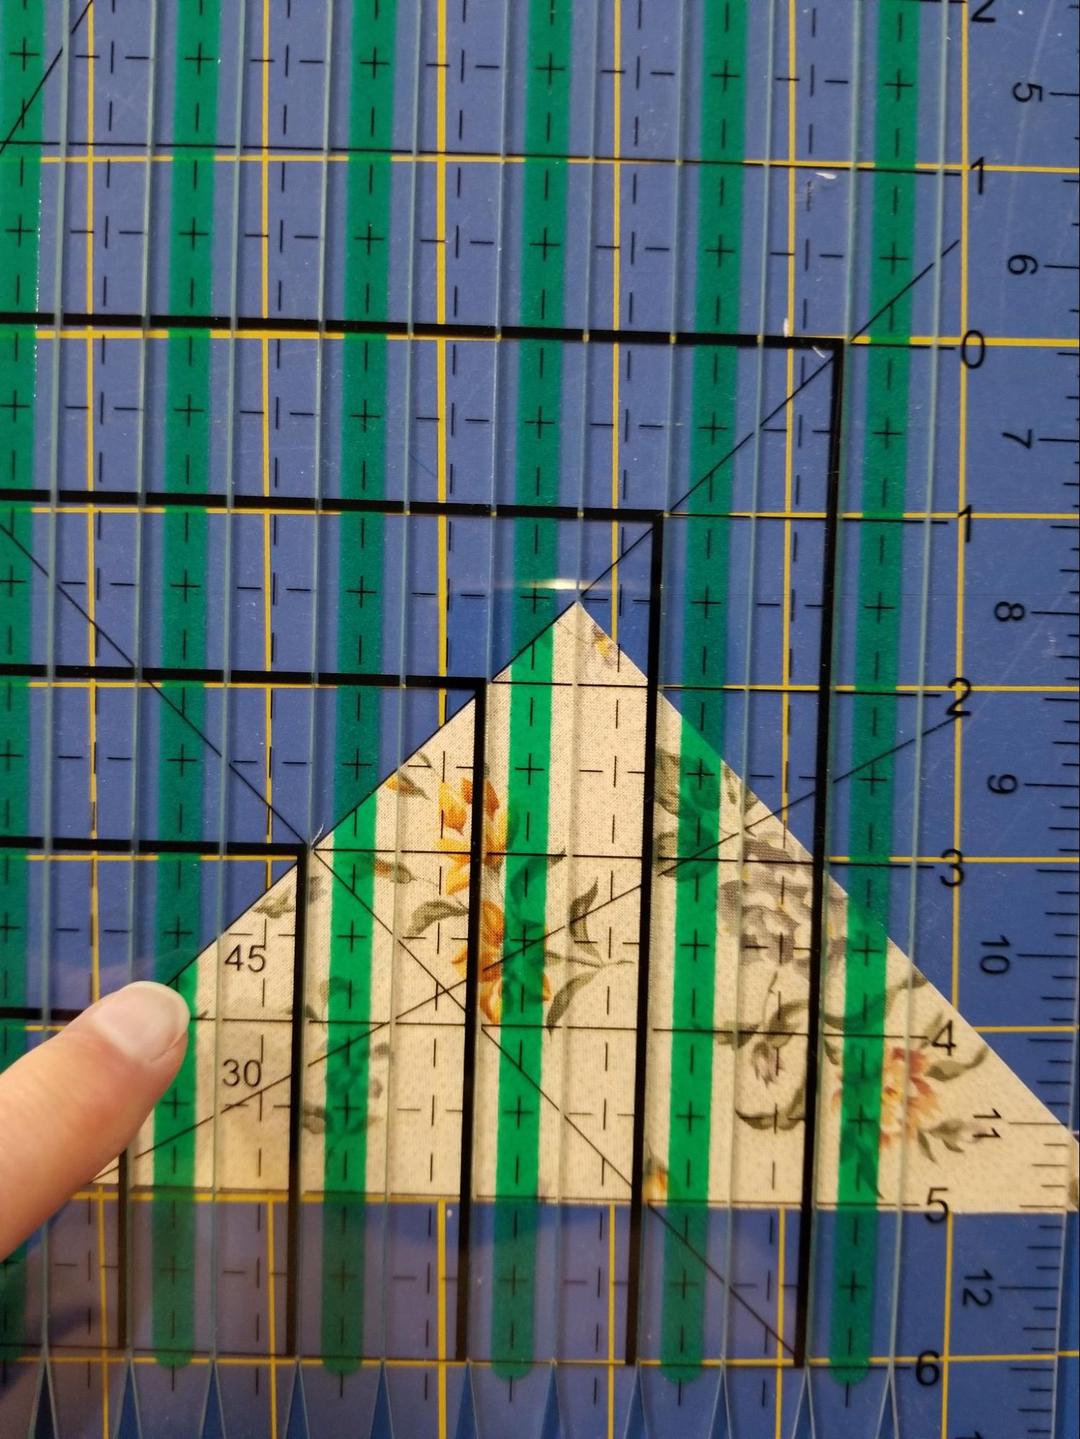
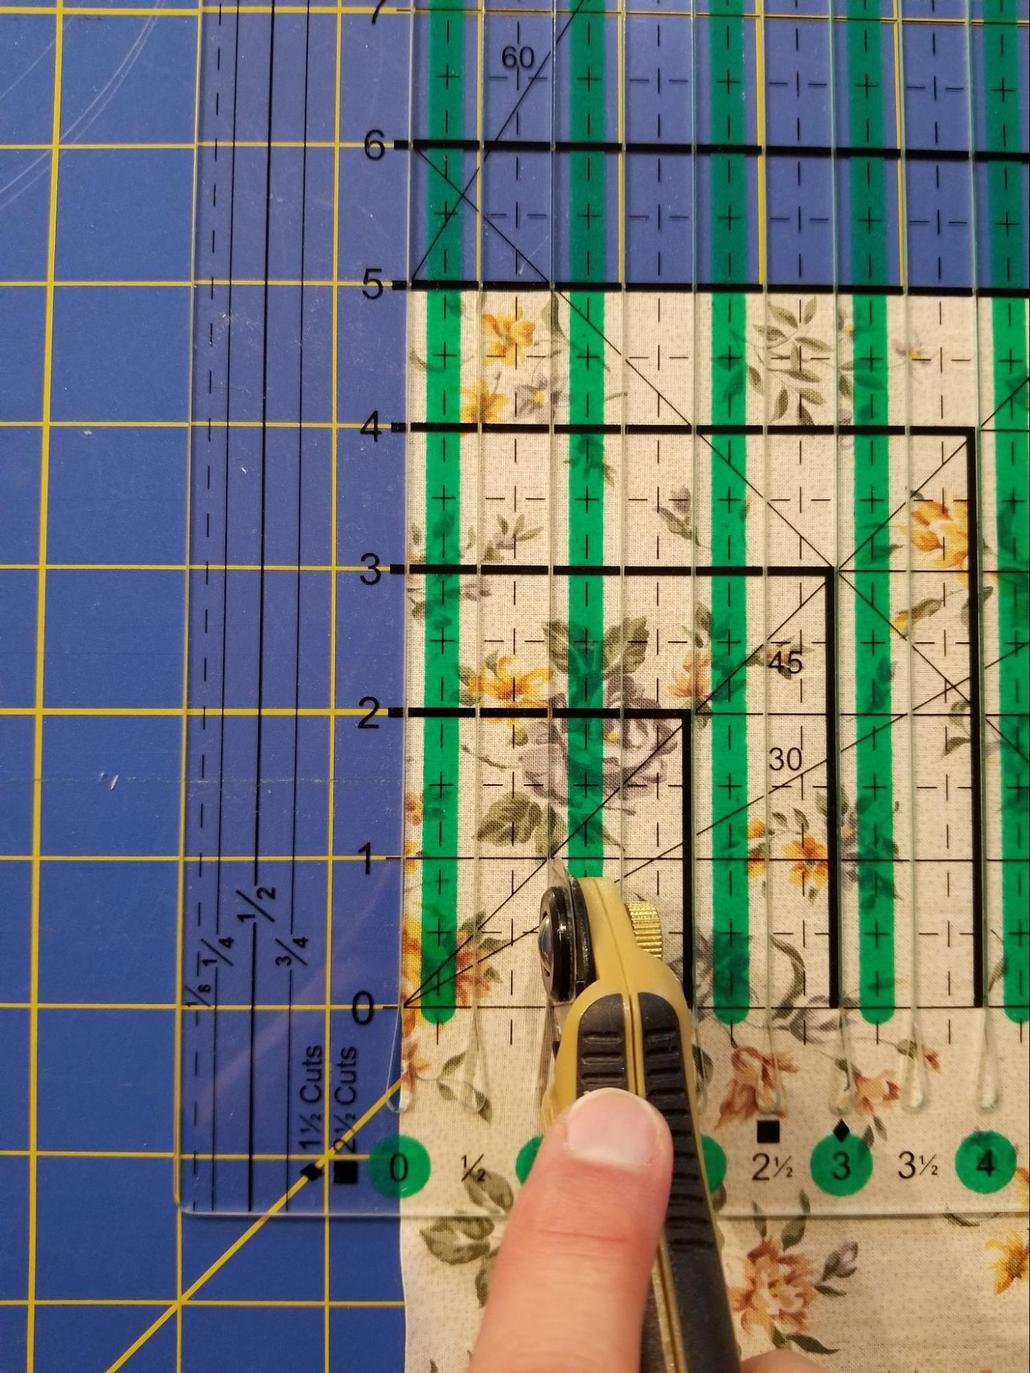
STEP 1: Align the short side of your half square triangle with the 45° guideline of the ruler and align the tip of the triangle with a slot
STEP 2: Cut in the slot that the point is in to make your quarter square triangles
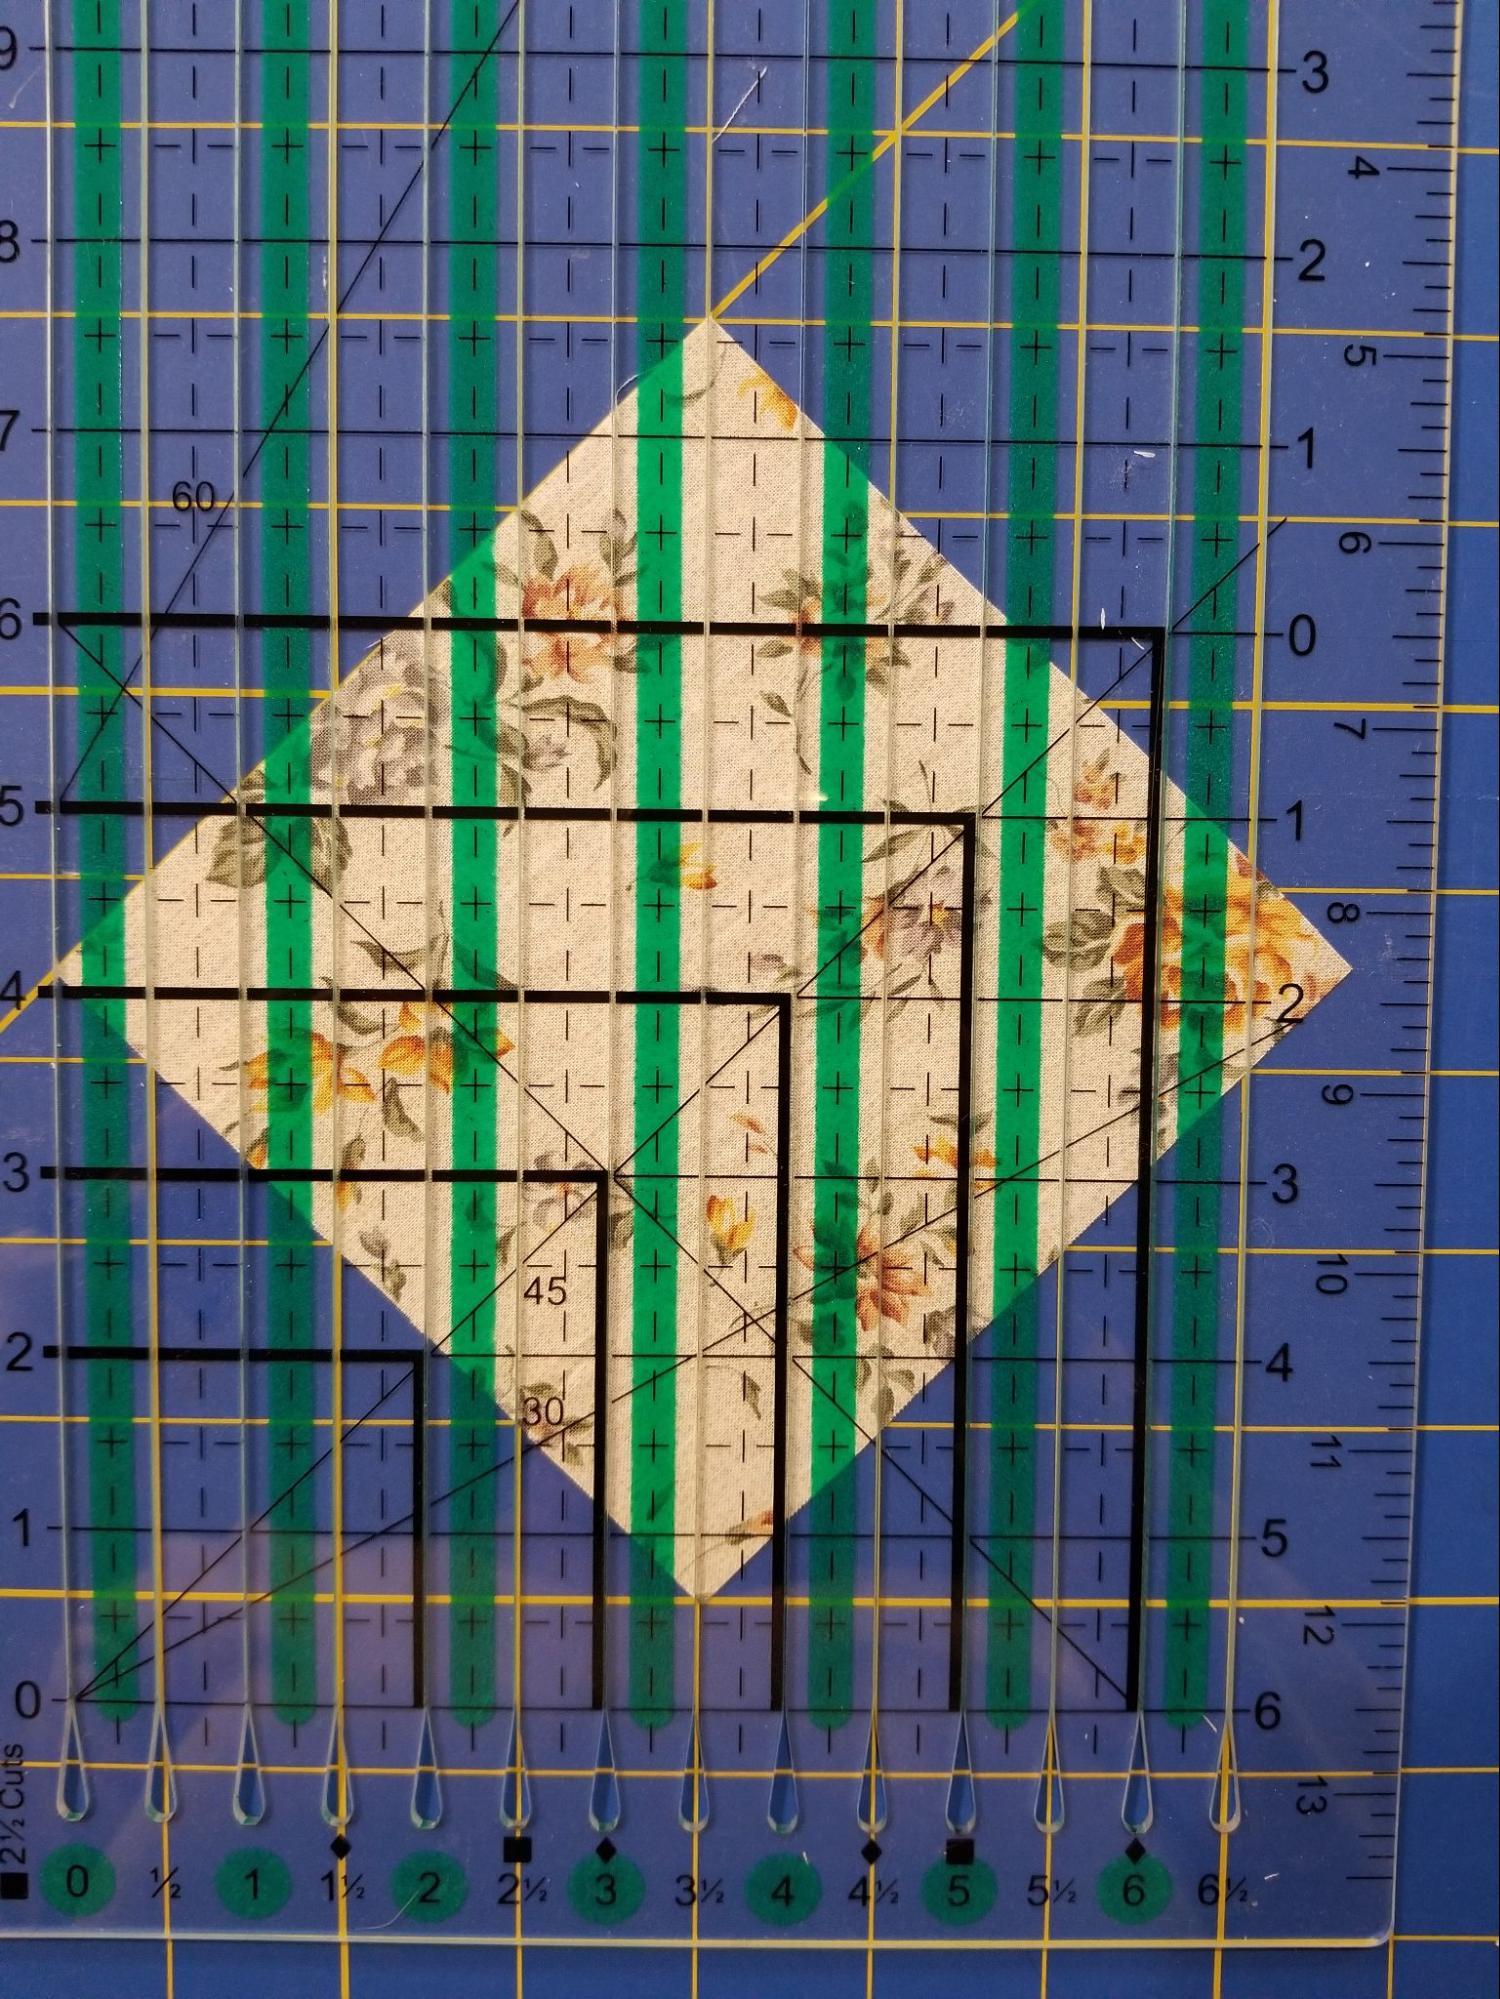
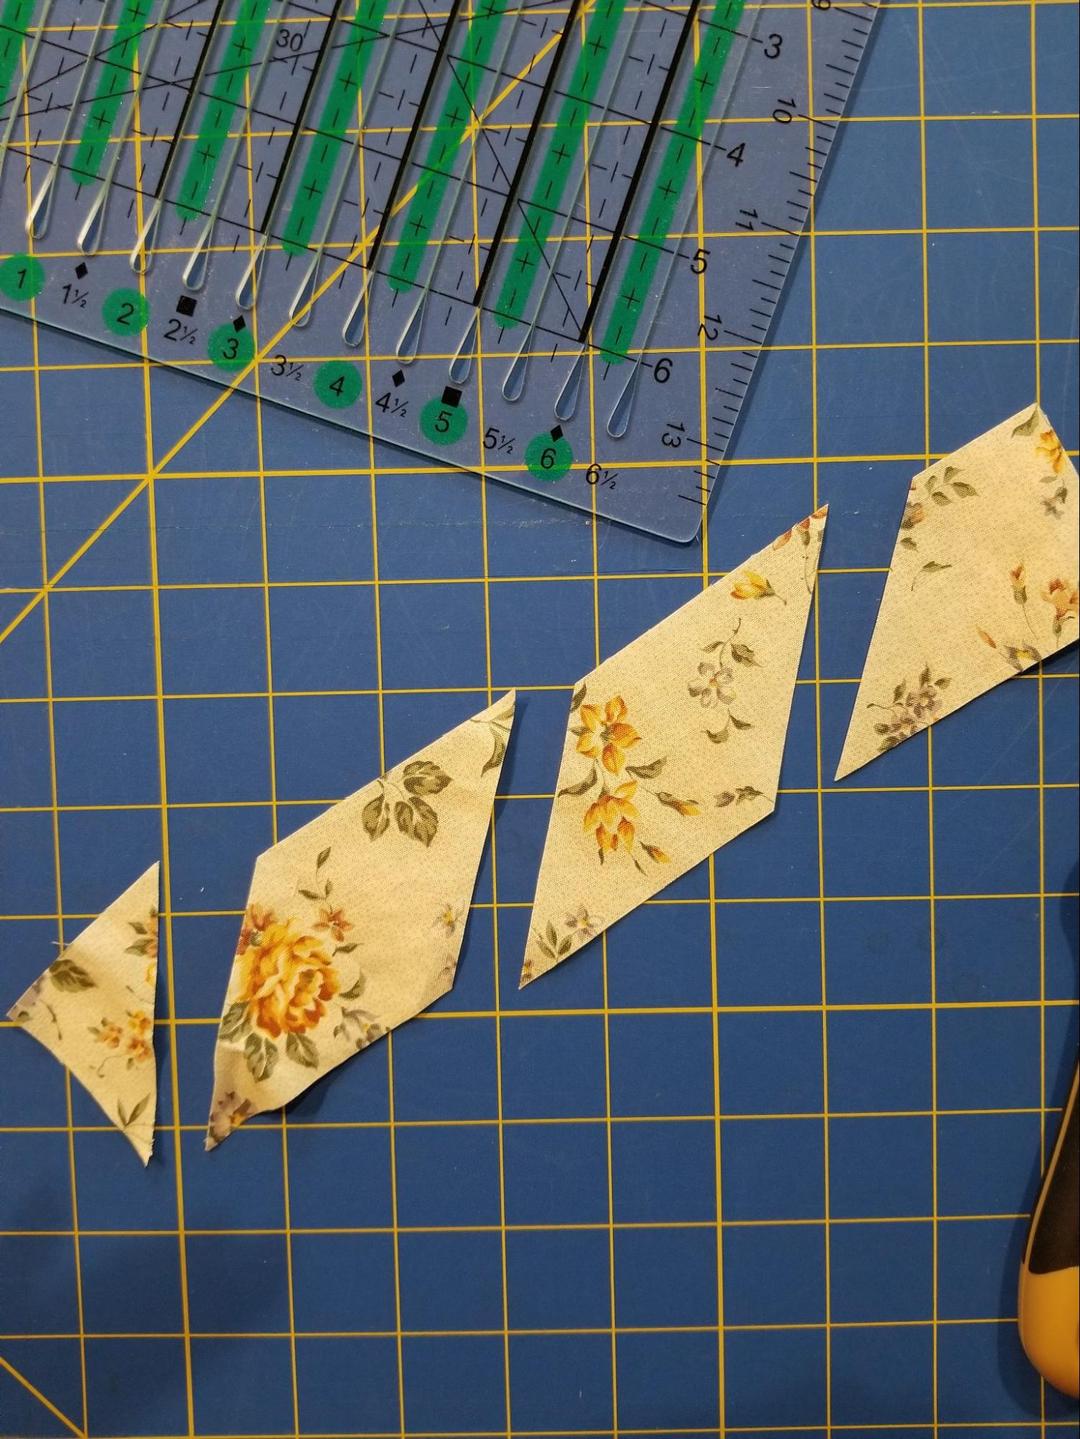
CREATING 45° DIAMONDS
Follow steps above to make 2” strips of fabric (you will need to adjust all measurements if using different size strips)
STEP 1: Align one of your strips with the 45° guideline of the ruler so that the bottom point of your strip is also lined up with the “0” slot and line
STEP 2: Cut using the 0”, 2”, 4”, etc. slots to make your 45° diamonds
CREATING 60° DIAMONDS
Follow steps above to make 2” strips of fabric (you’ll need to adjust all measurements if using different size strips)
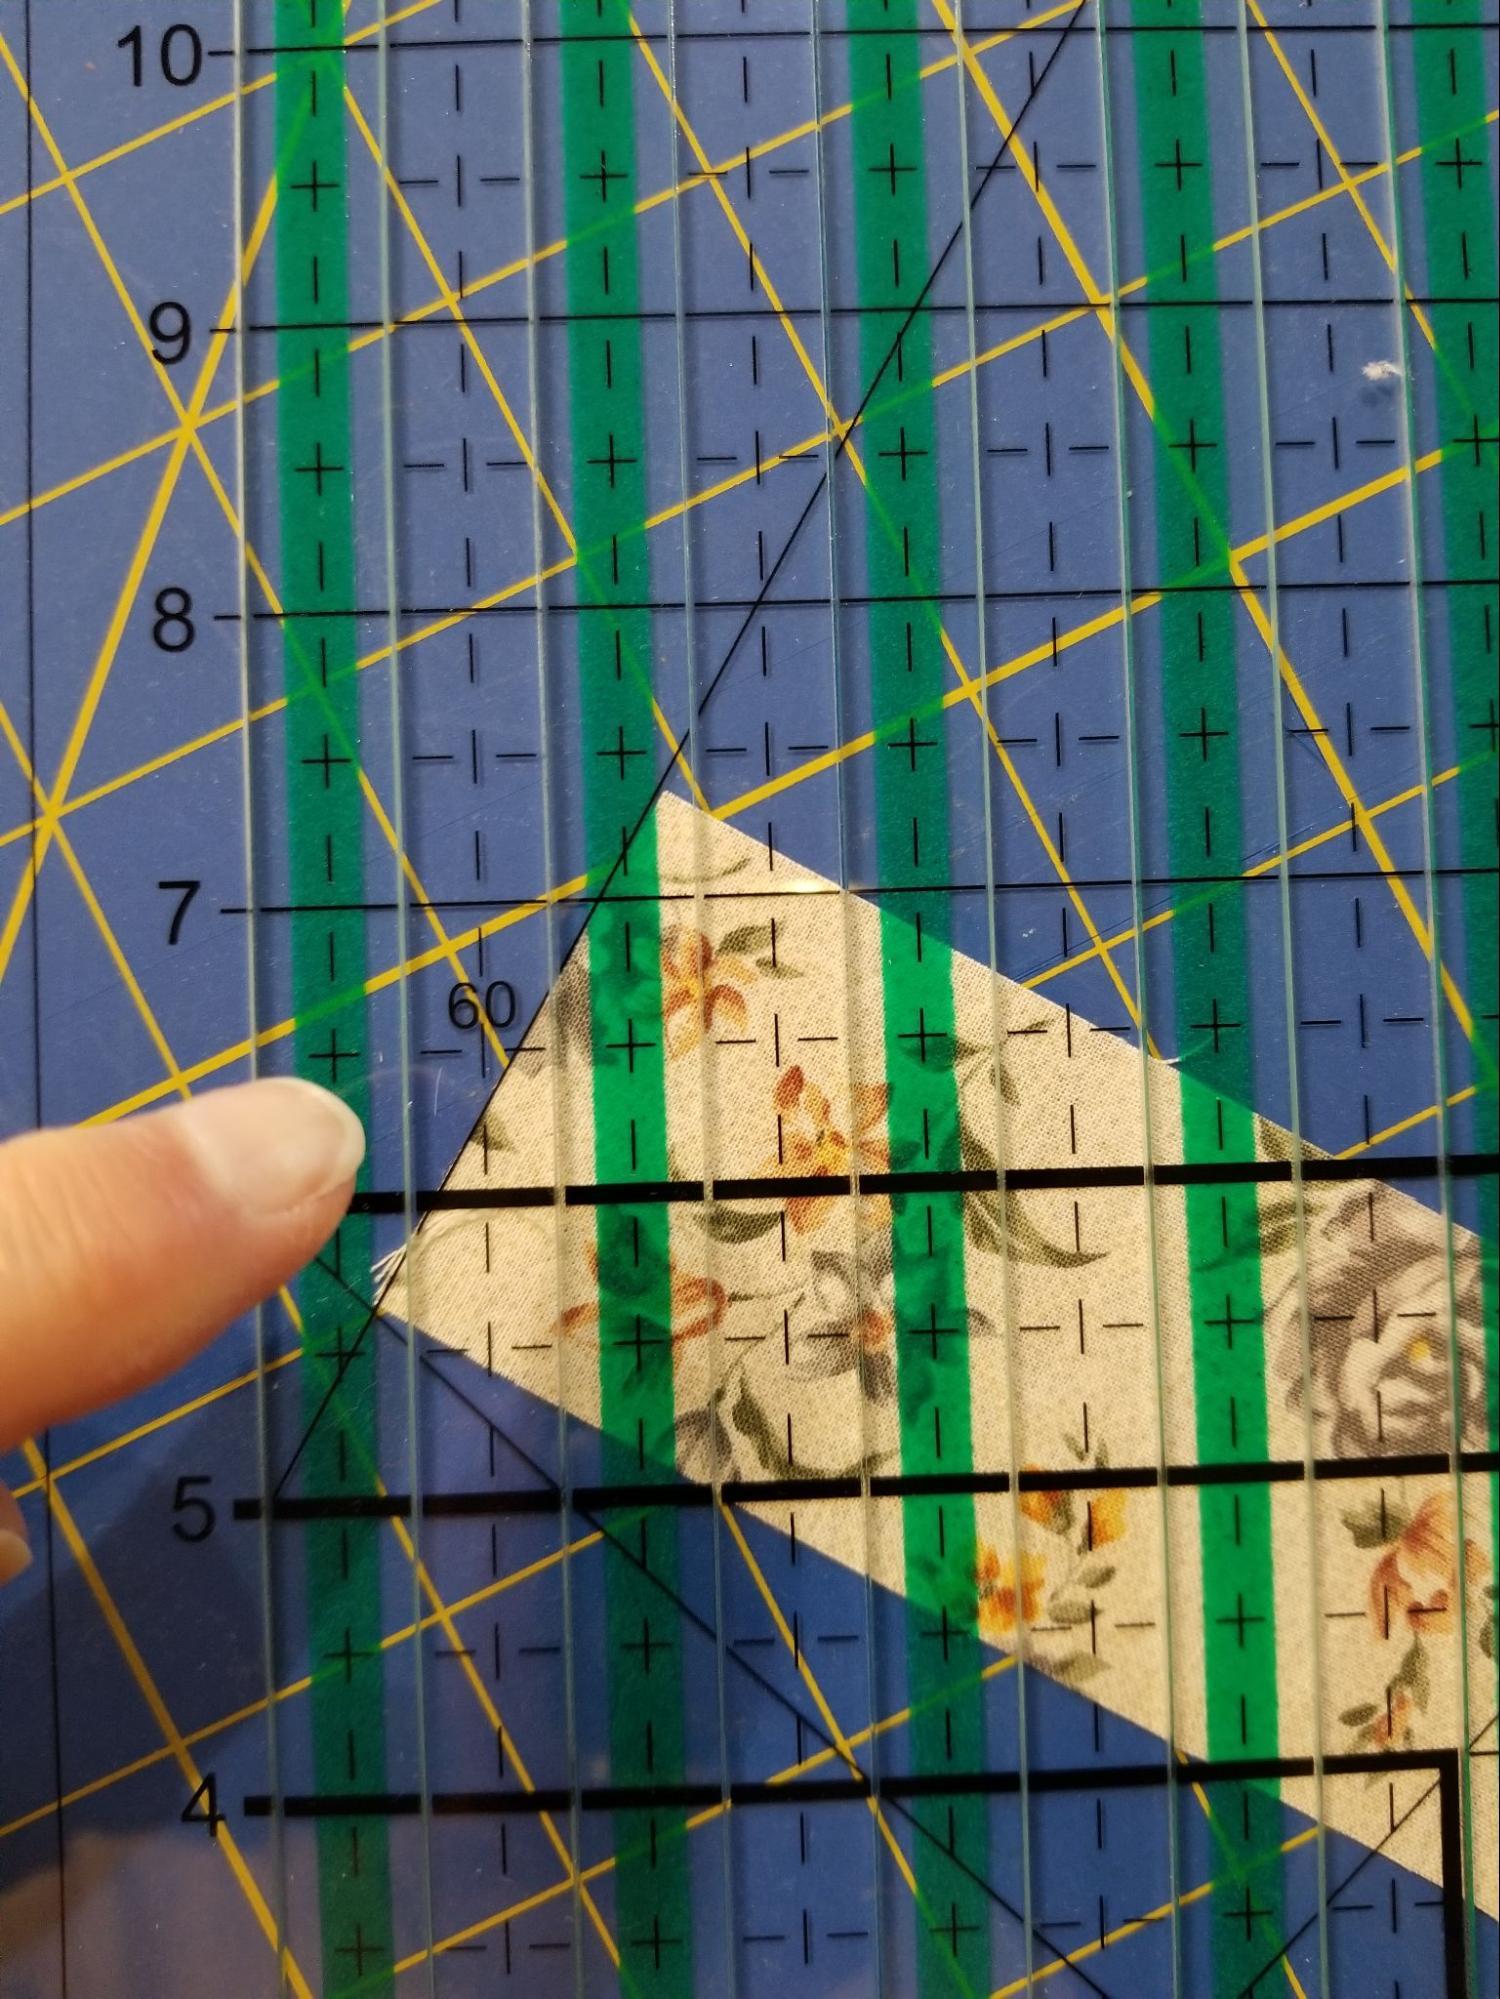
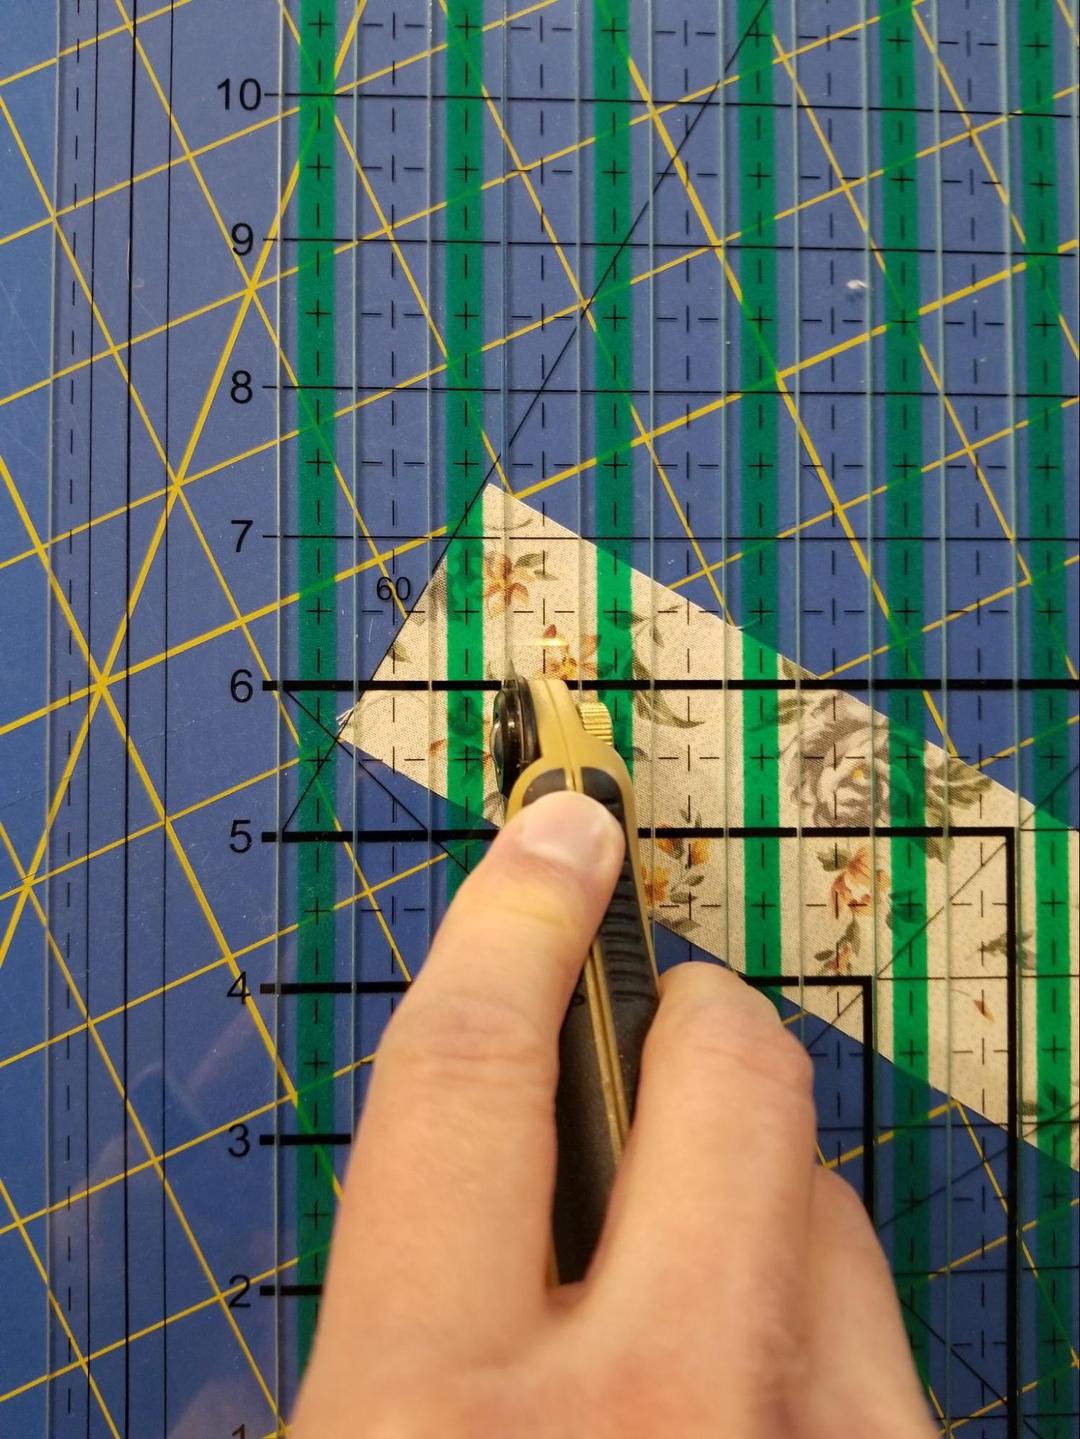
STEP 1: Align the short edge of one of your strips with the 60° guideline
STEP 2: Cut in slots using a 2” spacing to get the 60° diamonds
CREATING 5" x 1/2" WIDE FRINGE
STEP 1: Align your fabric edges with the “0” slot and the 5” horizontal guide line
STEP 2: Cut in every slot across to make your 5” fringe
STEP 3: Move ruler to continue along your fabric piece as needed to finish the whole area you need to work on
MEASURING AND MARKING SEAM ALLOWANCES
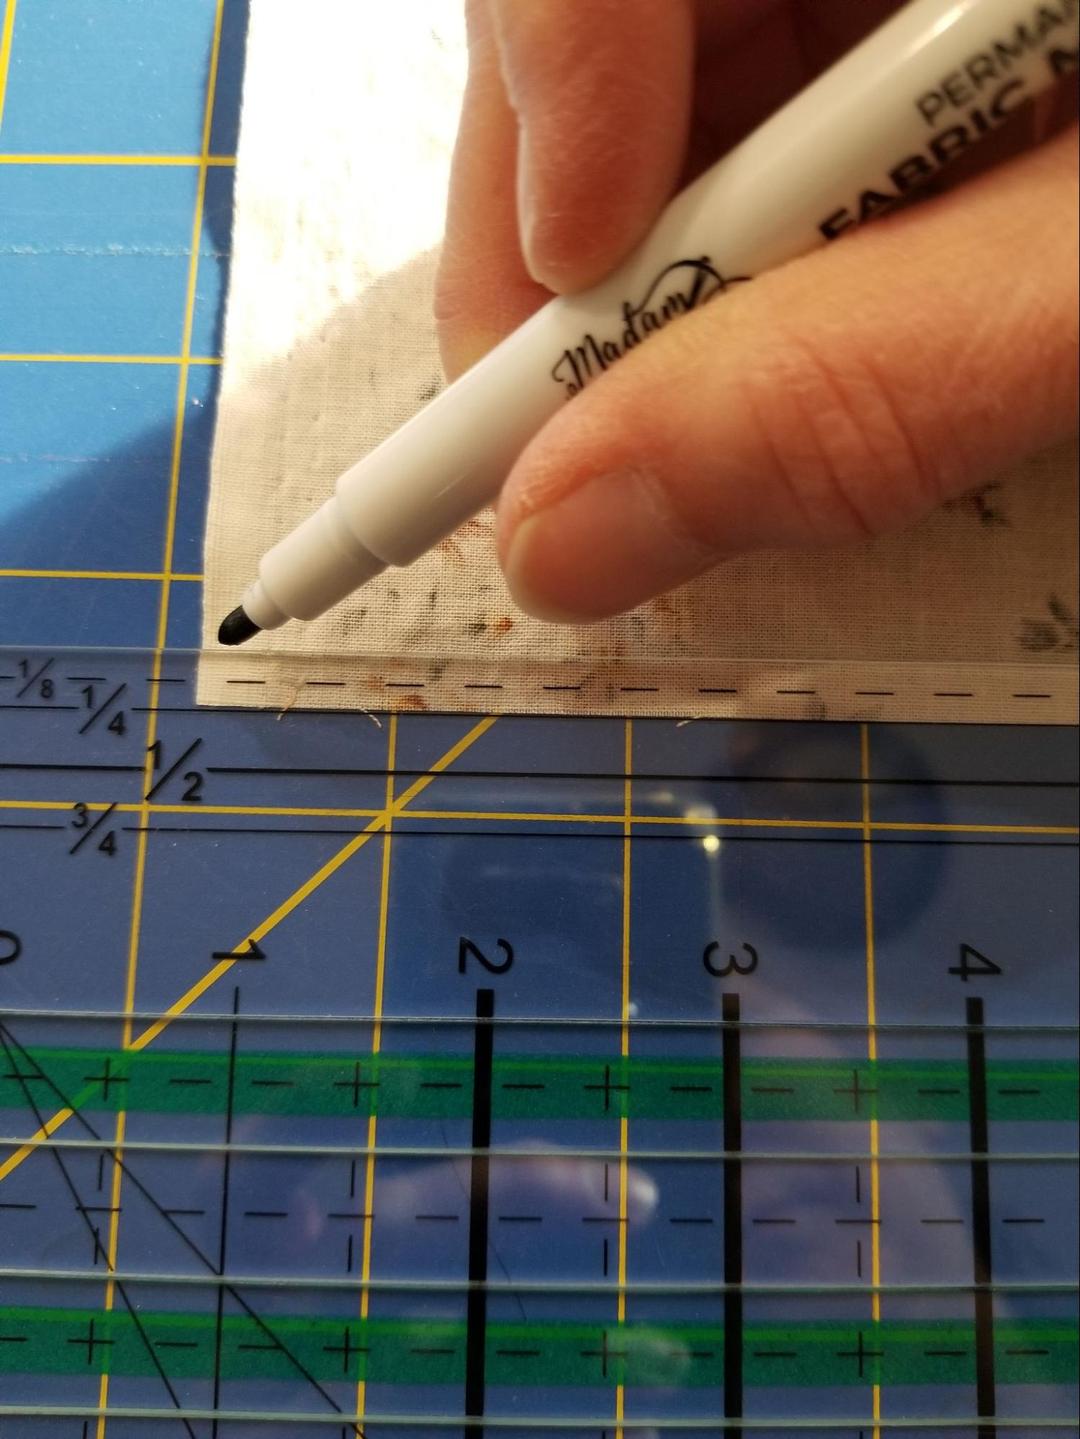
Place your fabric wrong side down and align the seam line of the ruler with the edge of your fabric; then mark your fabric
To make single cuts allowing for a ¼” seam allowance, align the ¼” slot over the ¼” line you marked and then cut along the slot that is the width that you are looking for with the ¼” seam allowance.
So…if you want a 2” strip with a ¼” seam allowance, cut along the 2 ¼” slot.


