“Put A PIN IN IT”
THE BEST TIPS TO USE SEWING PINS
Can one sewing pin successfully tackle all fabrics and sewing tasks? Can you stitch confidently over pins? Do you pin horizontally or vertically to the seam line?
Have you ever asked any of these questions about pins? Sewing pins are used to hold pattern pieces in place, anchor seam allowances as you sew, fit fabric on the body, and secure decorative trims. While sewing clips have become popular, sewing pins still have their place. Let me show you how to use sewing pins correctly.
Sewing Pin Anatomy
A sewing pin has a point, a shaft, and a head.
The point enters the fabric first. It is either round or sharp. The rounded ballpoint pins are used for knit fabrics. The ballpoint slides between the loops without snagging them.
picture found on Threads Magazine
The shaft can vary in diameter and in length. Most pins are between 1/2” and 2 1/8” long. Longer pins are easier to hold on to and to see. They can also hold more layers of fabric together, but if they are too long you constantly poke yourself. Very short pins are handy for appliqué. You can position many pins close together on the smaller fabric pieces. Longer pins will overlap awkwardly on tiny pieces.
Narrow shafts (these are the pins that are smaller in diameter) are better for lightweight fabrics like lace, silk, and other delicate material because they leave smaller holes in your fabric. Most all-purpose pins are 6-7mm thick while the thinner pins are 4-5mm, and some quilt pins are up to 8mm thick.
The shafts can be made from several different metals including brass, steel, nickel or a combination. Stainless steel, brass, and nickel-plated brass pins are rustproof. But be careful, leaving pins in fabric and exposing them to humidity can cause the plating to break down. If you want to use a magnetic pin cushion, look for nickel-plated steel pins.
The head is the most recognizable part of a sewing pin. Think about what is important to you to choose your pin. Do you want to see the pins at a glance? Then think colorful and big heads. Do you want to iron over them? Then think metal, glass, or no-melt plastic. Large heads are ideal for lace, open-weave fabrics, and beading crafts. Do you want to be able to grab them easily? Then look for big and ergonomic heads. If you want a pinterest-proof and instagrammable pincushion, just choose the most beautiful pins you can find. :-)
When you start sewing, you may just buy one box of pins, but after a while you may want to add different types to your pincushion, as different jobs require different pins.
Check out the pins we have in our store:
-
Glass Head Pins are a bit shorter, and the head is made out of glass, so no worries if you iron over those!
-
Long Flower Head Pins are perfect for the sewers that are looking for pins that are easy to grab as they have a flat head that can pick up different layers.
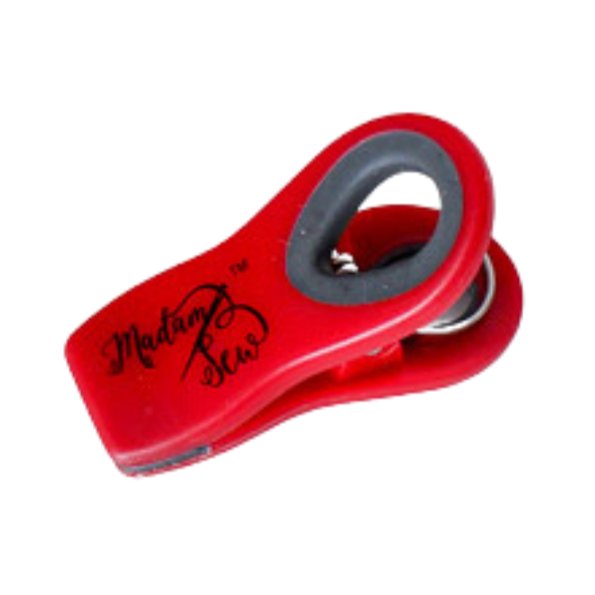
- If you don’t want to pierce your delicate fabric, you can also get these really nifty Sewing Clips
Organizing and Storing Your Sewing Pins
How do you keep your pins at hand?
I have a very old handmade pin cushion that I inherited from my grandmother. Then, there is my magnetic pin cushion which is very practical if your pins fall on the ground. You can grab them all with the little pass of the pincushion. I also have a little box of pins that I take to my sewing classes, a wrist pin cushion that holds flower pins for the moment, a ring pin cushion for little repairs while I’m sitting on the sofa at night, a little basket with sewing clips, and a DIY wrist clip cushion when I’m working with my sewing clips.
If you want to make this wrist cushion for sewing clips? You can find my tutorial when you follow this link.:
In our store, you can find the Ring Pin Cushions. Be sure to subscribe to find out when we release new tools and sewing products.
Pin Techniques
Basically, there are two styles of pinning: perpendicular to the seam line and parallel.
In both cases, place each pin 1-2 inches apart and pick up one-third of the pin’s length in the fabric. Then remove the pin a stitch or two before the needle reaches it.
Try to pin as much as possible in the seam allowances. Most fabrics aren’t damaged by pins but some are. You can either use thinner pins, be extra careful, or use sewing clips.
Pull the pin or clip out as you get close to it.
Pinning perpendicular to the seam line is what most experts will advise you to do.
—> The pins won’t stick you when you gather the fabric.
—> You don’t have to remove them when you baste.
—> They are also much easier to remove all at once. You can just sweep them out of the fabric instead of unpinning one by one.
—> You can work more accurately, holding things in place more precisely.
Place the pinhead along the cut edge of the fabric and the point toward the stitching line. This way you can grab the pin’s head and remove the pin with your right hand as you sew. I never realized this, but this isn’t so easy for left-handers. When they are pinning perpendicularly, they have to pin beyond the seam allowance and thus run the risk of damaging the fabric or pin right handed
For some jobs, like sewing a sleeve into a garment or adding a binding to a curved edge, you need a lot of pins to ease the fabric. Another solution in this case is hand basting.
When pinning parallel to the seam line, always place the pinheads toward you, so you can remove them easily as you stitch.
Either way, your pinning method has to work for you and your project!
Can You Sew Over Pins?
You’ll find divided opinions on this topic! As a general rule, I would advise not to stitch over pins, as they can break your sewing machine needle and the broken needle can jam and damage your machine—or worse, jump into your eye. Well, this hasn’t happened to me yet. The broken needles, yes, that has happened. But, again, not everyone agrees and in some cases it’s hard to take out the pins as you sew and this can lead to notches. If you do want to stitch across, it’s important to insert straight pins at a right angle to the seam line, perpendicularly. Make sure to go really, really slowly, so you can see if the needle will hit the pin or not.
Some Extra Pin Advice
-
Immediately throw out rusted, bent, or damaged pins.
- Store your different types of pins separately to avoid mix-ups.
-
Always wear shoes in your sewing room.
-
Never put your pins in your mouth! I have a friend that ended up in the hospital to remove a pin from her lungs after she accidentally inhaled it… really, you don’t want that! A piece of her lung was removed to get this pin out!
With that, stay safe and enjoy your sewing adventures this week! And, let us know in the comments below, what types of sewing pins do you use the most?
An
MadamSew’s inhouse sewing blogger
an@madamsew.com
Facebook: Madamsew
Instagram: @an_madamsew & @madamsew
YouTube: MadamSew


8 comments
Anna – loved this video… the details and explanations are wonderful!! …especially for us beginners! WOW!! the warning about pins in the mouth is rather scary and I am going to pass it along to my husband who too often holds nails in his mouth while working on projects!! Thanks again for your tutorials – keep up the great work! P.S. Really appreciate your natural beauty. :-)
Love your video! The information was great. I will remember to not put pins in my mouth. My grandma told me this also. I sew periodically, now I am making a jeans quilt. Good success with your Madam Sew!
Enjoyed the artical.. Thank you!!
I’ve been sewing for over 50 years and this was good. Keep up the good work.